
The Short Answer: Yes, But at What Cost?
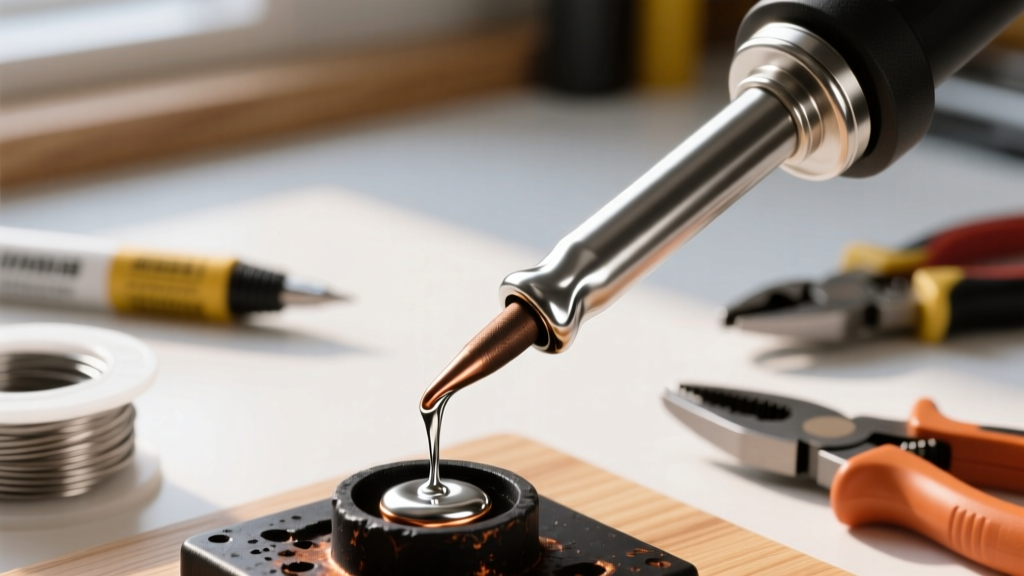
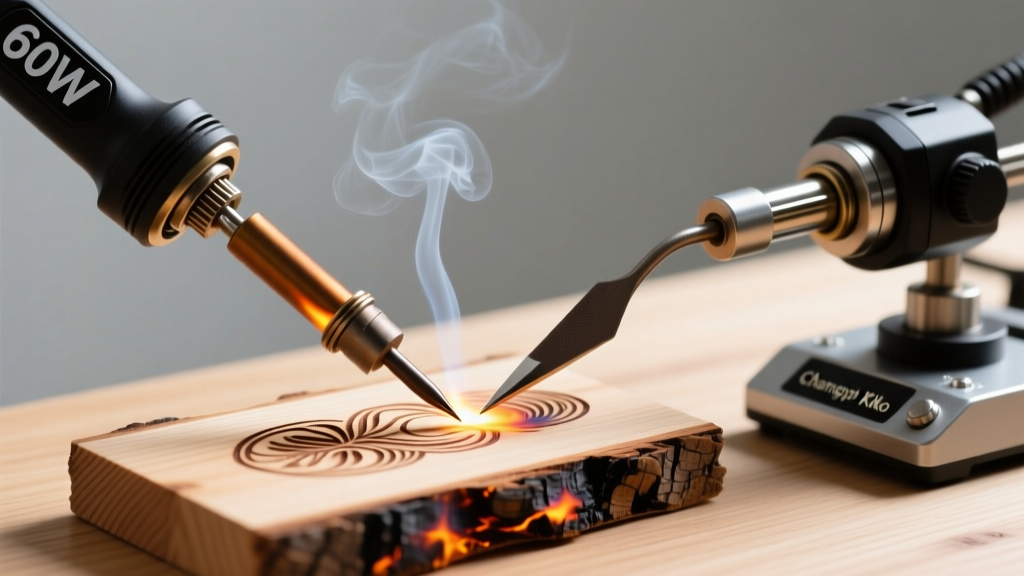
If you have ever asked, can you use a soldering iron for wood burning? the short answer is yes. A standard electronics soldering iron can absolutely scorch basswood, maple, and pine. However, treating a soldering iron as a makeshift pyrography pen introduces severe thermal, mechanical, and chemical challenges that most hobbyists overlook until their equipment fails.
Wood burning requires sustained surface temperatures between 350°C and 450°C (662°F to 842°F) to achieve deep, consistent shading. Soldering, by contrast, typically occurs between 183°C and 350°C, relying on the thermal conductivity of metallic solder to pull heat away from the tip. When you drag a soldering tip across an insulating material like wood, the thermal dynamics invert. In this 2026 analysis, we break down the budget vs. premium reality of using soldering equipment for pyrography, examining exact failure modes, thermal recovery rates, and the hidden costs of cross-contamination.
The Physics of Wood Burning vs. Soldering
To understand why a $15 iron struggles where a $160 pyrography pen excels, you must understand thermal recovery.
- Soldering: The tip transfers heat to a metallic joint. The solder melts, creating a liquid thermal bridge. The iron's heating element only needs to replenish the heat lost to the joint and the surrounding air.
- Wood Burning (Pyrography): Wood is a thermal insulator. When you press a hot tip into wood, the heat does not dissipate into the material; it pools at the surface to trigger pyrolysis (charring). As you draw a line, the tip is constantly shedding heat into the wood while simultaneously being cooled by ambient air on its exposed sides.
If the iron's heating element and thermal mass cannot replenish this lost heat faster than you draw the line, the temperature plummets. You are then forced to press harder, which causes mechanical damage to the tip and creates uneven, muddy burn marks rather than crisp, dark lines.
Budget Tier: The $15–$30 Generic Dial Irons
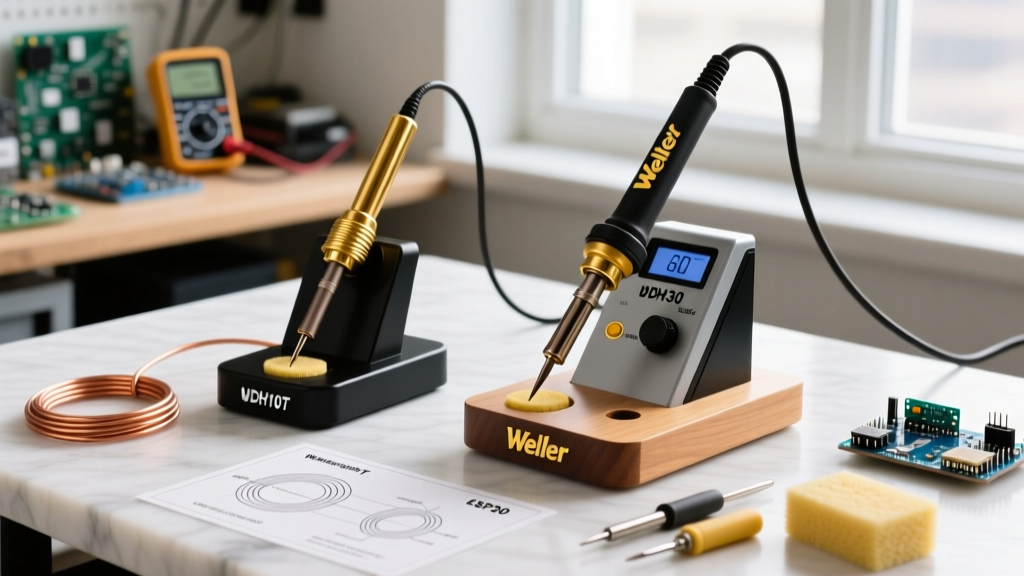
The most common entry point for DIYers is the generic 60W adjustable dial iron or a basic station like the Weller WLC100 (often found around $45). These tools use a simple rheostat or basic triac-based dimmer switch to control power. They do not measure actual tip temperature; they merely regulate the voltage sent to the nichrome heating element.
The Budget Failure Mode
When using a budget dial iron for wood burning, you will experience the thermal cliff. You can burn a dot or a short line perfectly. But as you attempt a continuous 3-inch stroke on medium-density basswood, the tip temperature drops from 400°C to under 250°C. The burn fades from dark brown to light yellow. To compensate, users press harder. This mechanical pressure grinds the wood's natural silicates and acids into the iron plating of the tip, accelerating degradation.
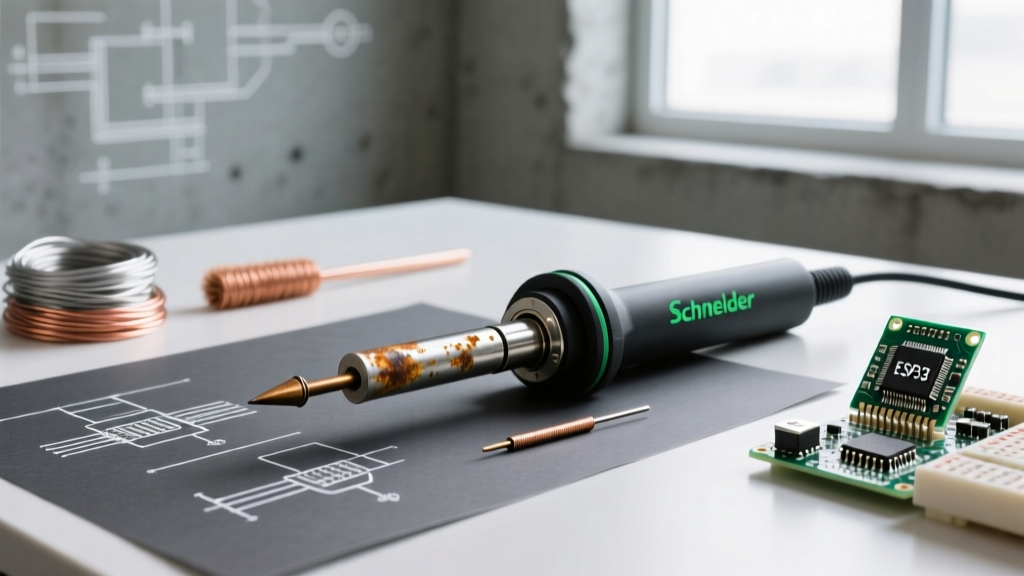
Expert Insight: Never use your primary electronics soldering tip for wood. The carbon scoring from charred wood embeds into the microscopic pores of the iron plating. If you scrub it with a brass sponge, you will strip the plating, exposing the copper core to rapid oxidation and pitting the next time you try to solder a PCB.
The Middle-Ground Disruptor: Smart Irons (Pinecil V2)
As of 2026, the Pinecil V2 (approximately $26) has completely disrupted the budget pyrography space. Unlike analog dial irons, the Pinecil uses a RISC-V microcontroller running a PID (Proportional-Integral-Derivative) algorithm. It reads the thermocouple at the tip 20 times per second and adjusts power delivery instantly.
While it still uses standard Hakko T12-style tips (which are not shaped for wood shading), its aggressive thermal recovery means it can maintain a steady 380°C through continuous strokes on softwoods. For hobbyists who want to do light wood branding or basic pyrography without buying a dedicated pen, a smart iron paired with a wide chisel tip (like the T12-D52) offers the best budget-to-performance ratio on the market.
Premium Tier: Dedicated Pyrography Pens
If you are serious about wood burning, you must eventually transition to dedicated pyrography equipment like the Colwood Super Pro II Detailer (approx. $160) or the Burnmaster Hawk. These are not soldering irons; they are low-voltage, high-amperage transformers connected to pens with interchangeable nichrome wire nibs.
Why Premium Pens Dominate
- Zero Thermal Mass Lag: The heating element is the wire touching the wood. There is no ceramic core or iron plating to act as a thermal bottleneck.
- Custom Nibs: You can bend the nichrome wire into any shape—spearheads, shaders, or micro-detail points. Soldering tips are rigid and limited to factory geometries.
- Low-Voltage Safety: The pens operate at under 3 volts. If you accidentally touch the nib to a wet surface or a metallic inlay in your wood project, there is no risk of mains voltage shock, a persistent danger with cheap, ungrounded 120V soldering irons.
Head-to-Head Comparison Matrix
| Feature | Generic 60W Dial Iron | Pinecil V2 (Smart Iron) | Hakko FX-601 (Ceramic) | Colwood Super Pro II |
|---|---|---|---|---|
| Approx. Price | $15 - $20 | $26 | $70 | $160 |
| Temp Control | Analog Voltage Dial | Digital PID (RISC-V) | Analog Dial w/ Sensor | Dial Transformer (Amps) |
| Thermal Recovery | Poor (Thermal Cliff) | Excellent | Very Good | Instantaneous |
| Tip/Nib Type | Iron-Plated Copper | Iron-Plated Copper (T12) | Iron-Plated Copper (610) | Bent Nichrome Wire |
| Best Wood Type | Soft Basswood (Dots only) | Basswood / Pine (Lines) | Hardwoods / Branding | All Woods / Shading |
Step-by-Step: Prepping a Soldering Iron for Wood
If you are committed to using a soldering iron for a quick wood-burning project, follow this protocol to minimize damage to your tool and your workpiece:
- Dedicate a Sacrificial Tip: Buy a cheap, wide chisel tip (e.g., a 60-degree bevel). Never use your go-to electronics conical tip.
- Sand the Wood First: Sand your wood to at least 400 grit. Rough wood creates uneven contact patches, causing the tip to skip and cool unevenly.
- Disable Solder Mode (If using a smart iron): Set your PID iron to 380°C. Do not exceed 420°C, or you will instantly carbonize the wood surface, creating a layer of ash that insulates the tip and causes it to overheat internally.
- Clean with a Damp Sponge, Not Brass: After burning, the tip will be black with carbon. Wipe it on a damp cellulose sponge while hot. Never use a brass wire sponge or sandpaper, as this will strip the iron plating.
- Re-tin Immediately: The moment you finish your wood project, melt a thick layer of rosin-core solder over the entire tip before turning the iron off. This seals the iron plating and prevents ambient oxygen from corroding it.
Health and Safety: Wood Smoke vs. Rosin Flux
A critical, often ignored aspect of using soldering tools for wood burning is the hazardous byproduct of the work. When soldering, the primary airborne hazard is rosin flux smoke, which is a known respiratory sensitizer. However, wood smoke is a fundamentally different hazard.
Burning wood releases fine particulate matter (PM2.5), carbon monoxide, and volatile organic compounds (VOCs) like formaldehyde and acrolein. According to the Occupational Safety and Health Administration (OSHA), prolonged exposure to wood dust and smoke can lead to severe respiratory issues, including asthma and nasal cancer, particularly when working with exotic hardwoods like rosewood or cocobolo, which contain highly toxic natural oils.
Furthermore, the Environmental Protection Agency (EPA) warns that indoor burning of organic materials severely degrades indoor air quality. If you are using a soldering iron for wood burning in a confined garage or bedroom, a standard desktop fume extractor with a carbon filter is insufficient. You must use a high-CFM source capture system with a HEPA filter to trap the PM2.5 particulates generated by the charring wood.
Frequently Asked Questions
Can I use a butane soldering iron for wood burning?
Yes, butane irons (like the Dremel VersaFlame) offer excellent cordless thermal mass and are great for rustic wood branding. However, they lack precise temperature control, making detailed shading nearly impossible.
What temperature should I set my iron for basswood?
Basswood is soft and has a low ignition threshold. Set a PID-controlled iron to 340°C–360°C. For harder woods like oak or maple, increase to 400°C–430°C.
Why does my soldering tip turn black instantly on the wood?
This is carbon buildup from pyrolysis. If your iron lacks proper thermal recovery, the wood chars and sticks to the tip rather than burning cleanly away. Lower your temperature slightly and increase your drawing speed.