
The Definitive Soldering Iron Temperature Chart
Every reliable solder joint begins with a precise thermal profile. Whether you are assembling a delicate surface-mount prototype or soldering heavy gauge wires, referencing a proper soldering iron temperature chart is non-negotiable. However, setting your station to 350°C does not guarantee the tip surface is actually delivering 350°C to the joint. In 2026, the market is flooded with everything from $25 smart-irons to $800 RF-induction stations. This guide breaks down the exact temperature requirements for modern alloys and analyzes how budget, mid-range, and premium soldering stations actually perform against the chart under real-world thermal loads.
Standard Alloy Temperature Matrix
The following chart outlines the melting points and optimal tip temperatures for the most common electronic solders. These parameters align with industry benchmarks found in IPC J-STD-001 standards for electronic assemblies.
| Alloy Composition | Type | Melting Point | Optimal Tip Temp | Max Dwell Time |
|---|---|---|---|---|
| Sn63/Pb37 (Eutectic) | Leaded | 183°C (361°F) | 300°C - 320°C | 3 Seconds |
| SAC305 (Sn96.5/Ag3/Cu0.5) | Lead-Free | 217°C (423°F) | 350°C - 380°C | 3 Seconds |
| Sn99.3/Cu0.7 | Lead-Free (Low Cost) | 227°C (441°F) | 360°C - 390°C | 4 Seconds |
| Sn95/Sb5 | High-Temp Leaded | 240°C (464°F) | 380°C - 400°C | 4 Seconds |
| Bi58/Sn42 | Low-Temp Lead-Free | 138°C (280°F) | 220°C - 250°C | 2 Seconds |
The Metallurgy: Why the Chart Matters
To understand why budget irons struggle with this chart, you must understand the metallurgy of a solder joint. When liquid solder meets a copper pad, an intermetallic layer (IMC) forms—specifically Cu6Sn5 and Cu3Sn. This layer is the actual mechanical and electrical bond. If your iron's temperature drops below the optimal range during the joint formation, the IMC layer becomes too thin, resulting in a cold, brittle joint. Conversely, excessive heat or prolonged dwell times cause the IMC layer to grow too thick, making the joint prone to mechanical fracturing under vibration. Furthermore, flux activation is highly temperature-dependent. Standard rosin-based fluxes activate around 150°C to 180°C. If a budget iron lacks the thermal mass to push through the flux activation phase quickly, you are left with oxidized, un-wettable pads. For a deeper dive into flux mechanics and wetting, SparkFun's through-hole soldering tutorial provides excellent foundational visual guides.
Budget Irons ($20 - $60): The Thermal Drop-Off Reality
The budget tier has evolved massively. The Pinecil V2 (approx. $26) utilizes a RISC-V microcontroller and USB-C PD power delivery to offer digital temperature control on a shoestring budget. Generic 60W dial irons (like the classic Weller WLC100 at $45) still rely on analog rheostats. The Problem: Thermal Impedance and Sensor Placement. In budget T12-style or generic irons, the temperature sensor is located at the base of the ceramic heating element, millimeters or even centimeters away from the actual tip surface. Real-World Scenario: You set your Pinecil V2 to 360°C to solder a SAC305 joint on a 4-layer PCB ground plane. The moment the tip touches the copper, the massive thermal mass of the ground plane acts as a heatsink. The tip surface temperature instantly plummets by 50°C to 60°C. Because the sensor is at the base of the heater, the PID controller does not register the temperature drop until the heat physically travels back up the tip shaft. By the time the 65W heater pulses to compensate, you have exceeded the 3-second dwell time, resulting in a dull, oxidized, and unreliable joint.
Budget Tier Verdict
- Best For: Through-hole components, single-layer PCBs, basic wire tinning, and hobbyist repairs where ground planes are minimal.
- Failure Mode: Severe thermal lag on multi-layer boards; inability to maintain the soldering iron temperature chart under heavy loads.
Mid-Range Stations ($100 - $150): The PID Sweet Spot
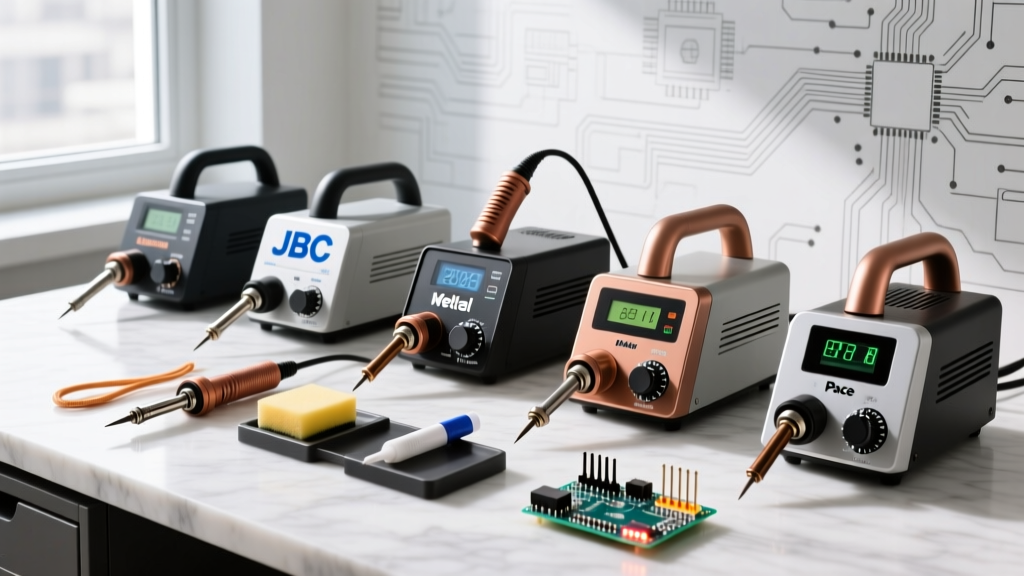
Stations like the Hakko FX-888D ($115) and the Weller WE1010 ($125) represent the professional baseline. These units feature 65W to 70W heaters and dedicated PID (Proportional-Integral-Derivative) tuning. The Advantage: Better thermal mass and refined sensor integration. The Weller WE1010 uses an ETA tip design where the sensor is embedded much closer to the tip surface than older analog models. When the PID loop detects a 5°C drop, it aggressively modulates the 70W heater to recover. The Limitation: While they recover faster than budget irons, they still rely on traditional threaded or slip-on tip architectures. There is still an air gap or mechanical interface between the heater and the wetting surface, creating a bottleneck for thermal transfer. If you are soldering heavy 10 AWG wires or large TO-247 transistor tabs, a mid-range station will still struggle to maintain the 380°C required for high-temp leaded solders without resorting to dangerously high baseline settings that degrade the tip plating.
Premium Systems ($400 - $800+): Cartridge and Induction Mastery
When absolute adherence to the soldering iron temperature chart is required for aerospace, automotive, or high-density server boards, premium systems are mandatory. This tier is dominated by two distinct technologies: Cartridge Heaters and RF Induction.
JBC Cartridge Technology (e.g., JBC CD-2BQE - $550)
JBC completely re-engineered the thermal path. In their C245 and C210 cartridge tips, the heating element and the thermocouple sensor are integrated directly into the very tip of the consumable. The Result: Near-zero thermal impedance. The 130W power supply can detect a 1°C drop at the exact point of contact and deliver massive current to recover the temperature in under 2 seconds. You can set the station to exactly 350°C for SAC305, and the tip surface will not drop below 345°C even when soldering a massive copper pour. This precision prevents pad delamination and ensures perfect IMC formation every time.
Metcal RF Induction (e.g., Metcal PS-900 - $650+)
Metcal abandons digital temperature dials entirely, relying instead on the laws of physics. Their SmartHeat technology uses a 13.56 MHz RF field to induce eddy currents in a ferromagnetic tip. As the tip heats up and reaches its engineered Curie point (e.g., 350°C), the material loses its magnetic permeability. The heating effect instantly stops. As soon as the joint draws heat away and the tip drops below the Curie point, permeability returns, and heating resumes. The Result: It is physically impossible to overshoot the temperature. The soldering iron temperature chart is hardcoded into the metallurgical composition of the tip cartridge itself. As noted in Adafruit's Guide to Excellent Soldering, maintaining strict thermal limits is the secret to extending tip life and preventing flux burn-off.
Budget vs Premium: Comparison Matrix
| Feature | Budget ($25-$60) | Mid-Range ($100-$150) | Premium ($450-$800) |
|---|---|---|---|
| Thermal Recovery | 8 - 15 seconds | 3 - 6 seconds | < 2 seconds |
| Sensor Location | Base of heater | Mid-shaft / Embedded | Tip surface / Curie alloy |
| Ground Plane Performance | Poor (Severe temp drop) | Moderate (Manageable lag) | Flawless (Constant temp) |
| Tip Cost | $2 - $8 | $8 - $15 | $25 - $50 |
| Best Application | Hobby, basic wire, THT | General repair, mixed SMD/THT | Micro-SMD, heavy copper, Mil-Spec |
Pro-Tips for Dialing in Your Thermal Profile
Expert Insight: Never compensate for a lack of thermal mass by turning up the temperature dial. If your 60W budget iron struggles to melt a joint at 350°C, turning it to 420°C will not fix the thermal transfer issue; it will only oxidize your tip and burn the flux before the core copper reaches the melting point. Instead, switch to a larger chisel or bevel tip to increase the surface contact area.
1. Match the Tip Geometry to the Thermal Mass
Conical (pencil) tips are notoriously poor for thermal transfer due to their tiny surface area. For heavy ground planes, use a wide chisel or a hollow-bevel tip. The bevel allows you to 'scoop' the solder and pool it against the component lead, maximizing conductive transfer.
2. Account for Flux Activation Windows
Water-soluble fluxes activate at lower temperatures (around 120°C - 150°C) and are highly aggressive. If you use a premium JBC station set to 380°C with water-soluble paste, you will instantly char the flux, leaving conductive residues that cause short circuits. Always lower your station by 20°C when switching from no-clean rosin to water-soluble fluxes.
3. The 'Tinning' Buffer
Always apply a small amount of fresh solder to the iron tip immediately before touching the joint. This creates a liquid thermal bridge between the iron and the dry component lead. Liquid metal transfers heat exponentially faster than air, effectively bypassing the thermal lag inherent in budget and mid-range stations.
Final Thoughts
The soldering iron temperature chart is not just a suggestion; it is a strict metallurgical recipe. Budget irons like the Pinecil V2 offer incredible value and digital precision for light-duty work, but their physical thermal limitations mean they cannot maintain the chart under heavy loads. Mid-range stations bridge the gap for general technicians, while premium cartridge and induction systems from JBC and Metcal guarantee absolute thermal dominance. Choose your tool based on the thermal mass of your target PCB, not just the digital readout on the screen.