
The Thermodynamics of Soldering: Melting Point vs. Working Temperature
One of the most persistent misconceptions in electronics assembly is setting your station to the exact melting point of your solder alloy. If you are using Sn63/Pb37 (which melts at 183°C) and set your soldering iron temp to 185°C, you will almost certainly produce cold, unreliable joints. The reason lies in thermodynamics—specifically, the Delta T (ΔT) required to transfer heat through the component lead, the PCB pad, and the flux chemistry before the alloy can achieve proper metallurgical wetting.
According to the workmanship requirements outlined by the IPC J-STD-001 standard, proper wetting requires the entire joint mass to reach a temperature slightly above the solder's liquidus point. Because the PCB acts as a massive heat sink, your iron tip must operate at a significantly higher temperature to compensate for thermal dissipation during the 1-to-3-second dwell time.
The Master Soldering Iron Temp Matrix
As of 2026, the industry relies heavily on both legacy tin-lead alloys for aerospace/medical applications and SAC305 (Tin-Silver-Copper) for commercial RoHS-compliant boards. The optimal temperature depends entirely on the joint's thermal mass and the alloy in use.
| Application / Joint Type | Solder Alloy | Alloy Melting Point | Target Iron Temp | Recommended Tip Geometry | Max Dwell Time |
|---|---|---|---|---|---|
| 0402 / 0603 SMD Passives | Sn63/Pb37 | 183°C | 280°C - 300°C | 0.4mm Conical or Micro-Chisel | 1.5 Seconds |
| Standard Through-Hole ICs | SAC305 (Lead-Free) | 217°C - 220°C | 340°C - 360°C | 1.2mm - 1.6mm Chisel | 2.5 Seconds |
| Large Ground Planes / RF Shields | Sn63/Pb37 | 183°C | 360°C - 380°C | 3.2mm+ Bevel or Broad Chisel | 4.0 Seconds |
| High-Temp RF / Motor Terminals | Sn10/Pb90 (High Lead) | 268°C - 302°C | 390°C - 410°C | Heavy Duty Bevel (K-Type) | 5.0 Seconds |
Why Cranking the Heat Destroys Your PCB
When faced with a large ground plane that refuses to flow, the amateur instinct is to crank the station to 450°C. This is a catastrophic error that leads to three specific failure modes:
- Pad Lifting and Delamination: Standard FR4 PCB material has a Glass Transition Temperature (Tg) typically between 130°C and 170°C. Prolonged exposure to extreme localized heat causes the epoxy resin to expand rapidly, tearing the copper pad away from the fiberglass substrate.
- Flux Burn-Off (Charring): Modern no-clean fluxes (ROL0 classification) contain activators that volatilize around 200°C. If your tip is at 420°C, the flux will instantly carbonize into a hard, black crust before the solder can wet the pad, resulting in a high-resistance, oxidized joint.
- Tip Leaching and Pitting: Soldering iron tips are copper cores plated with a thin layer of iron to prevent the molten solder from dissolving the copper. Above 380°C, the solder aggressively leaches the iron plating. A $12 replacement tip will be destroyed in a single session if run continuously at 420°C.
Pro Tip: Instead of increasing the temperature to overcome a ground plane's thermal mass, increase the surface area of the tip. Switching from a 1.0mm chisel to a 3.2mm bevel tip at a moderate 350°C will transfer heat far more efficiently than a tiny tip cranked to 400°C.
Station Thermal Recovery: Cartridge vs. Ceramic Heaters
Maintaining a stable soldering iron temp during continuous use requires a station with excellent thermal recovery. When the cold copper of a PCB touches the hot tip, the tip's temperature drops instantly. The station's sensor must detect this drop and pulse power to the heating element to recover the target temperature before the solder is even fed.
Ceramic Heater Stations (The Budget Tier)
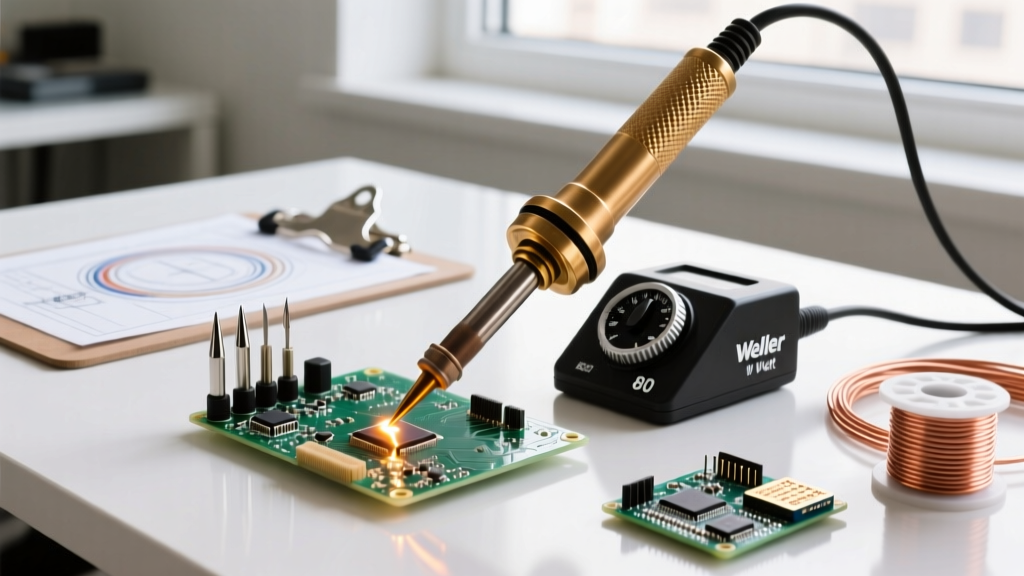
Stations like the Hakko FX-888D (approx. $115 in 2026) or the Weller WE1010NA (approx. $130) use a ceramic heating element where the hollow tip slides over the heater. While reliable for general hobbyist and light production work, the physical gap between the heater and the tip creates thermal lag. If you drag a continuous bead of solder along a long ground bus, the tip temperature will sag, resulting in a dull, grainy joint halfway through the drag.
Cartridge Stations (The Professional Tier)
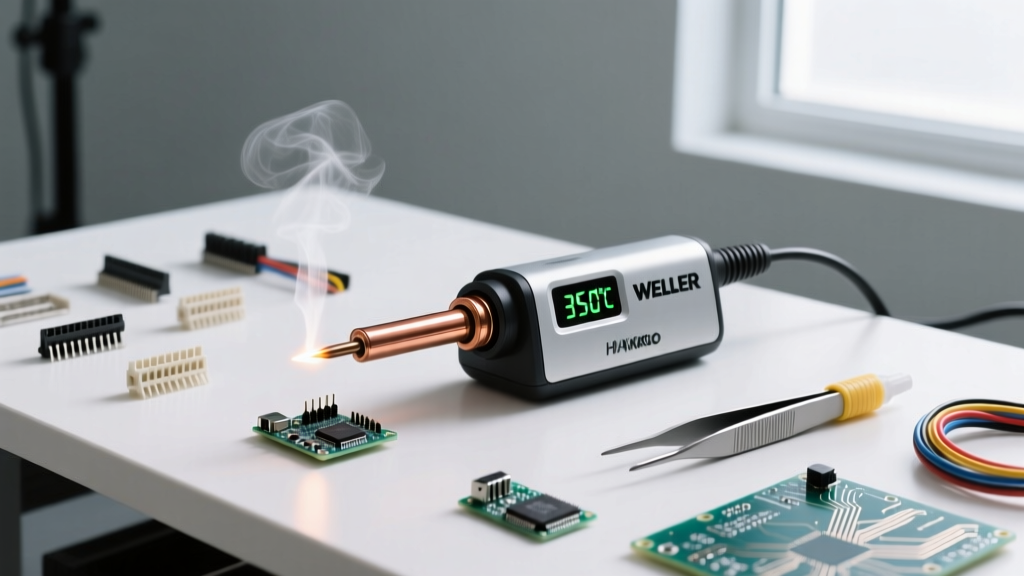
Advanced systems engineered by manufacturers like Hakko (FX-951 series) and JBC utilize integrated cartridge tips where the heating element, temperature sensor (thermocouple), and tip geometry are a single solid unit. The JBC CD-2BQF (approx. $420) is the industry benchmark. Because the thermocouple is located millimeters from the very edge of the tip, it detects a temperature drop in milliseconds. The JBC station will dump 130 watts into the cartridge, recovering a 50°C drop in under 1.5 seconds. This allows you to run a lower baseline temperature (e.g., 330°C instead of 360°C) while achieving perfect wetting, drastically extending tip life and protecting sensitive silicon.
Advanced Technique: Dynamic Temp Profiling
For complex mixed-technology boards, a static temperature is rarely sufficient. Use this step-by-step dynamic profiling technique:
- Verify with a Thermocouple: Station displays drift over time. Once a month, use a K-type thermocouple wrapped around a small bead of solder on the tip, connected to a digital multimeter (like a Fluke 87V), to verify your actual tip temperature matches the display within ±5°C.
- Pre-Heat for Multi-Layer Boards: If working on a 6-layer board with heavy internal copper planes, use a bottom preheater set to 80°C - 100°C. This reduces the Delta T required from your iron, allowing you to lower your soldering iron temp by 30°C, saving both the component and the tip.
- Apply Flux First: Never rely solely on the flux core inside your solder wire for difficult joints. Apply a tacky RMA (Rosin Mildly Activated) flux to the pad before the iron touches it. This lowers the surface tension and promotes immediate wetting upon heat application.
- The 45-Degree Approach: Apply the tip so it simultaneously touches the component lead and the PCB pad. Hold for 1 second to allow heat transfer.
- Feed from the Opposite Side: Feed the solder wire into the joint (not directly onto the iron tip). When the joint reaches the liquidus point, it will violently pull the solder in via capillary action.
- Withdraw Cleanly: Remove the solder wire first, then flick the iron away at a 45-degree angle to leave a smooth, concave fillet.
Troubleshooting Joints by Temperature Signatures
Your solder joints will visually communicate if your temperature profile is incorrect. Use this diagnostic guide to adjust your technique:
- Dull, Grainy, or Frosty Appearance: This is a classic cold joint. The iron temperature was too low, the dwell time was too short, or the component moved before the alloy crystallized. Fix: Increase temp by 20°C or switch to a wider tip.
- Solder Balls Up and Refuses to Wet: The pad is oxidized, or your flux has burned off before the solder melted. This often happens when using an excessively high temperature with a slow-working user. Fix: Lower the temp, add external liquid/tacky flux, and re-tin the pad.
- Cratered or Pitted Pads: You have exceeded the thermal limits of the FR4 substrate. The copper has separated from the board. Fix: The board is likely damaged. For future joints on this plane, use a preheater and a high-mass bevel tip at a lower temperature.
- Black, Crusty Residue: Carbonized flux. While some no-clean flux leaves a clear or amber residue, black crust indicates the activators have been thermally destroyed. Fix: Reduce iron temperature and clean with 99% Isopropyl Alcohol and a stiff brush.
Mastering your soldering iron temp is not about finding one magic number; it is about understanding the thermal mass of your specific joint and selecting the right alloy, tip geometry, and station technology to deliver the precise amount of heat required for perfect metallurgical wetting.