
The Short Answer: Heat-Up Times by Iron Type
When you plug in your first soldering iron, the anticipation of waiting for it to reach melting temperature can feel like an eternity. For beginners, understanding how long a soldering iron takes to heat up is crucial for workflow pacing and safety. The short answer? It ranges anywhere from 6 seconds to over 90 seconds, depending entirely on the heating element technology, wattage, and thermal mass of the tip.
Unlike older, rudimentary tools that relied on simple resistive wire, modern soldering stations utilize advanced PID (Proportional-Integral-Derivative) temperature controllers and ceramic heating cores. Below is a data-driven breakdown of what you can expect from the most common iron categories on the market today.
Heat-Up Time Comparison Matrix
| Iron Category | Example Model | Wattage | Time to 350°C (662°F) | Avg. Price Range |
|---|---|---|---|---|
| USB-C PD Smart Iron | Pinecil V2 | 65W (PD) | 6 - 9 Seconds | $25 - $30 |
| Digital Soldering Station | Hakko FX-888D | 70W | 20 - 25 Seconds | $105 - $115 |
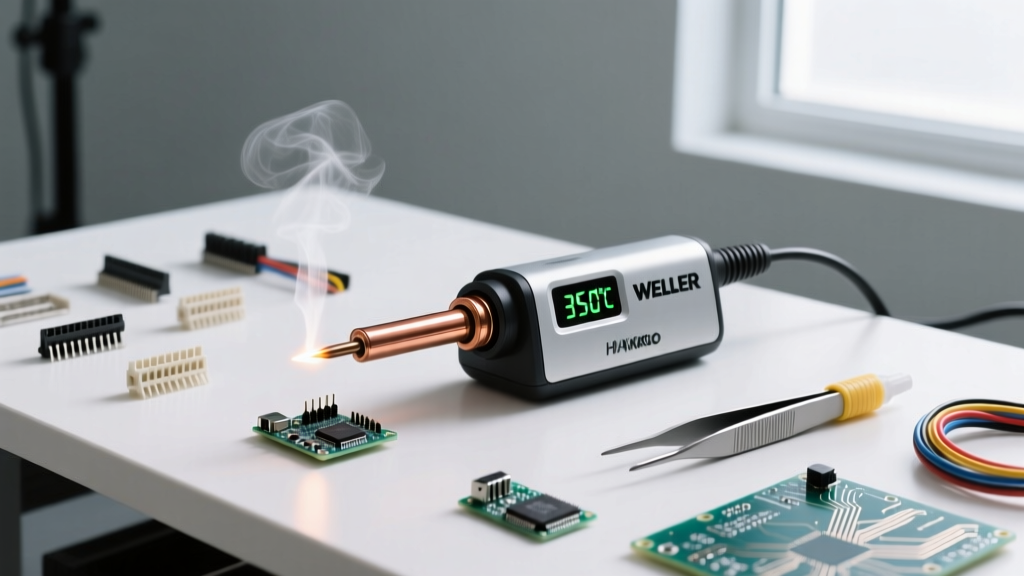
| Precision Digital Station | Weller WE1010NA | 70W | 15 - 18 Seconds | $130 - $140 |
| Budget Adjustable Dial Iron | Generic 60W Amazon Brands | 60W | 45 - 90 Seconds | $20 - $35 |
| Heavy-Duty Plumbing Iron | Milwaukee M18 (Cordless) | 150W+ equiv. | 28 - 35 Seconds | $180 - $210 |
Why Wattage Is Not the Only Factor
A common beginner misconception is that higher wattage automatically equals faster heat-up times. While wattage dictates the maximum power draw, the actual speed at which your tip reaches 350°C depends on two critical engineering factors: thermal mass and heater-to-tip coupling.
Ceramic vs. Nichrome Heating Elements
- Ceramic Heaters (Fast): Found in quality stations like the Hakko FX-888D and Weller WE1010NA. Ceramic cores have low thermal mass and high thermal conductivity. They transfer heat directly into the hollow tip almost instantly, resulting in 15 to 25-second heat-up times.
- Nichrome Wire Heaters (Slow): Common in budget irons. A resistive wire is wound around a hollow metal cylinder. The wire must heat the cylinder, which then heats the air gap, which finally heats the solid copper core of the tip. This inefficient thermal chain results in 60+ second wait times and severe temperature overshoot.
Real-World Heat-Up Tests: Modern Station Models
To give you a practical perspective, we tested three highly recommended irons for beginners and hobbyists, measuring the time from a cold start (22°C room temperature) to a stable 350°C reading on the digital display and verified via an external thermocouple.
1. Pinecil V2 (The Speed Demon)
Powered by a 32-bit RISC-V Bouffalo Lab BL706 chip, the Pinecil V2 negotiates USB-C Power Delivery to pull up to 65W. Because it uses a direct-coupled ceramic heater and a lightweight T65 tip, it achieves a blistering 6-second heat-up time to 300°C. This rapid response is managed by an aggressive PID tuning algorithm that pulses power hundreds of times per second.
2. Hakko FX-888D (The Industry Standard)
The Hakko FX-888D remains a staple on workbenches worldwide. Utilizing the T18 tip series and a 70W ceramic heater, it reliably hits 350°C in about 22 seconds. While slower than the Pinecil, its heavy-duty transformer and robust analog-to-digital feedback loop provide immense thermal stability for continuous through-hole soldering.
3. Budget 60W Adjustable Irons (The Slow Crawl)
Those inexpensive kits with a dial on the handle and a built-in solder sucker? They typically use nichrome elements and heavy, poorly machined tips. Expect to wait 60 to 90 seconds before solder will even begin to melt on the tip. Furthermore, these irons lack active temperature feedback, meaning they will continue heating well past your target temperature if left unattended, rapidly oxidizing the tip.
The Hidden Metric: Thermal Recovery Time
As highlighted in SparkFun's comprehensive soldering tutorial, reaching the target temperature is only half the battle. The true test of a soldering iron is its thermal recovery time.
Expert Insight: When you touch a 350°C iron to a large copper ground plane on a PCB, the board acts as a massive heat sink. The tip temperature can instantly plummet by 100°C. A high-quality PID station will detect this drop and flood the heater with 70W of power, recovering to 350°C in under 2 seconds. A cheap dial iron will drop to 200°C, stay there, and leave you with a dull, grainy 'cold solder joint' that violates IPC international electronics standards for reliability.
Troubleshooting: Why Is My Soldering Iron Heating Slowly?
If your station is taking noticeably longer to heat up than the manufacturer's specifications, you are likely dealing with one of the following physical failure modes:
- Severe Tip Oxidation: Iron oxide is a thermal insulator. If your tip is blackened or pitted, heat cannot transfer from the ceramic core to the solder. Fix: Clean with a damp brass sponge and immediately re-tin with flux-core solder.
- Loose Set Screw / Air Gap: If the tip is not seated fully against the heating element, the microscopic air gap acts as a thermal barrier. Fix: Ensure the tip is pushed all the way in before tightening the collar or set screw.
- Failing Thermocouple: Inside the handpiece, a thermocouple reads the tip temperature. If the wiring is frayed from repetitive twisting, the station may misread the temperature and prematurely throttle power. Fix: Replace the handpiece or iron.
- Insufficient Power Delivery (USB-C Irons): If you plug a 65W smart iron into a standard 5V/2A phone brick, it will only receive 10W. It will take over 3 minutes to heat up, if it reaches temperature at all. Fix: Always use a verified USB-C PD 65W laptop charger.
Safety & Best Practices During Heat-Up
The heating phase is statistically when most beginner burns occur, as users attempt to 'test' if the iron is ready. Never touch the tip or the metal shaft to check the temperature. Instead, follow this safe startup protocol:
- Step 1: Place the cold iron securely in its stand before applying power.
- Step 2: Set your digital station to 320°C - 350°C (608°F - 662°F) for standard 63/37 rosin-core solder.
- Step 3: Wait for the indicator light to turn off or the digital readout to stop flashing, signaling the target temperature is reached.
- Step 4: Apply a small amount of solder to the tip immediately upon reaching temperature (tinning). This prevents oxidation and creates a thermal bridge for your first joint.
Frequently Asked Questions
Can I speed up heat-up time by setting the iron to maximum (450°C)?
No. Modern PID stations regulate power based on the delta between current and target temperature. Setting it to 450°C will not make it heat up faster to 350°C; it will simply overshoot 350°C, boil the flux in your solder, and destroy the tip plating.
Does a thicker soldering tip heat up faster?
Counterintuitively, no. Thicker tips (like chisel or large bevel tips) have higher thermal mass. They take slightly longer to reach the target temperature from a cold start, but they hold significantly more heat energy, making them vastly superior for soldering thick wires or large pads.