
Bridging the Gap: Electronics Tools for Jewelry Making
For makers who straddle the line between electronics prototyping and hobbyist jewelry fabrication, a common question inevitably arises: can you successfully solder jump rings with soldering iron setups typically reserved for printed circuit boards? The short answer is yes, but it requires a fundamental shift in how you manage thermal dynamics, flux chemistry, and alloy selection. Unlike soldering a 24-AWG wire to a copper pad, a metal jump ring acts as a massive heat sink. If you approach this task with a standard 30W wall-wart iron and rosin-core electronics solder, you will end up with brittle, grainy joints and ruined components.
This beginner guide breaks down the exact methodology, tool requirements, and metallurgical realities of using a modern electronics soldering station to close and reinforce jump rings for chainmaille, bracelets, and pendants.
The Thermal Mass Problem: Why Your Pencil Iron Will Fail
A standard jump ring (typically 18 to 16 gauge, or 1.0mm to 1.3mm thick) possesses significant thermal mass. When you touch a low-wattage soldering iron tip to the ring, the metal rapidly conducts the heat away from the joint. The tip temperature plummets, the solder fails to reach its liquidus state, and you are left with a 'cold joint'—a mechanical connection with zero structural integrity.
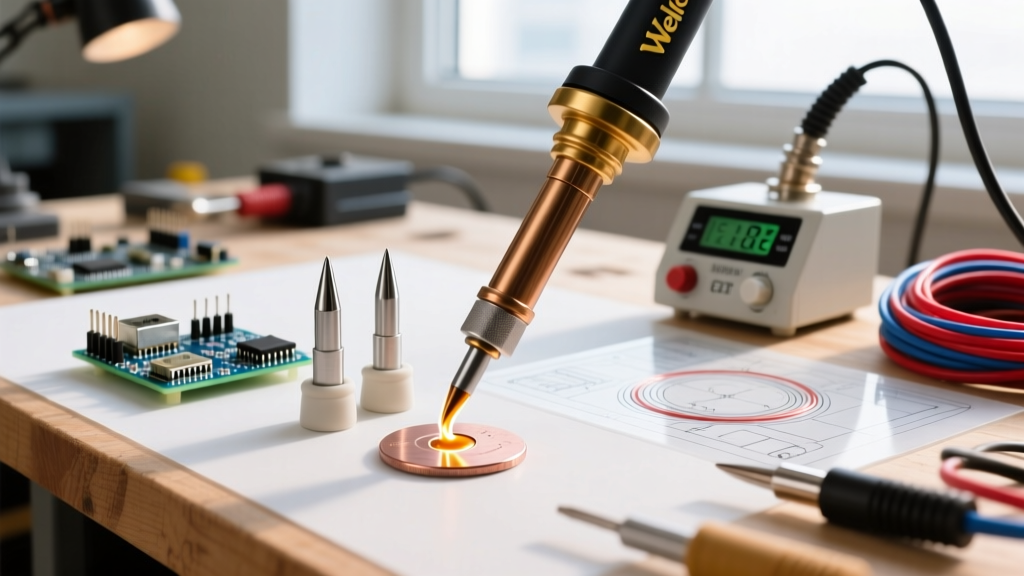
To solder jump rings with a soldering iron effectively, you need a station with high thermal recovery and a tip with substantial surface area. Chisel tips (2.4mm to 3.2mm) are mandatory; fine conical tips will oxidize instantly and transfer heat too slowly.
The 2026 Gear Matrix: What You Actually Need
As of 2026, the market offers exceptional temperature-controlled stations that bridge the gap between electronics and light metalwork. Below is the recommended loadout for a beginner transitioning into jump ring soldering.
| Category | Recommended Equipment | Estimated Cost (2026) | Why It Works for Jump Rings |
|---|---|---|---|
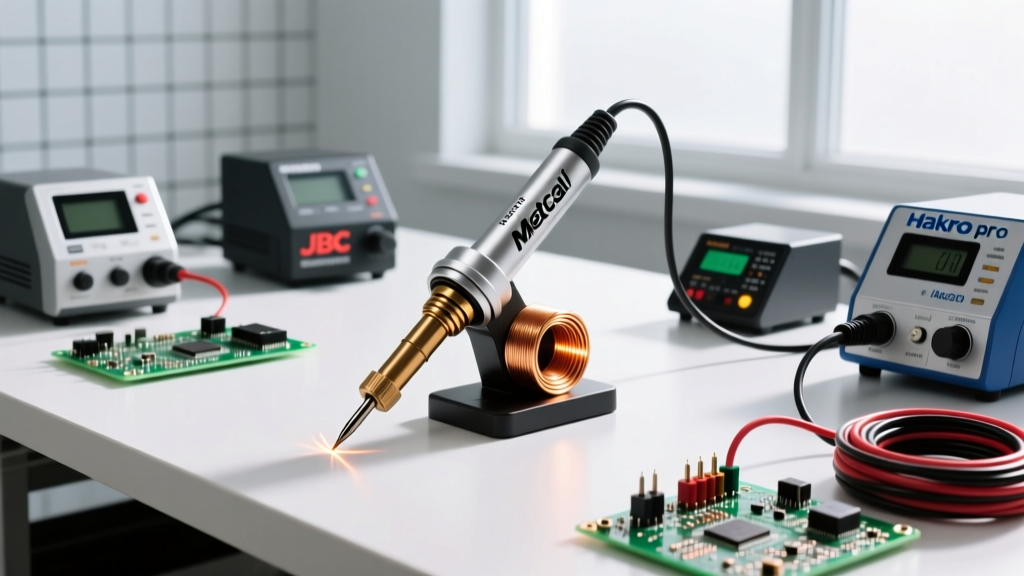
| Soldering Station | Pinecil V2 (65W via USB-C PD) or Hakko FX-888D (70W) | $35 - $130 | Active thermal sensors compensate for the heat sink effect of thick brass or copper rings. |
| Tip Geometry | 3.2mm Chisel (Hakko T18-D32 or Pine65 C4) | $10 - $15 | Maximizes surface contact area for rapid thermal transfer to the ring ends. |
| Solder Alloy | Stay-Brite (95% Tin / 5% Silver) or Kester 44 (Sn63/Pb37) | $25 - $40 | Silver-bearing alloys polish to a bright finish; Sn63 offers a tight eutectic melting point (183°C). |
| Flux | Stay-Clean Liquid Flux (Zinc Chloride base) | $12 - $18 | Acid-based flux strips heavy oxidation from jewelry metals that mild rosin cannot touch. |
| Work Surface | Charcoal Soldering Block or Ceramic Honeycomb | $15 - $25 | Reflects heat back into the workpiece rather than absorbing it like a silicone mat. |
Metallurgy 101: Soft Solder vs. Hard Solder
Traditional jewelers use a butane or acetylene torch to melt 'hard solder' (silver solder), which requires temperatures exceeding 600°C. An electronics soldering iron maxes out around 400°C to 450°C. Therefore, when you solder jump rings with a soldering iron, you are strictly limited to soft soldering (tin-lead or tin-silver alloys). According to foundational metallurgical data on solder alloys and phase diagrams, eutectic tin-lead melts at a crisp 183°C, while lead-free silver-bearing solders melt between 221°C and 224°C. While soft solder will not survive the extreme tensile stress of heavy-gauge chainmaille armor, it provides more than enough shear strength for clasps, pendants, and lightweight bracelets.
Step-by-Step Execution: The Sweating Technique
Do not attempt to melt the solder directly onto the cold ring. You must use a technique known as 'sweating' to ensure capillary action pulls the alloy into the seam.
Step 1: Mechanical Preparation
Jump rings straight from the supplier are coated in machine oils and surface oxides. Tumble them in stainless steel shot with a drop of dish soap for 30 minutes, or scrub the cut ends with a fiberglass scratch pen. The mating surfaces must be bare, shiny metal.
Step 2: Jigging and Alignment
Place the jump ring on a charcoal block. Use a pair of cross-locking tweezers to hold the ring. The cross-locking mechanism applies constant inward pressure, keeping the butt joint perfectly flush without you having to hold it manually. Push the cut ends tightly together; soft solder will not bridge gaps larger than 0.1mm.
Step 3: Flux Application
Apply a micro-drop of Stay-Clean liquid flux directly to the seam using a wooden toothpick. Warning: Acid fluxes are highly aggressive. Do not let them wick onto your soldering iron tip, or the iron plating will corrode rapidly.
Step 4: Pre-Tinning the Ends
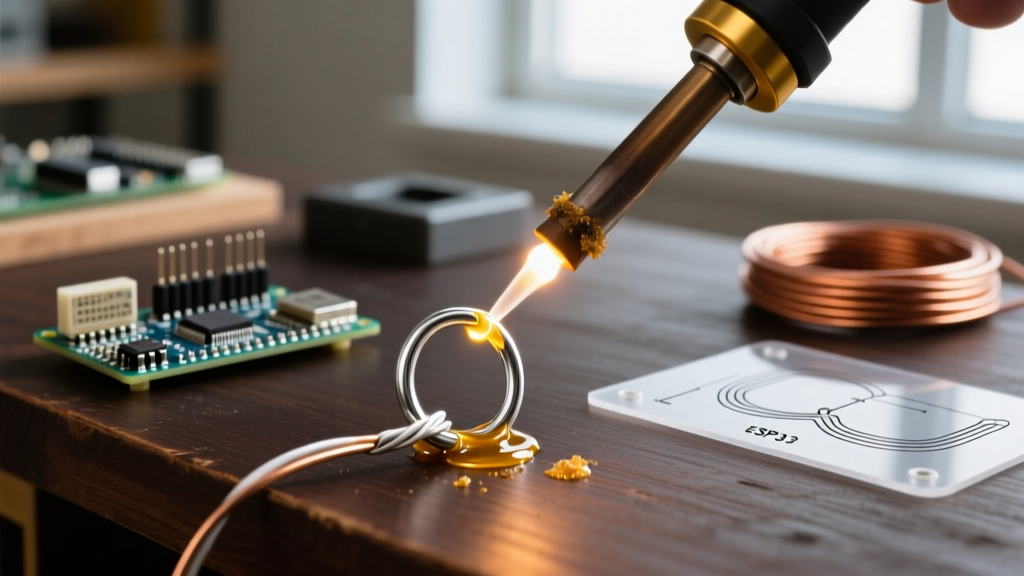
Set your station to 360°C (680°F). Touch the hot chisel tip to the ring about 3mm away from the seam to pre-heat the metal. Then, touch your solder wire to the ring, not the iron. The heat should conduct through the ring and melt the solder, drawing it into the fluxed seam via capillary action.
Step 5: The Sweating Pass
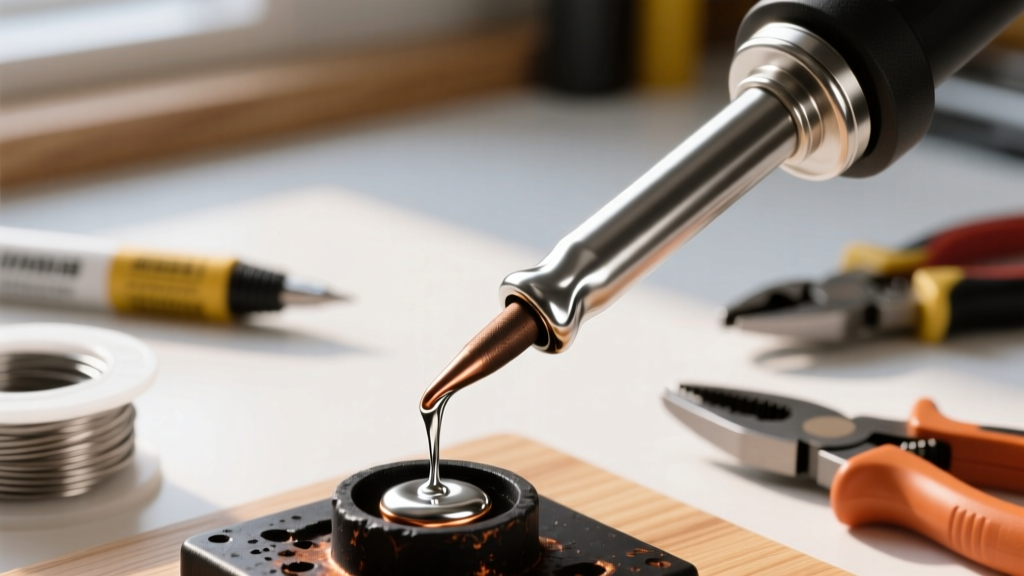
Once a small fillet of solder forms at the seam, briefly drag the iron tip directly across the joint for exactly 1 to 1.5 seconds. This 'sweats' the alloy, ensuring it penetrates the full depth of the cut. Remove the heat immediately.
Step 6: Quenching and Neutralization
Allow the ring to cool until the solder crystallizes (it will turn from shiny liquid to dull solid in about 2 seconds). Drop the ring into a baking soda and water solution to neutralize the acidic zinc chloride flux. If you skip this, the flux will eat through the solder joint and cause green verdigris corrosion within 48 hours.
Pro-Tip for Sterling Silver: Sterling silver has incredibly high thermal conductivity. If you are using 20-gauge or thinner sterling silver jump rings, drop your station temperature to 330°C. Leaving a 65W iron on thin silver for more than two seconds can cause the metal to anneal, warp, or even melt at the edges.
Material Compatibility Matrix
Not all jump rings can be soldered with an electronics iron. Soft solder relies on copper or zinc substrates to form an intermetallic bond. Refer to this matrix before starting your project:
| Jump Ring Material | Solderability with Iron | Required Flux Type | Notes & Edge Cases |
|---|---|---|---|
| Copper / Brass | Excellent | Mild Acid / Zinc Chloride | Ideal for beginners. High thermal conductivity requires a 65W+ iron. |
| Nickel Silver | Good | Active Acid Flux | Nickel oxidizes heavily. Requires aggressive cleaning and fresh flux. |
| Sterling Silver | Good (with caution) | Pickle / Mild Acid | Risk of overheating and annealing. Use lower temps and chisel tips. |
| Stainless Steel | Poor / Impossible | Specialty Black Flux | Standard soft solder will bead up and roll off. Requires torch and silver solder. |
| Titanium / Aluminum | Impossible | N/A | Instant oxide layer prevents any soft solder adhesion. Use mechanical closure. |
Troubleshooting Common Failure Modes
- Grainy, Dull Joints (Cold Joints): Your iron wattage is too low, or you removed the heat before the flux fully boiled off and the solder reached its liquidus state. Upgrade to a 65W+ station and use a wider chisel tip.
- Solder Balling Up: The metal surface is oxidized, or the flux burned away before the solder melted. Clean the ring with a fiberglass pen and apply fresh flux immediately before heating.
- Pitting and Holes: You left the acid flux on the joint without neutralizing it in baking soda, causing post-solder corrosion. Always quench and neutralize.
- Melted or Warped Rings: You used a conical tip, which forced you to hold the iron on the ring for too long to transfer enough heat. Switch to a 3.2mm chisel tip for rapid thermal dumping.
Safety, Ventilation, and Compliance
Soldering jump rings generates flux fumes that are significantly more acrid and harmful than standard electronics rosin. Acid-based fluxes release hydrogen chloride gas when heated. Always operate your soldering station under a dedicated fume extractor with an activated carbon filter, or work in a highly ventilated area with cross-breeze. Furthermore, if you opt for traditional Sn63/Pb37 (tin-lead) solder for its superior flow characteristics, you must adhere to strict hygiene protocols to avoid heavy metal ingestion. Consult the Environmental Protection Agency's guidelines on lead safety to ensure your home workshop remains safe from lead dust contamination. For those selling jewelry to the public, be aware that many regions strictly limit lead content in wearable accessories, making lead-free silver-bearing solders (like Stay-Brite) the legally compliant and aesthetically superior choice for 2026 and beyond.
By respecting the thermal mass of the workpiece and utilizing the correct chemical fluxes, your electronics soldering station can easily double as a highly capable jewelry fabrication tool. Master the sweating technique, and your jump ring closures will be virtually invisible and structurally sound.