
The 'Lost in Translation' Problem with Smart Soldering Irons
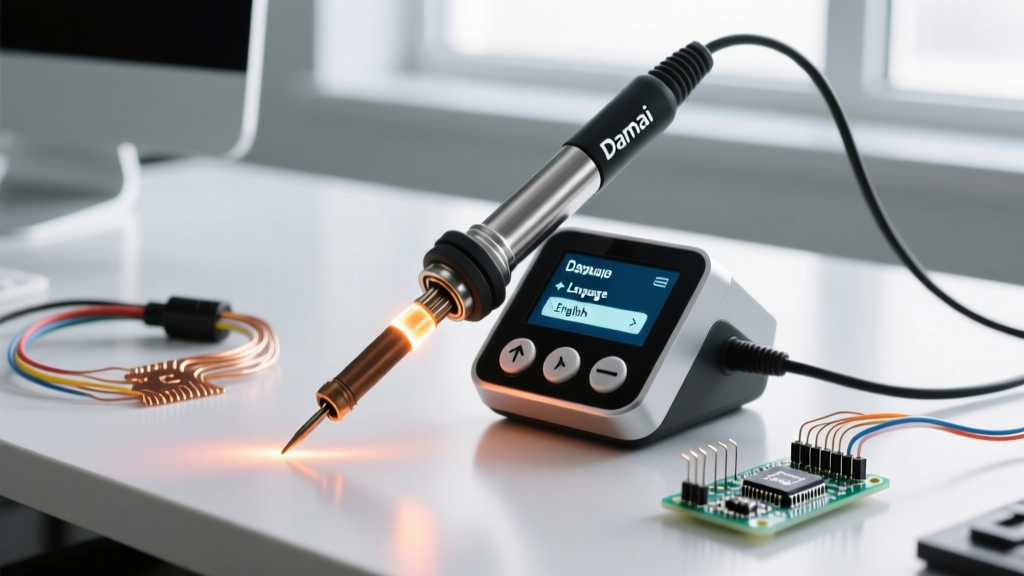
The rise of portable, USB-C Power Delivery (PD) smart soldering irons has revolutionized the electronics repair bench. Among the most popular budget-friendly options sourced directly from Shenzhen OEMs is the Damai smart soldering iron. While it boasts impressive hardware—often matching the thermal recovery of premium $100+ stations—it frequently ships with a default firmware locale hardcoded to Simplified Chinese. For international buyers, figuring out how to execute a damai soldering iron switch to english can feel like navigating a maze without a map.
If you have just unboxed your Damai portable iron, plugged it into a 65W PD charger, and been greeted by an OLED screen full of Mandarin characters, do not panic. This technique guide will walk you through the exact button combinations, hidden menu trees, and firmware-level overrides required to get your interface into English.
Anatomy of the Damai Smart Iron Interface
Before diving into the button combinations, it is crucial to understand the hardware architecture driving the display. The Damai smart iron typically utilizes a GD32F103 or STM32F103 microcontroller paired with a 0.96-inch SSD1306 OLED display (128x64 resolution).
The physical interface consists of two primary tactile switches:
- Button A (Front / Minus): Primarily used for navigating backward, decreasing temperature, and entering the main settings menu via a long-press.
- Button B (Rear / Plus): Used for navigating forward, increasing temperature, and triggering 'Boost' mode.
Because the OLED screen lacks a touchscreen, all navigation relies on short presses (to toggle values or move down a list) and long presses (to enter/exit menus or confirm selections). When the UI is in Chinese, the visual feedback loop is broken, making precise timing and sequence memorization essential.
Method 1: The Standard OLED Menu Navigation
For 90% of Damai irons, the language toggle is buried three layers deep in the standard settings tree. Follow this exact sequence to change the locale without needing to read the characters.
Step-by-Step Button Sequence
- Wake the Device: Plug the iron into a verified USB-C PD power source. Allow the main heating dashboard to appear.
- Enter Settings: Press and hold Button A for exactly 3 seconds. The screen will flash and transition from the dashboard to the root settings menu.
- Navigate to Language: The language setting is almost universally the 4th item in the root menu. Press Button B three times (short presses) to highlight the 4th row.
- Enter the Sub-menu: Press Button A once (short press) to enter the language selection screen.
- Select English: The default highlighted option will be Chinese. Press Button B once to scroll to the second option, which is English.
- Confirm and Exit: Press Button A to confirm. The screen will revert to the main dashboard, now fully localized in English.
Visual Translation Matrix
If your specific firmware batch shuffles the menu order, use this translation matrix to visually identify the correct characters on the 0.96-inch OLED screen.
| Chinese UI Character | Pinyin / Meaning | English Equivalent | Visual Shape Hint |
|---|---|---|---|
| 设置 | Shèzhì (Settings) | Main Menu | Complex characters, dense left-side radicals |
| 语言 | Yǔyán (Language) | Language Select | Look for the 'speech' radical (讠) on the left |
| 英文 | Yīngwén (English) | English | Top character has a distinct 'grass' radical (艹) |
| 中文 | Zhōngwén (Chinese) | Chinese | Boxy, symmetrical characters |
| 温度 | Wēndù (Temperature) | Target Temp | Left side features the 'water' radical (氵) |
Method 2: The Bootloader / Hidden Menu Trick
Some export batches of the Damai iron ship with a 'locked' domestic firmware where the language menu is intentionally hidden or grayed out to prevent region-crossing sales. If Method 1 fails, you must access the hidden factory bootloader menu.
Warning: Entering the bootloader menu will temporarily halt thermal regulation. Ensure the iron is resting in its silicone sleeve or a safe stand before initiating this sequence.
- Unplug the USB-C cable from the iron completely.
- Press and hold Button B (Plus/Boost).
- While continuing to hold Button B, plug the USB-C cable back into the iron.
- The OLED screen will display a hidden diagnostic screen (often showing the MCU ID and firmware version).
- Press Button A to cycle through the diagnostic pages until you reach the 'Region/Locale' override page.
- Press Button B to toggle the region from 'CN' to 'EN', then unplug and replug the iron to hard-reboot the UI.
Method 3: The Nuclear Option (Flashing IronOS)
If your Damai iron is running a severely outdated, buggy, or permanently locked Chinese firmware, the most robust solution is to bypass the stock software entirely. Because the Damai hardware architecture is nearly identical to the legendary TS100 and Pinecil smart irons, it is highly compatible with IronOS, the premier open-source firmware for STM32/GD32 soldering stations.
Why Flash IronOS?
- Native Multi-language Support: IronOS includes dozens of languages with pixel-perfect OLED rendering.
- Advanced PD Negotiation: Improved USB-C Power Delivery handshakes prevent the brownouts common in stock Damai firmware.
- PID Tuning: Access to raw Proportional-Integral-Derivative tuning for flawless thermal recovery.
Flashing Procedure via DFU Mode
- Download the latest
.binfirmware file for the TS100/GD32 equivalent from the official IronOS GitHub releases page. - Connect the Damai iron to your PC via a data-capable USB-C cable (ensure it is not a 'charge-only' cable).
- Hold Button A while plugging the USB-C cable into the PC. This forces the MCU into DFU (Device Firmware Update) mode.
- Use a flashing utility like
dfu-util(Linux/Mac) or the official STM32 DfuSe Demo software (Windows) to push the.binfile to the device memory address0x08000000. - Unplug, wait 5 seconds, and plug into your PD charger. You will be greeted by a pristine, English-first boot logo.
Troubleshooting Edge Cases: USB-C PD Brownouts
A frequent point of failure when attempting to navigate the Damai menu is the 'frozen screen' or 'reboot loop' upon entering the settings menu. This is rarely a software bug; it is a hardware-level power delivery failure.
When the iron enters the settings menu, the MCU briefly spikes its clock speed to render the complex Chinese font bitmaps from flash memory. If your USB-C cable lacks a proper E-Marker chip, or if your wall charger cannot sustain the 20V/3.25A PD state machine, the voltage will droop below the GD32 MCU's brownout detection threshold (typically 2.7V). This causes an immediate hardware reset.
The Fix: Always use a high-quality, 100W-rated USB-C cable with an E-Marker, and pair it with a reputable GaN charger (such as those from Anker, UGREEN, or Lenovo). For a deeper understanding of why cable resistance impacts PD state machines, refer to the USB Type-C Cable and Connector Specification regarding VBUS voltage drop tolerances.
Post-Translation: Calibrating to IPC Standards
Once you have successfully completed the damai soldering iron switch to english, your next step must be thermal calibration. Smart irons rely on internal thermocouple readings that can drift from the factory.
According to the guidelines set forth in IPC J-STD-001 for soldered electrical assemblies, maintaining precise tip temperatures is critical to preventing cold joints or thermal pad lift-off.
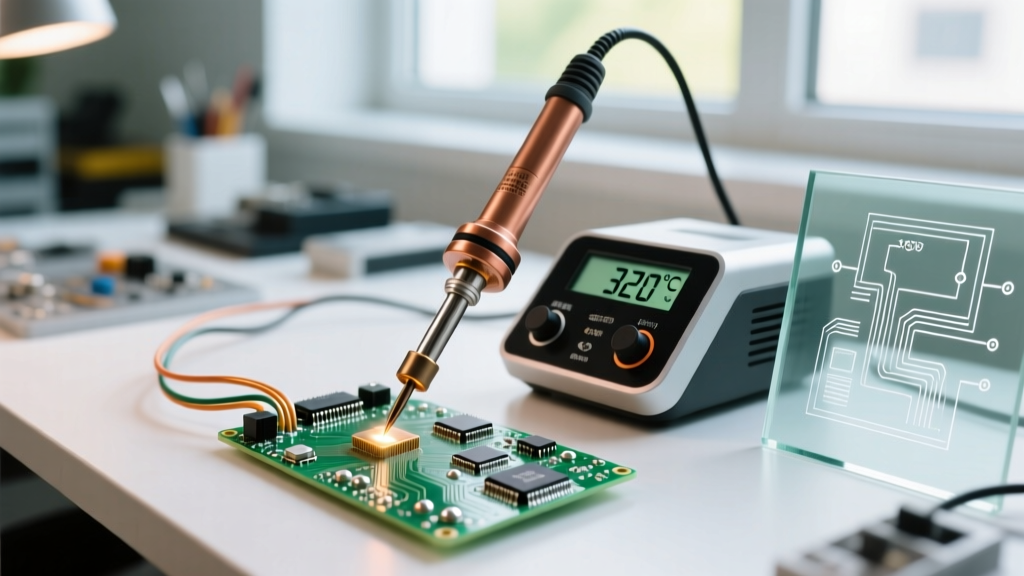
- For Sn63/Pb37 (Leaded Solder): Set your newly translated Damai iron to 320°C (608°F). This provides optimal wetting without burning the rosin flux core.
- For SAC305 (Lead-Free Solder): Increase the target temperature to 350°C (662°F) to compensate for the higher melting point and reduced thermal flow of lead-free alloys.
- Tip Offset Calibration: In the English settings menu, navigate to Advanced Settings > Calibrate Tip. Use a K-type thermocouple strapped to the tip with Kapton tape to measure the actual temperature, and input the offset value into the Damai UI to ensure the OLED display matches reality.
Summary
Switching your Damai soldering iron to English is a rite of passage for importing high-value, low-cost electronics tools. By mastering the 3-second long-press menu entry, utilizing the visual translation matrix, and understanding the underlying USB-C PD power requirements, you can unlock the full potential of your smart iron. And if the stock firmware proves too restrictive, the open-source IronOS ecosystem stands ready to elevate your Damai iron into a world-class soldering station.