
The Reality of Field Soldering: Why Tool Choice Matters
When you are troubleshooting a dead starter circuit on a boat in open water or repairing heavy-gauge telemetry wiring at an off-grid solar farm, a benchtop station is useless. You need a portable soldering gun or a high-wattage cordless iron capable of delivering massive thermal recovery on demand. However, the physics of heating a 4 AWG copper cable with a battery-powered tool introduces unique challenges that most standard tutorials ignore.
This technique guide bypasses basic soldering advice and dives deep into the thermodynamics, tool limitations, and exact field procedures required to achieve IPC J-STD-001 compliant joints using cordless and butane-powered portable tools.
Tool Matrix: Butane vs. Lithium-Ion Cordless Guns
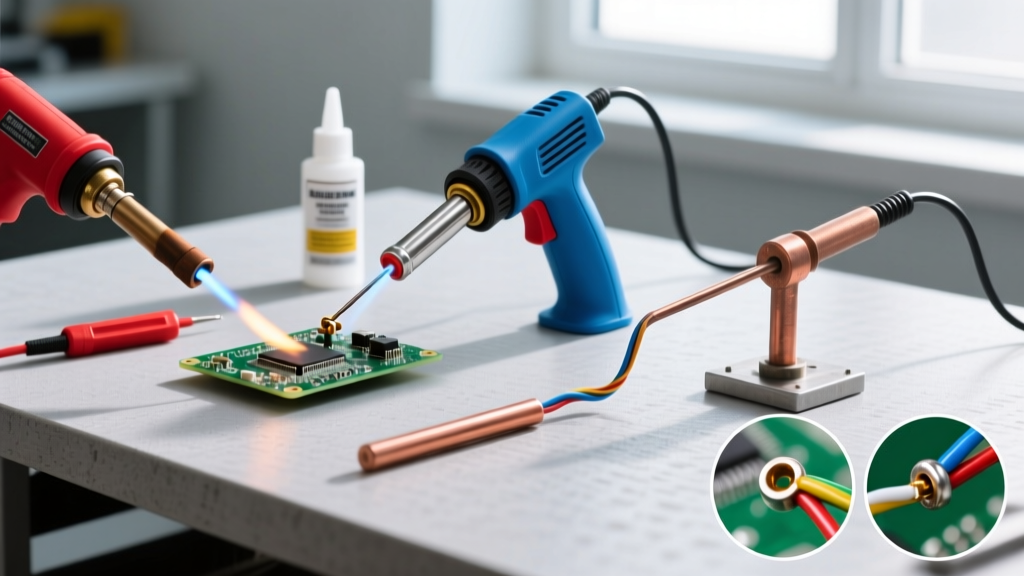
The term 'portable soldering gun' encompasses both traditional pistol-grip butane tools and modern high-wattage lithium-ion smart irons. Understanding their thermal delivery profiles is critical before attempting heavy-gauge joints.
| Model / Platform | Power Source | Max Wattage | Thermal Recovery Profile | Est. 2026 Price |
|---|---|---|---|---|
| Milwaukee M12 (08-22-2000) | 12V Lithium-Ion | 90W (Peak) | Excellent; maintains heat up to 4 AWG | $135 (Bare) |
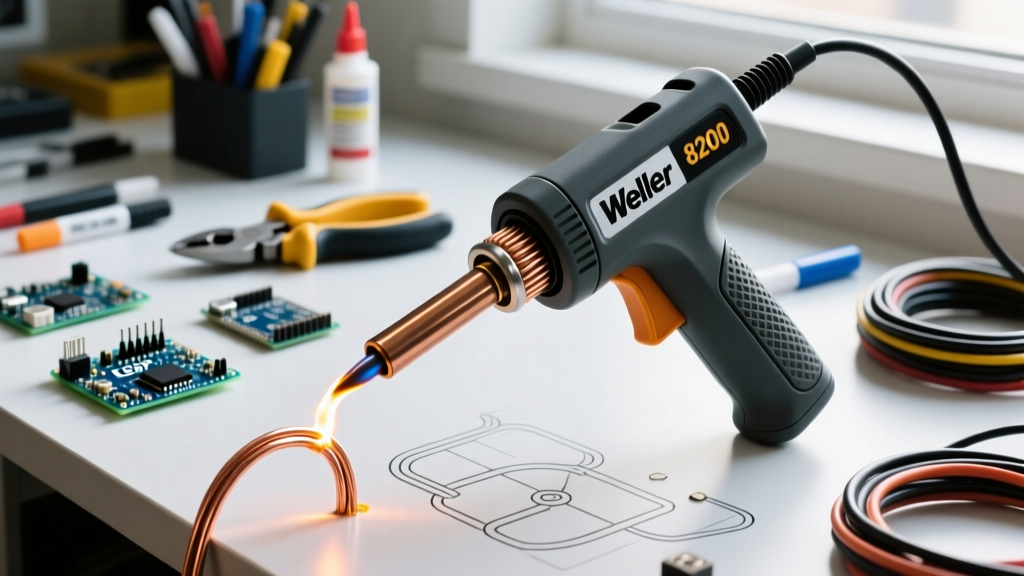
| Weller Portasol PS-100K | Butane Gas | 125W (Equiv) | High thermal mass, slow to cool down | $90 |
| Pinecil V2 + 100W PD Bank | USB-C PD (20V) | 65W (Sustained) | Fast PID response, struggles >6 AWG | $65 (Combo) |
For automotive and marine applications involving 10 AWG to 4 AWG wire, the Milwaukee M12 or a high-end butane gun remains the superior choice due to the sheer thermal mass required to overcome the heat-sink effect of thick copper strands.
The Physics of Cordless Thermal Recovery and Voltage Sag
The most common failure when using a battery-powered portable soldering gun on thick wire is cold joint starvation caused by voltage sag.
Consider a 12V cordless iron rated for 60W. Using the power formula P = V² / R, the heating element resistance is 2.4 ohms. When you press the iron against a thick copper ground strap, the massive heat draw causes the tool to pull maximum current. If the lithium-ion battery's internal resistance causes the voltage to sag from 12V to 9.6V under load, the actual power delivery drops to 38.4W—a 36% loss of heating power. The tip temperature stalls at 500°F, the solder refuses to flow into the wire strands, and you are left with a brittle, high-resistance cold joint.
Expert Rule of Thumb: Always start a heavy-gauge joint with a fully charged battery pack. A battery showing 50% capacity may have the voltage stability to solder a 22 AWG signal wire, but it will collapse under the thermal load of an 8 AWG battery lug.
Step-by-Step Technique: Soldering 4 AWG Marine Battery Lugs
Creating a reliable, marine-grade solder joint on thick cable requires a specific sequence to manage the heat sink effect. We will use a 63/37 (eutectic) tin-lead solder with a heavy rosin core, as eutectic solder melts sharply at 361°F (183°C), minimizing the time the iron must remain on the joint.
Step 1: Mechanical Prep and Flux Flooding
- Strip the wire: Remove 1.25 inches of insulation from the 4 AWG wire. Do not nick the outer strands.
- Wire brushing: Use a stainless-steel wire brush to burnish the copper strands until they shine. Copper oxide acts as a thermal insulator.
- Apply external flux: Even if using rosin-core solder, apply a generous coat of Kester 245 No-Clean or Kester 135 Acid flux (if permitted by your specific marine standards) to the bare copper. This prevents oxidation during the prolonged heat-soak phase.
Step 2: Pre-Tinning the Wire and Lug
Never attempt to solder the wire and lug together while they are dry. You must pre-tin both components separately.
- Heat the portable soldering gun to 750°F (399°C) using a heavy chisel tip (minimum 3/16" width).
- Feed 0.062" diameter solder directly onto the wire strands while applying the iron. Stop when the strands wick the solder and look uniformly silver.
- Repeat the process for the barrel of the copper lug.
Step 3: The Thermal Anchor and Sweat Joint
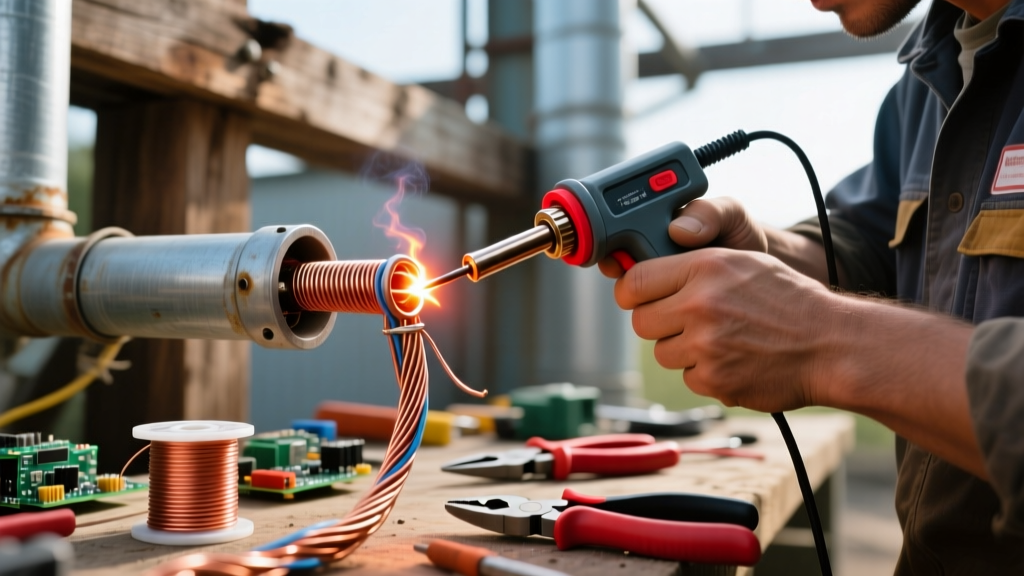
Insert the pre-tinned wire into the pre-tinned lug. Crimp it lightly with pliers just enough to hold it in place (do not crush it, or you will squeeze out the solder). Apply the portable soldering gun to the side of the lug barrel, not the top. Let the heat conduct through the copper barrel for 4 to 6 seconds. You will see the flux boil and the pre-tinned solder inside the joint liquefy and flash outward. Remove the iron immediately and let it air-cool. Do not blow on it or move it.
Tip Geometry Selection for Portable Guns
The tip you choose dictates your success rate in the field. Portable soldering guns rarely have the instant wattage-on-demand of a 300W benchtop transformer. Therefore, you must rely on thermal mass.
- Heavy Chisel (3/16" to 1/4"): Mandatory for 12 AWG to 4 AWG wire. The thick copper core of the tip acts as a thermal battery, storing heat and releasing it into the wire when the heating element inevitably bogs down.
- Large Bevel (Cavity Tip): Ideal for dragging solder across surface-mount pads on large ground planes in off-grid inverter repairs. The cup shape holds molten solder against the board.
- Standard Conical: Avoid entirely for field wiring. Conical tips lack the surface area for efficient thermal transfer and will oxidize rapidly when pushed to maximum temperatures on cordless tools.
Common Failure Modes in Off-Grid Environments
When operating outside the controlled environment of a workshop, environmental factors severely impact solder joint integrity.
1. Wind-Induced Thermal Stripping
A 15 MPH crosswind on a boat or rooftop can strip heat away from a solder joint faster than a 60W portable iron can replace it. Always construct a temporary windbreak using a toolbox or your body. If the solder forms a dull, grainy crust on the outside of the lug while remaining solid inside, wind chill is your culprit.
2. Butane Gun Flame-Out and Soot Contamination
Butane portable soldering guns are highly susceptible to ambient temperature drops. In sub-50°F (10°C) weather, the liquid butane struggles to vaporize, causing the tool to spit unburnt fuel. This leaves a layer of carbon soot on your copper wire, completely blocking solder adhesion. Fix: Keep the butane tool in an interior jacket pocket to keep the fuel warm before use, and always wipe the wire with isopropyl alcohol if a misfire occurs.
3. Tip Oxidation from Battery Over-Voltage
Some smart irons allow you to push the voltage limits. Running a tip at 850°F+ to compensate for a lack of thermal mass will cause the iron plating to oxidize and pit within hours. Once a tip turns black and refuses to wet with solder, it is dead. Use brass wool to clean tips in the field; never use abrasive sandpaper or steel wool, which will strip the microscopic iron plating.
Safety and Battery Maintenance
Operating high-draw heating elements on lithium-ion batteries requires strict adherence to safety protocols. According to UL safety guidelines, pushing a battery pack to its continuous discharge limit generates significant internal heat.
- Never leave a cordless portable soldering gun unattended in its holster while powered on. The thermal runaway risk is magnified in field environments where the holster may rest on dry brush or flammable workbench materials.
- Allow the battery pack to cool for 5 minutes between heavy 4 AWG soldering sessions. Continuous high-amp draw will degrade the battery's internal chemistry and trigger the BMS (Battery Management System) thermal cutoff, leaving you without a tool mid-repair.
- Always wear ANSI-rated safety glasses. Boiling flux can splatter aggressively when moisture trapped inside thick marine cables turns to steam upon contact with a 750°F tip.
For further reading on general tool safety in the field, consult the OSHA Hand and Power Tools guidelines, which emphasize the importance of inspecting cordless tool housings for cracks that could expose the user to high-current battery terminals.
Conclusion
A portable soldering gun is a powerful asset for field technicians, provided you respect its thermodynamic limitations. By understanding voltage sag, selecting high-thermal-mass chisel tips, and utilizing the pre-tin and sweat-joint technique, you can achieve benchtop-quality, IPC-compliant joints on heavy-gauge wiring anywhere in the world. Abandon the conical tips, keep your batteries warm and fully charged, and let the thermal mass do the heavy lifting.