
The Reality of DIY Plastic Welding: Why Your Iron Matters
Repairing a fractured ABS motorcycle fairing, sealing a cracked polypropylene automotive bumper, or reinforcing a brittle 3D-printed PETG bracket requires a fundamental shift in mindset. Unlike copper pads and tin-lead alloys, thermoplastics do not conduct heat; they insulate it. When attempting to learn how to plastic weld with a soldering iron, the primary challenge is transferring enough thermal energy to melt the polymer chains without causing thermal degradation (burning). If your iron lacks precise temperature control, you will either fail to fuse the base material or release toxic fumes by scorching the plastic.
According to research published by TWI Global (The Welding Institute), successful plastic contact welding relies on maintaining the polymer strictly within its viscous flow state. This means your soldering station must be accurate to within ±5°C. In this 2026 guide, we compare the best soldering irons for plastic fabrication and outline the exact metallurgical and polymer-science techniques required for structural, load-bearing welds.
Best Soldering Irons for Plastic Welding: A 2026 Comparison
Not all irons are created equal. Fixed-temperature irons often run too hot for delicate polymers like PLA or PP, while high-wattage stations designed for heavy ground planes on PCBs will scorch plastic on contact. Here are the top three tools for the job.
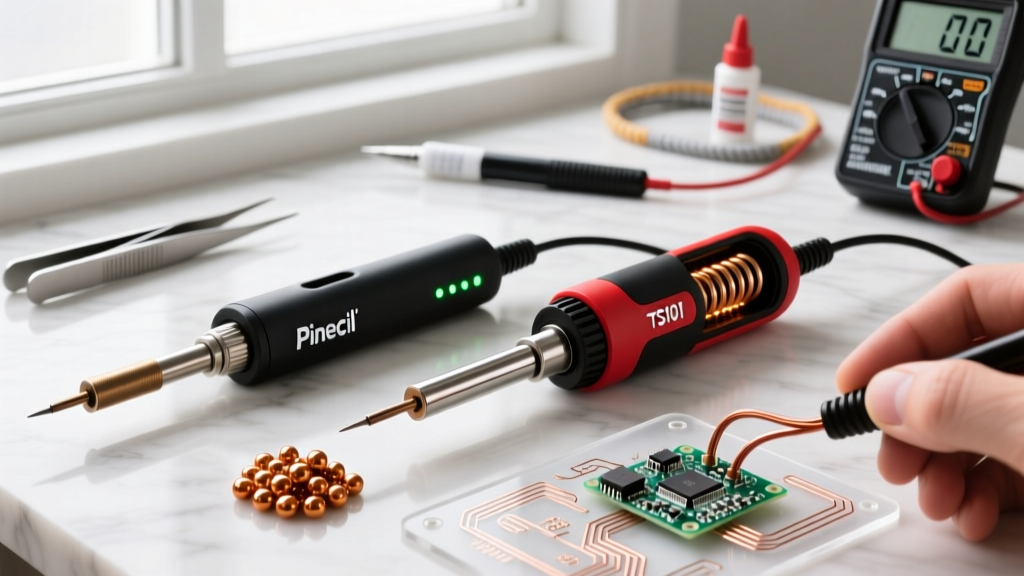
1. Pine64 Pinecil V2 (Best for Precision & 3D Prints)
- Price: ~$26
- Power: 65W (via USB-C PD)
- Tip Ecosystem: T12 / Pine64 Short Tips
- Why it wins: The RISC-V chipset in the V2 offers instantaneous thermal recovery and exact digital temperature readouts. When welding small 3D-printed PETG or PLA parts, the ability to dial the iron to exactly 210°C prevents the stringing and burning common with cheaper irons. Its lightweight form factor reduces hand fatigue during intricate enclosure repairs.
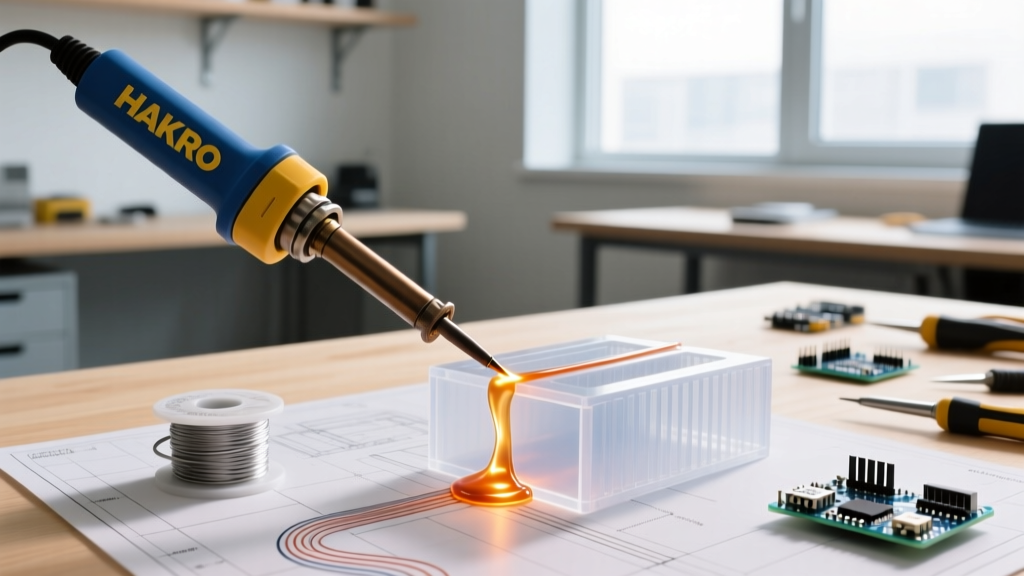
2. Hakko FX-601 (Best for Long Automotive Seams)
- Price: ~$75
- Power: 67W (120V AC)
- Tip Ecosystem: Hakko 900M Series
- Why it wins: When welding a 12-inch crack on a polypropylene (PP) car bumper, you need continuous, unwavering heat. The FX-601 features a dial-adjustable ceramic heater that pushes consistent thermal mass into thick, heat-sinking plastics. The ergonomic, heat-insulated grip is essential for the slow, methodical drag required in automotive plastic repair.
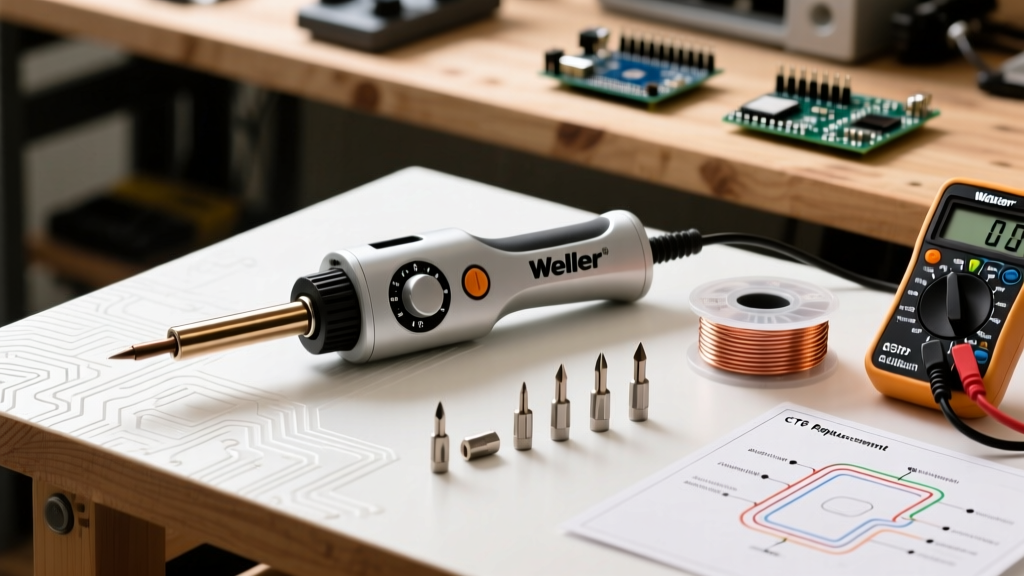
3. Weller SP40NKUS (Best Budget Corded Option)
- Price: ~$35
- Power: 40W
- Tip Ecosystem: Weller SP Series
- Why it wins: While it lacks digital precision, the 40W output is naturally capped, making it surprisingly forgiving for beginners working with ABS enclosures. It will struggle with thick structural welds but is perfect for quick, low-stakes hobbyist repairs.
The Crucial Variable: Tip Geometry and Non-Stick Mods
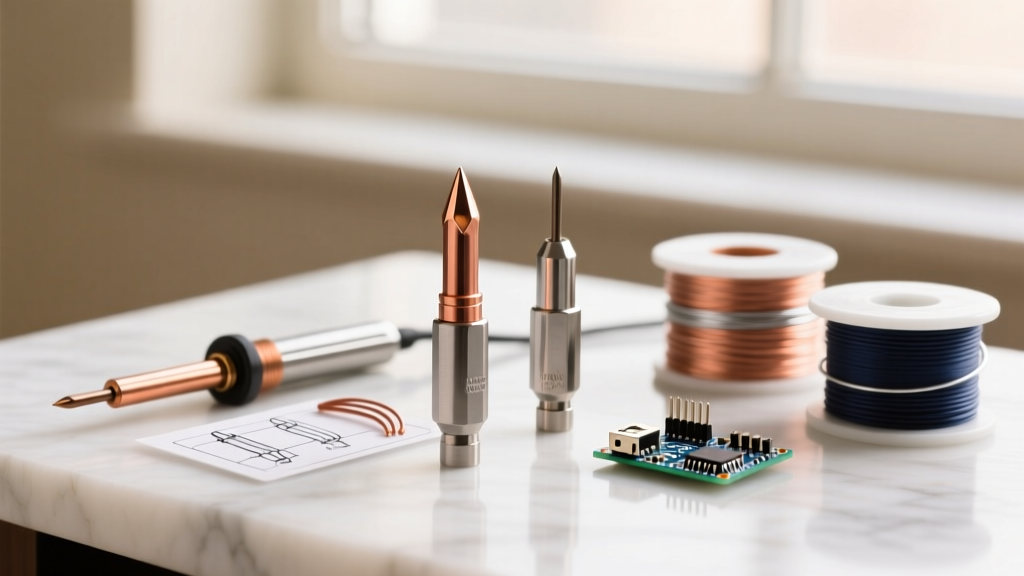
The standard conical tip included with most irons is useless for plastic welding. It will pierce the material, create a hole, and leave carbonized plastic residue that ruins future soldering work. You must use a chisel, spatula, or knife tip.
For T12-compatible irons like the Pinecil, the T12-D24 (2.4mm chisel) or T12-K (knife edge) are ideal. The broad surface area transfers heat laterally across the crack rather than driving it downward.
Pro-Tip: The PTFE Shoe Method. Molten plastic adheres aggressively to oxidized copper and iron plating. To prevent your tip from dragging and tearing the weld pool, wrap the working surface of your tip in 2-3 layers of PTFE (Teflon) plumber's tape, or slip on a dedicated brass-and-PTFE plastic welding shoe. This creates a non-stick barrier that allows you to smooth the molten polymer like a squeegee.
Polymer Melting Matrix: Temperature Guide
Understanding the thermal properties of your specific polymer is non-negotiable. The British Plastics Federation notes that ABS begins to degrade and release toxic styrene gas if pushed too far beyond its melting point. Use this matrix to set your iron and select the correct filler rod.
| Polymer | Melt Temp Range | Optimal Iron Setting | Ideal Filler Material | Toxicity / Fume Risk |
|---|---|---|---|---|
| ABS | 210°C - 240°C | 260°C | ABS filament / LEGO bricks | High (Use fume extractor) |
| PP (Polypropylene) | 160°C - 170°C | 190°C | PP zip-ties / Tupperware | Low |
| PETG | 220°C - 250°C | 270°C | PETG filament | Low |
| PLA | 150°C - 180°C | 200°C | PLA filament | Very Low |
Note: Always source filler material from the exact same polymer family as the base material. Cross-welding ABS with PETG will result in a mechanical bond that snaps under minimal stress due to differing coefficients of thermal expansion.
Step-by-Step: How to Plastic Weld With a Soldering Iron
Follow this exact workflow to achieve a weld that boasts up to 80% of the original tensile strength of the base material.
- Prep the V-Groove: Never weld a flush hairline crack. Use a Dremel with a carbide burr to carve a 45-degree V-groove along the entire fracture. This provides a channel for the filler material and increases the surface area for molecular entanglement.
- Tack Welding: Align the pieces and use a standard soldering iron (without PTFE tape) to melt small 'tack' spots every 2 inches to hold the geometry in place. Alternatively, use cyanoacrylate (super glue) for initial tacking, but keep it away from the final weld zone.
- Embed Structural Mesh: For load-bearing parts, cut a strip of 304 Stainless Steel wire mesh (0.3mm wire diameter, 10mm wide). Hold the mesh over the V-groove and use a bare, flat iron tip to press the mesh down until it sinks flush below the surface of the plastic. This acts exactly like rebar in concrete.
- The Melt and Drag: Attach your PTFE tape or welding shoe. Set your iron to the optimal temperature (e.g., 260°C for ABS). Hold a piece of ABS 3D printer filament in your non-dominant hand. Feed the filament into the V-groove while simultaneously dragging the iron tip behind it, melting the filler and the base material together into a uniform, glossy bead.
- Cap and Smooth: Once the structural weld is complete, apply a thin 'cap' layer of pure filler material over the mesh, using the flat of the iron to smooth it flush with the surrounding surface.
Common Failure Modes and Edge Cases
Even with the right equipment, DIY plastic welding often fails due to three specific edge cases:
1. Thermal Degradation (The 'Burnt Sugar' Effect)
If your ABS weld smells sweet but acrid, or the plastic turns dark brown and bubbles, you have broken the polymer chains. This creates a brittle, crystalline joint that will shatter upon cooling. Fix: Drop your iron temperature by 15°C and increase your travel speed. According to MatterHackers' materials science guides, maintaining the polymer just above its glass transition and melt phase is critical to preserving structural integrity.
2. Cold Joints and Delamination
If the filler rod melts but balls up and peels away from the base plastic, you are experiencing a cold joint. The base material was not heated sufficiently to achieve molecular cross-linking. Fix: Pre-heat the base V-groove with the iron for 3 seconds before introducing the filler rod. Ensure you are melting both the filler and the base simultaneously.
3. Warping from Asymmetric Cooling
Welding one side of a long enclosure seam introduces massive localized heat, causing the plastic to shrink and warp as it cools. Fix: Use the 'skip welding' technique. Weld 1 inch, skip 3 inches, weld 1 inch, and circle back. This allows thermal dissipation and prevents geometric distortion.
Expert Troubleshooting FAQ
Q: Can I use a heat gun instead of a soldering iron?
A: Hot air welding is superior for large, thin sheets (like pond liners), but for rigid, thick-walled enclosures and 3D prints, a contact soldering iron provides the localized, high-torque thermal transfer required to melt deep V-grooves without melting the surrounding geometry.
Q: What if I don't have matching filler filament?
A: You can harvest filler from hidden areas of the broken part (like the inside of an enclosure lip) using a flush cutter. Alternatively, for ABS, you can create an 'ABS slurry' by dissolving ABS scraps in pure acetone, though this is better suited for surface gap-filling than structural welding.
Q: Is plastic welding safe indoors?
A: Welding PP and PETG is relatively safe with standard room ventilation. However, welding ABS, PVC, or Polycarbonate releases volatile organic compounds (VOCs) and toxic gases. You must use an activated carbon fume extractor positioned within 4 inches of the weld pool, or work outdoors with a respirator equipped with organic vapor cartridges.