
The Chromium Oxide Barrier: Why Standard Irons Fail
Soldering stainless steel (SS) is fundamentally different from soldering copper, brass, or standard PCB traces. If you have ever tried to use a standard 40W electronics soldering iron and rosin-core solder on a stainless steel workpiece, you likely experienced the solder balling up and rolling off the metal. This is not a failure of your technique, but a chemical and thermodynamic barrier.
Stainless steel owes its corrosion resistance to a passive, invisible layer of chromium oxide (Cr2O3) that forms instantly when the metal is exposed to oxygen. Standard rosin-based (RMA) fluxes are entirely incapable of breaking down this oxide layer at soldering temperatures. Furthermore, stainless steel has a notoriously low thermal conductivity—roughly 16.3 W/(m·K) for 304 SS, compared to copper's 401 W/(m·K). This means heat does not spread through the material; it stays highly localized. A low-wattage iron will suffer an immediate thermal crash upon touching the workpiece, resulting in a cold, unusable joint.
To successfully solder stainless steel in 2026, you need a combination of high thermal mass, aggressive chemical fluxes, and specific solder alloys. This guide breaks down the exact tools and metallurgy required for the job.
2026 Buying Guide: Top Tools for Soldering Stainless Steel
When selecting a soldering iron for stainless steel, wattage and thermal recovery are your primary metrics. Forget temperature-controlled micro-stations; you need raw thermal mass or specialized high-heat delivery.
1. Weller W100PG (100W Heavy-Duty Soldering Iron)
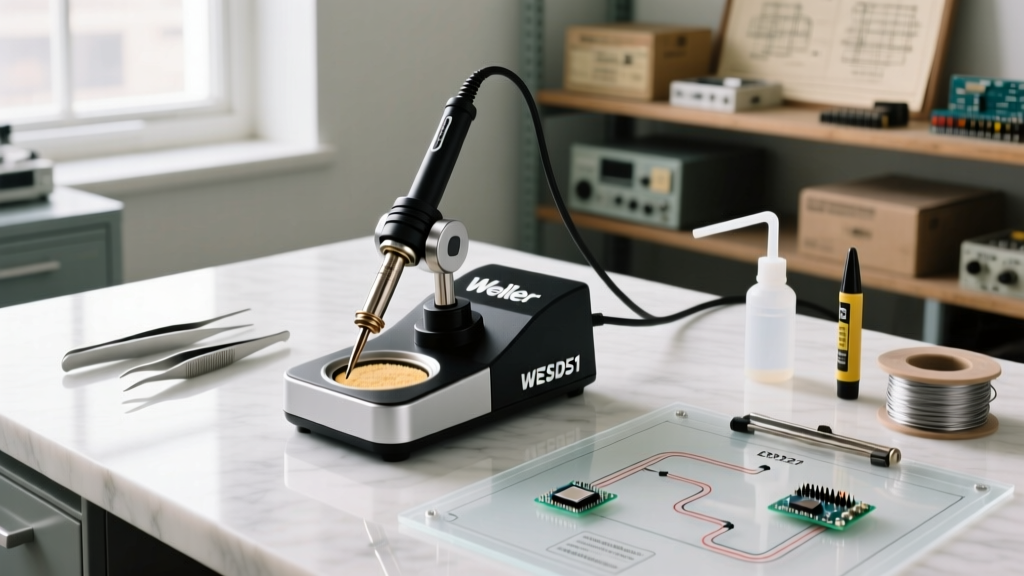
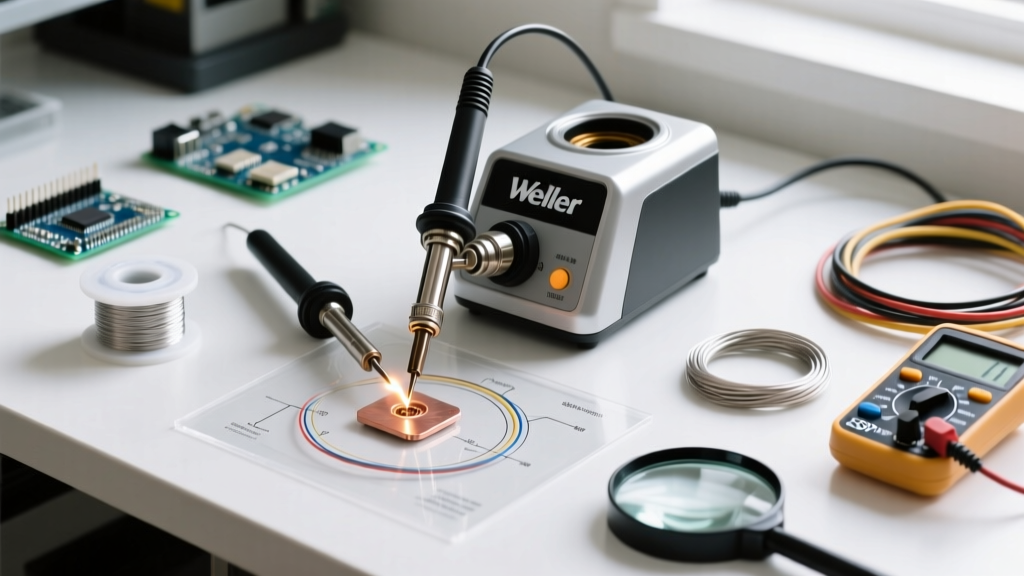
The Weller W100PG remains the undisputed workhorse for heavy-duty electrical and sheet-metal soldering. Operating at a continuous 100 watts, it utilizes a massive copper heating element and interchangeable CT-series tips. For stainless steel, you must pair this with the CT6F7 tip, which operates at 700°F (371°C). The sheer thermal mass of the tip prevents the temperature drop that occurs when the iron contacts the heat-sinking stainless steel. Priced around $115, it is an essential bench tool for fabricating 304 SS battery pack meshes or heavy-gauge wire terminations.
2. Hakko FX-601 (67W Precision High-Heat Iron)
For thinner stainless steel applications, such as fine SS wire mesh, sensor housings, or delicate 316L marine-grade fittings, the 100W Weller might be overkill and risk warping thin gauges. The Hakko FX-601 (approx. $78) offers 67 watts with an adjustable temperature dial up to 500°C (932°F). While 67W sounds modest, the FX-601 features a highly optimized ceramic heating element with exceptional thermal recovery. According to Hakko's official engineering guidelines, using a large chisel tip (like the T19-D24) maximizes the surface area contact, which is critical for transferring heat into low-conductivity metals like SS.
3. Blazer Big Shot GT-8000 (Butane Micro-Torch Alternative)
If you are soldering stainless steel thicker than 1.5mm, a soldering iron will simply not suffice. You must transition to torch soldering or brazing. The Blazer Big Shot GT-8000 (approx. $65) produces a focused, wind-resistant flame reaching 2,500°F. It allows you to pre-heat the bulk stainless steel part evenly before applying the localized soldering iron tip and flux, a technique known as 'hybrid heating' which is vital for thick 316 SS structural tabs.
Tool Comparison Matrix for SS Applications
| Tool Model | Power / Output | Best Application | Est. Price (2026) | Recommended Tip / Nozzle |
|---|---|---|---|---|
| Weller W100PG | 100W (Continuous) | Heavy gauge wire, thick 304 SS mesh | $115 | CT6F7 (700°F Chisel) |
| Hakko FX-601 | 67W (Adjustable) | Thin sheet SS, delicate sensor tabs | $78 | T19-D24 (Wide Chisel) |
| Blazer GT-8000 | Butane (2500°F) | Thick 316 SS, hybrid pre-heating | $65 | Pinpoint / Aerated Nozzle |
| Superior No. 30 Flux | N/A (Chemical) | Oxide stripping for all SS grades | $18 | N/A (Paste/Liquid) |
The Chemistry: Flux and Solder Alloy Selection
Your iron is only half the battle. The chemical agents you use will dictate the success or failure of the joint.
Mandatory Flux: Zinc Chloride (ZnCl2)
You must use an active, inorganic acid flux. Zinc Chloride-based fluxes, such as Superior No. 30 Paste Flux or liquid Rubyfluid, are mandatory. As documented by metallurgical experts at Superior Flux, zinc chloride reacts with the chromium oxide layer at elevated temperatures, effectively dissolving the barrier and exposing the raw iron/nickel matrix beneath for the solder to wet. Warning: ZnCl2 flux produces highly corrosive and toxic fumes when heated. A dedicated benchtop fume extractor with an activated carbon and HEPA filter is non-negotiable.
Solder Alloys: Indalloy and Silver-Bearing Options
Standard 63/37 Tin-Lead solder will wet stainless steel if the flux is correct, but the resulting joint is brittle and prone to galvanic corrosion. For high-reliability SS joints, experts at Indium Corporation recommend silver-bearing alloys. Indalloy #3 (95% Tin, 5% Silver) is the industry standard for stainless steel. The silver content improves wetting on ferrous metals and raises the melting point to 230°C (446°F), providing a joint that can withstand higher operational temperatures and mechanical vibration.
Step-by-Step Procedure for 304 Stainless Steel Mesh
- Mechanical Preparation: The oxide layer reforms instantly. Immediately before soldering, abrade the SS surface with 220-grit aluminum oxide sandpaper or a fiberglass scratch pen. Do not use steel wool, as embedded iron particles will cause rust spots later.
- Chemical Cleaning: Wipe the abraded area with 99% Isopropyl Alcohol to remove oils and abrasive dust.
- Tip Protection (Crucial): Acid flux will rapidly destroy the iron plating on your soldering tip. Always tin your iron tip with standard rosin-core solder before introducing it to the ZnCl2 flux.
- Flux Application: Apply a generous bead of Superior No. 30 flux to the stainless steel joint.
- Heat and Flash: Apply the 100W iron to the workpiece (not the flux directly). Wait for the flux to bubble, flash, and turn clear. This indicates the oxide layer has been stripped and the metal is at soldering temperature.
- Solder Feed: Introduce the Indalloy #3 wire to the joint interface. Capillary action should draw the solder under the mesh or into the lap joint.
Expert Troubleshooting: If the solder balls up and refuses to flow, do not add more flux or keep heating. You have likely overheated the joint, causing a secondary, thicker oxide layer to form (known as 'heat tint'). Stop, let the part cool, re-sand the area with aluminum oxide, and start over.
Post-Solder Neutralization (Critical Failure Point)
Zinc chloride residue is highly hygroscopic (absorbs moisture from the air) and will cause severe galvanic corrosion, eventually eating through the stainless steel and destroying the joint. You must neutralize the flux immediately after the joint cools.
- Mix a neutralization solution: 1 tablespoon of baking soda (Sodium Bicarbonate) per 1 cup of warm distilled water.
- Scrub the joint with a dedicated brass-bristle brush dipped in the solution. You will see it fizz as the acid is neutralized.
- Rinse thoroughly with distilled water and dry immediately with compressed air or a heat gun to prevent flash rusting.
Frequently Asked Questions
Can I solder 316 Marine-Grade Stainless Steel?
Yes, but 316 SS contains molybdenum, which alters the oxide formation. It requires slightly more aggressive mechanical abrasion and a longer dwell time with the ZnCl2 flux compared to 304 SS. Ensure your iron is fully recovered to its peak temperature before making contact.
Is soldering stainless steel structurally sound?
No. Soldering provides excellent electrical conductivity and liquid-tight sealing, but it has very low tensile and shear strength compared to TIG welding or silver brazing. Never use soldered SS joints for load-bearing structural applications, pressurized vessels, or high-stress mechanical linkages.
Will acid flux ruin my Hakko or Weller station?
If you allow the zinc chloride flux to wick up into the heating element or degrade the tip plating, yes. Always use a 'sacrificial' tip for acid flux work, and never leave the iron resting in the flux. Clean the tip with a damp brass sponge immediately after the joint is complete, and re-tin with rosin-core solder before placing it back in the holder.