
The Terminology Gap: Pencil Irons vs. Soldering Guns
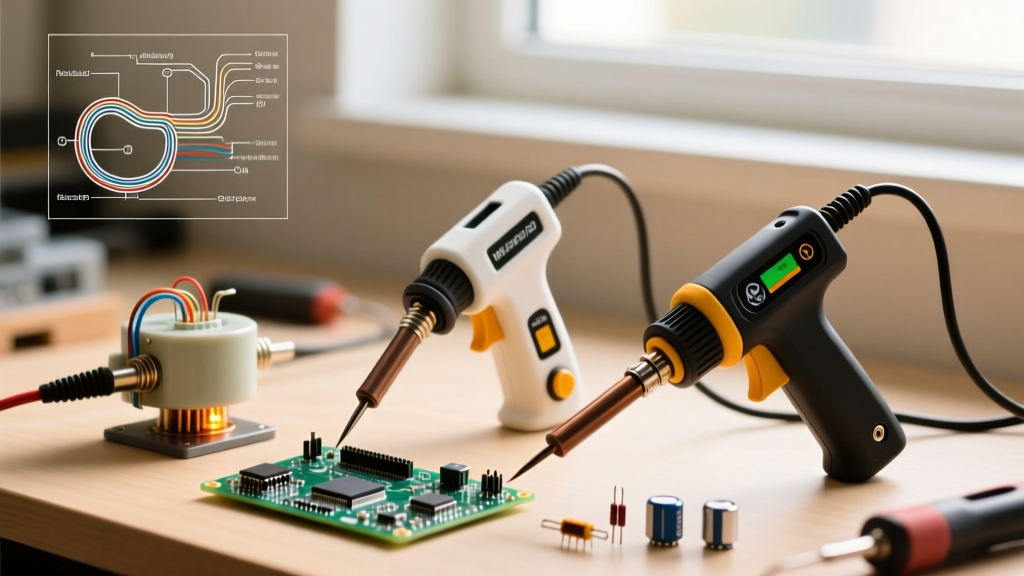
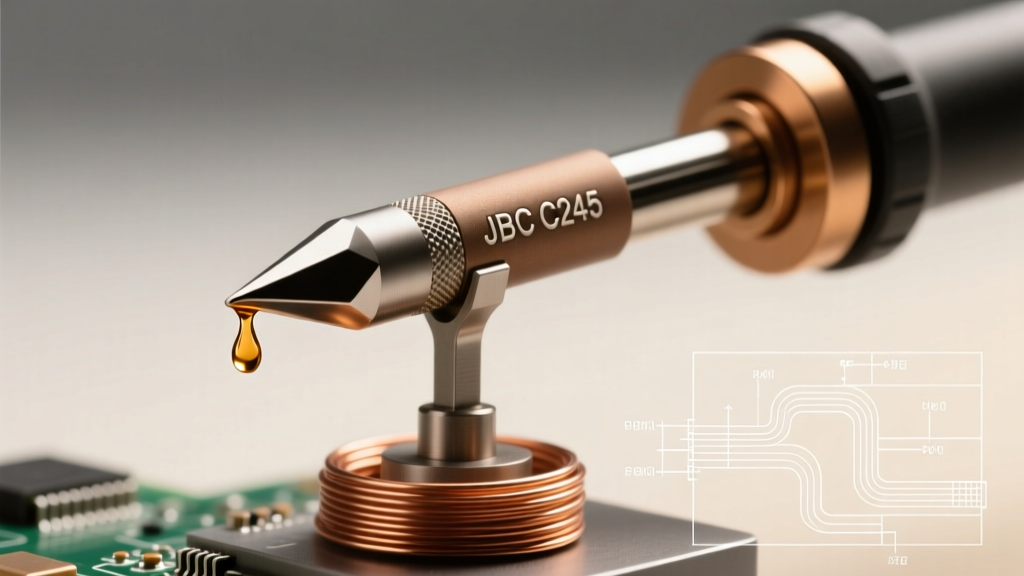
When automotive technicians, RC hobbyists, and solar DIYers search for a pencil soldering gun, they are usually navigating a common industry misnomer. Traditionally, a 'soldering gun' refers to a pistol-grip, transformer-based tool (like the classic Weller D550) that generates 150W+ of instant heat for heavy chassis grounds. Conversely, a 'pencil iron' is a low-wattage pen-style tool meant for delicate PCB work. However, the modern DIY market has bridged this gap with high-wattage, pen-style irons (60W to 100W) that deliver gun-like thermal recovery in a pencil form factor. Mastering this specific class of tool is critical for anyone working with 10 AWG to 14 AWG wires, where standard 40W stations simply fail to overcome the thermal mass of thick copper.
Thermal Mass and the Heatsink Effect
The primary challenge when soldering heavy-gauge wire is copper's extreme thermal conductivity. A 10 AWG copper wire acts as a massive heatsink, pulling heat away from the joint faster than a standard soldering station can replenish it. If the iron cannot maintain a stable tip temperature of at least 380°C (716°F) under load, the solder will cool prematurely, resulting in a high-resistance, grainy 'cold joint' that will eventually fail under vibration or high current.
According to the IPC J-STD-001 Standard for soldered electrical assemblies, proper wetting requires the base metals to reach the solder's liquidus temperature simultaneously. With thick wires, this means you must rely on high thermal mass tips and aggressive wattage, rather than simply turning up the temperature dial, which accelerates tip oxidation and burns flux prematurely.
Tool Selection: High-Wattage Pen-Style Models
To execute heavy-duty wire joints, you need a tool that prioritizes thermal recovery. Below is a comparison of the top pen-style high-wattage irons available in 2026 that fit the 'pencil soldering gun' profile:
| Model | Wattage | Temp Range | Best Tip Geometry | Approx. Cost (2026) |
|---|---|---|---|---|
| Hakko FX-601 | 67W | 200-500°C | Heavy Bevel (C3/C4) | $75 |
| Weller W100PG | 100W | Fixed (CT Tips) | Heavy Chisel (CT6C7) | $95 |
| Pine64 Pinecil V2 | 65W (PD) | 100-450°C | Wide Chisel (D24) | $26 |
For continuous 10 AWG work, the 100W Weller remains the undisputed king of thermal mass. However, for field repairs and 12-14 AWG silicone wire, the USB-C powered Pinecil V2 offers incredible recovery times when paired with a 100W PD power supply.
Step-by-Step Technique: Soldering 10-14 AWG Wire
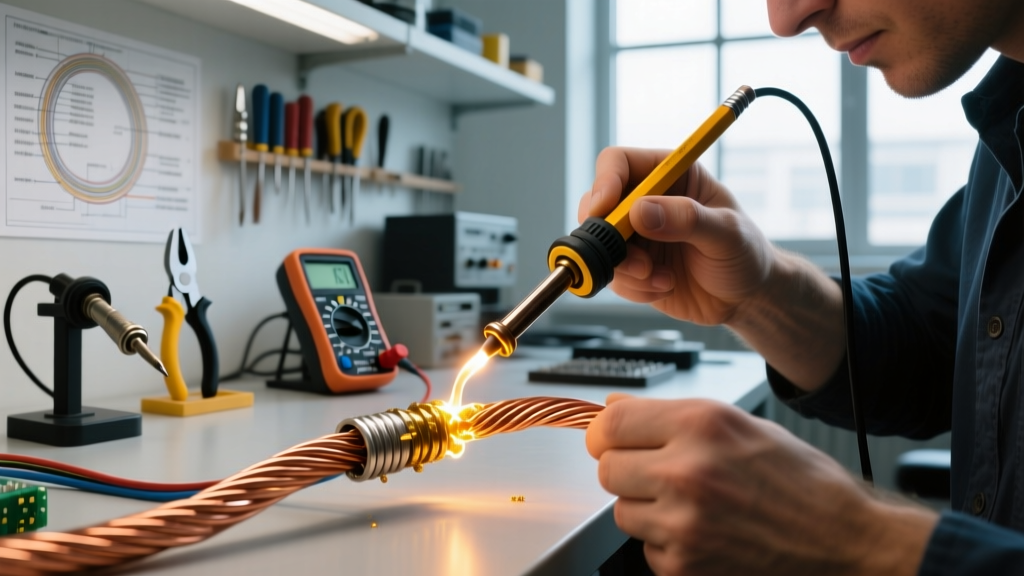
Soldering thick wires requires a departure from standard PCB techniques. Follow this exact sequence to ensure a gas-tight, mechanically robust joint.
Phase 1: Mechanical Preparation
- Strip Precisely: Remove exactly 3/8 inch (9.5mm) of insulation. Stripping too much leaves bare copper exposed to corrosion; stripping too little prevents proper heat transfer.
- Twist and Flatten: Twist the stranded wire tightly, then use flat-nose pliers to gently flatten the bundle. This increases the surface area for the iron tip to make contact.
- Pre-Flux: Apply a small amount of high-activity rosin paste (such as Amtech NC-559 or generic Kester paste) directly to the bare copper. Do not rely solely on the flux core inside your solder wire for thick gauge applications.
Phase 2: The Pre-Heat and Flow Method
- Tin the Tip: Melt a generous drop of 0.062-inch (1.5mm) diameter 63/37 eutectic solder onto your iron tip. This creates a thermal bridge between the heater element and the wire.
- Apply Heat: Press the flat of the chisel or bevel tip against the wire at a 45-degree angle. Apply firm, downward pressure. Dwell for exactly 1.5 to 2.5 seconds to allow the heat to penetrate the core of the wire bundle.
- Feed the Solder: Touch your thick solder wire (0.062 inch) to the opposite side of the copper wire, not directly to the iron tip. If the wire is hot enough, the solder will instantly melt and wick through the strands via capillary action.
- Remove and Cool: Remove the solder first, then the iron. Hold the wire perfectly still for 3 seconds. The SparkFun Soldering Tutorial emphasizes that disturbing a joint during the plastic phase of cooling is the primary cause of crystalline, high-resistance fractures.
Flux Chemistry: Why Eutectic Alloys Matter
When using a pencil soldering gun on heavy wires, your choice of solder alloy is just as critical as the tool. Standard 60/40 (Tin/Lead) solder has a 'plastic phase' between 183°C and 230°C where it is partially solid and partially liquid. If the thick wire acts as a heatsink and drops the temperature through this zone too slowly, any micro-vibrations will cause a disturbed joint.
Instead, use Sn63Pb37 (Eutectic) solder. Eutectic alloys melt and freeze instantly at exactly 183°C, entirely bypassing the plastic phase. This dramatically reduces the window for cold joint formation when dealing with the aggressive thermal draw of 10 AWG copper. Always pair this with a 2% to 3% rosin core flux to cut through the surface oxidation that forms rapidly on thick wires.
Troubleshooting Matrix: Edge Cases and Failures
Even with a 100W pen-style iron, heavy wire soldering presents unique failure modes. Use this diagnostic table to correct your technique:
| Visual Symptom | Root Cause | Corrective Action |
|---|---|---|
| Solder balls up and refuses to wet the wire | Wire is oxidized or acting as a heatsink, dropping tip temp below 183°C. | Apply external liquid flux. Increase iron wattage or use a wider tip. Do not just increase temperature. |
| Insulation melts and wicks under the solder | Dwell time exceeded 5 seconds, causing thermal runaway up the copper strands. | Use a higher thermal mass tip to reduce dwell time to under 3 seconds. Strip wire slightly longer. |
| Grainy, dull, or crystalline joint surface | Disturbed joint during cooling, or using 60/40 alloy on high-mass joints. | Switch to 63/37 eutectic solder. Use a third-hand tool to hold the wire absolutely rigid until cool. |
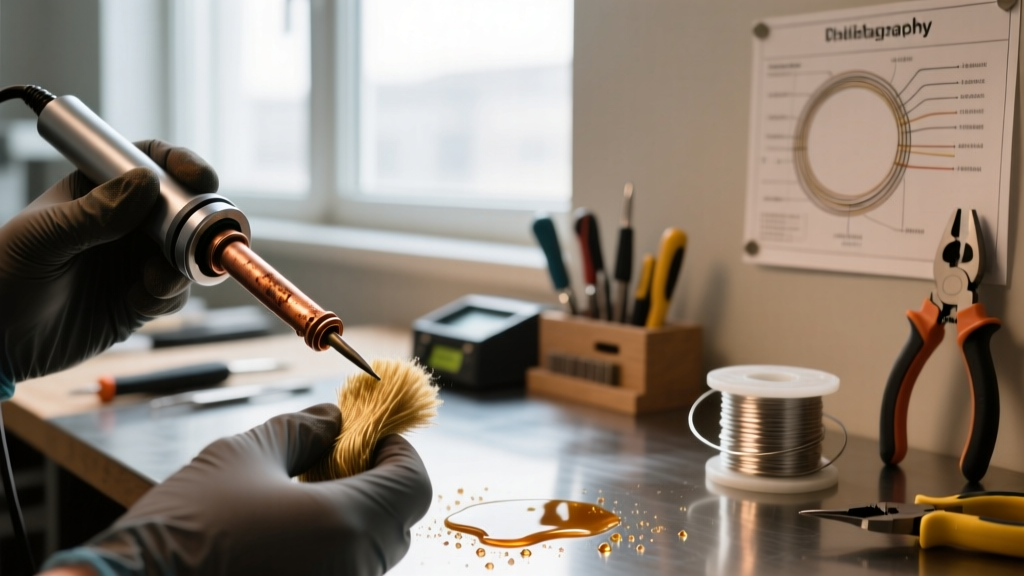
| Tip turns black and stops transferring heat | Flux carbonization and iron plating oxidation from running at 450°C+. | Never exceed 380°C for leaded solder. Clean tip with brass wool, not a wet sponge, which causes thermal shock. |
Safety and Fume Extraction
Soldering heavy wires requires significantly more solder and flux than PCB work, generating dense plumes of rosin smoke. Colophony (rosin) fumes are a known respiratory sensitizer and can trigger occupational asthma with prolonged exposure. As highlighted in Adafruit's Excellent Soldering Guide, proper ventilation is non-negotiable. Always use an activated carbon HEPA fume extractor positioned exactly 4 to 6 inches from the joint to capture the smoke at the source. Never rely on a standard desk fan, which simply blows the unfiltered particulates into your breathing zone.
Final Thoughts on Tip Maintenance
The lifespan of your pencil soldering gun's tip is directly tied to how you manage it between joints. Thick wires strip heat rapidly, tempting users to leave the iron at 420°C continuously. This is a fatal error for tip longevity. The iron plating will oxidize and pit within hours. Instead, utilize the standby function on modern digital pens, dropping the temperature to 150°C between joints. Always leave a massive blob of fresh solder on the tip before powering down; this sacrificial layer will oxidize instead of the iron plating, ensuring your tool survives years of heavy-gauge abuse.