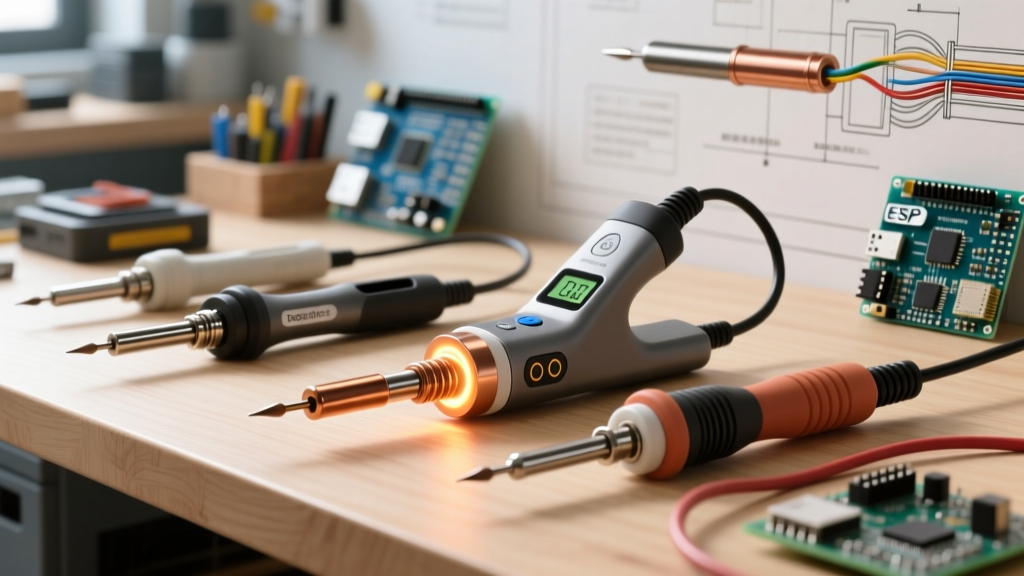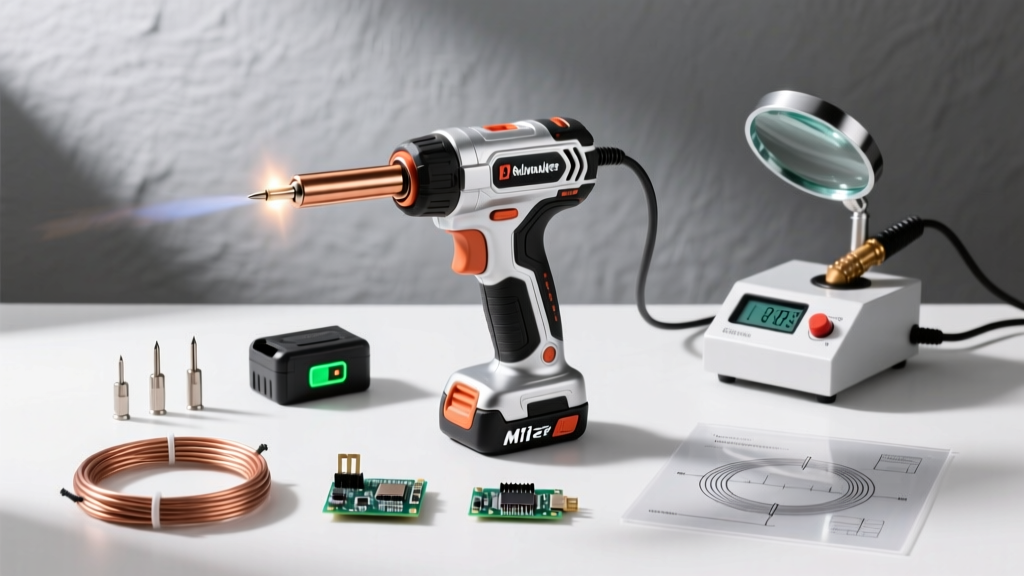

The Shift to Cordless: Why the Milwaukee M12 Soldering Iron Kit?
For decades, beginners and professionals alike relied on tethered 60W wall-plug irons or hazardous butane torches for field repairs. In 2026, the landscape of portable electronics and electrical repair has fundamentally shifted toward lithium-ion cordless tools. The Milwaukee M12 Soldering Iron Kit (specifically the 2688-21 model) represents the gold standard for entry-level and professional field soldering. It eliminates the need for a 120V AC outlet or the safety risks of an open butane flame, making it an ideal starting point for DIYers, automotive technicians, and HVAC apprentices.
This guide will walk you through the exact specifications, unboxing expectations, thermal management, and step-by-step techniques required to master the Milwaukee M12 platform right out of the box.
Inside the Box: Milwaukee 2688-21 Kit Breakdown
When you purchase the Milwaukee M12 Soldering Iron Kit, you are not just buying a heating element; you are investing into the M12 REDLITHIUM battery ecosystem. As of early 2026, the kit retails between $179 and $199 at major suppliers, while the bare tool (model 2688-20) hovers around $139. Here is exactly what is included in the 2688-21 kit:
- M12 Cordless Soldering Iron (2688-20): Features a keyless tip change, integrated LED work light, and an electronic trigger lock.
- M12 REDLITHIUM CP2.0 Battery (48-11-2420): A compact 2.0Ah battery that balances weight and runtime.
- M12 Lithium-Ion Battery Charger (48-59-2401): Charges the CP2.0 from zero to full in approximately 40 minutes.
- Contractor Bag: A soft-shell nylon case with dedicated loops for your solder spool and tip wrench.
- Standard Chisel Tip (48-01-6802): Pre-installed on the iron, optimized for general-purpose wire tinning.
Performance Matrix: M12 vs. Traditional Alternatives
To understand where the M12 fits into your workflow, compare its thermal and operational characteristics against traditional beginner tools.
| Feature | Milwaukee M12 (2688-20) | Standard 60W Wired Iron | Butane Cordless Iron |
|---|---|---|---|
| Max Temperature | 700°F (371°C) | 900°F (482°C) | 950°F (509°C) |
| Heat-Up Time | ~3 Minutes | ~45 Seconds | ~15 Seconds |
| Runtime | ~45 mins (CP2.0) | Unlimited | ~60 mins |
| Safety Profile | Auto-off, No flame | Burn hazard, tethered | Open flame, CO risk |
| Best Use Case | Field wiring, 12V auto | Benchtop PCB work | Heavy plumbing, remote |
Step-by-Step: Soldering Your First 12 AWG Wire
The Milwaukee M12 is exceptionally capable of handling heavy gauge wires, provided you use the correct technique. Let us walk through splicing and soldering a 12 AWG copper wire, a common task in automotive and marine 12V systems.
1. Preparation and Tip Selection
While the included 48-01-6802 chisel tip is excellent, for larger wires like 12 AWG or 10 AWG, consider upgrading to the Milwaukee Slotted Tip (48-01-6806). The slot cradles the wire, maximizing thermal transfer. Strip exactly 3/8-inch of insulation from both wire ends using a precision wire stripper to avoid nicking the copper strands.
2. Powering Up and Thermal Patience
Insert the M12 CP2.0 battery until it clicks. Press and hold the trigger for two seconds to activate the heating element and the LED work light. Crucial Beginner Mistake: Do not attempt to solder immediately. The M12 takes approximately 2.5 to 3 minutes to reach its operational 700°F threshold. Wait until the tool feels warm near the collar, or use a scrap piece of rosin-core solder to test the tip; it should melt instantly upon contact.
3. Tinning and Splicing
Apply a small amount of 63/37 eutectic rosin-core solder (0.031-inch diameter) directly to the heated tip, then transfer it to the exposed copper strands of both wires. This process, called 'tinning', coats the strands and prevents oxidation. Next, twist the tinned wires together in a linear splice. Finally, apply the iron to the bottom of the splice and feed solder into the top of the joint. Capillary action will draw the molten solder through the splice.
Battery Thermodynamics: What Beginners Must Know
One of the most misunderstood aspects of cordless soldering irons is how battery voltage affects thermal recovery. The Milwaukee M12 Soldering Iron utilizes a ceramic heating element regulated by an internal microcontroller. However, when the M12 REDLITHIUM battery drops below 15% capacity, the voltage curve begins to sag.
Pro Tip: When soldering high-mass connections (like a 10 AWG wire to a heavy brass terminal), the iron will experience rapid heat dissipation. If your battery is below 20%, the iron will struggle to recover its 700°F setpoint, resulting in a 'cold joint'—a dull, grainy connection that is electrically resistive and mechanically weak. Always check the battery fuel gauge before starting a heavy-duty soldering session.
Safety, Fumes, and Industry Standards
Even in 2026, safety remains the paramount concern for beginners. Soldering generates flux fumes and, if using leaded solder, poses heavy metal exposure risks. According to the Occupational Safety and Health Administration (OSHA), lead exposure can occur through inhalation of dust or ingestion via hand-to-mouth contact. Always wash your hands thoroughly after handling leaded solder (63/37 or 60/40 alloys) and utilize a localized fume extractor or work in a well-ventilated area.
Furthermore, beginners should strive to meet the visual inspection standards set forth by the IPC (Association Connecting Electronics Industries). Specifically, IPC-A-610 outlines the criteria for acceptable solder joints. A compliant joint should exhibit a smooth, concave fillet with a shiny appearance (for rosin-core flux), indicating proper wetting and intermetallic compound formation between the solder and the copper substrate.
Troubleshooting Common M12 Failure Modes
When transitioning from a wired station to the Milwaukee M12, beginners frequently encounter specific operational hurdles. Here is how to diagnose and resolve them:
- Issue: Solder balls up and rolls off the tip.
Diagnosis: Tip oxidation. This happens if the iron is left on without a protective coat of solder.
Solution: While the iron is hot, aggressively wipe the tip on a brass wire sponge (never use wet sponges or sandpaper, which destroy the iron plating). Immediately apply a thick layer of fresh flux-core solder to re-tin the tip. - Issue: The iron turns off after 10 minutes of inactivity.
Diagnosis: Auto-shutoff feature activation.
Solution: This is a built-in safety mechanism to preserve battery life and prevent fires. Simply press the trigger once to wake the tool and resume heating. - Issue: Solder joint looks grey and crumbly.
Diagnosis: Cold joint or disturbed joint.
Solution: The wire moved while the solder was in its plastic (semi-solid) state, or the battery lacked the voltage to maintain heat. Reheat the joint completely until the solder flows like water, and hold the wire perfectly still until it cools.
Frequently Asked Questions
Can I use the M12 Soldering Iron for delicate PCB work?
While possible with the 48-01-6804 conical tip, the M12 is primarily designed for wire splicing, terminal lugs, and heavy-gauge connections. For delicate surface-mount device (SMD) soldering on printed circuit boards, a temperature-controlled benchtop station with micro-tips is highly recommended over any cordless field iron.
How do I change the tip on the Milwaukee M12?
The M12 features a proprietary keyless tip change system. Ensure the tool is powered off and the tip is completely cool. Simply grasp the metal collar near the base of the tip, pull it straight back, and slide the old tip out. Insert the new Milwaukee-compatible tip and release the collar. No set screws or wrenches are required, which is a massive advantage in tight field conditions.
Is the M12 Soldering Iron waterproof?
No. While the tool is built to Milwaukee's rugged job-site standards and can handle dust and minor moisture, the ventilation slots near the heating element and the battery interface are not sealed against submersion. Never use it in active rain or standing water.