
The Physics of the Joint: Thermal Mass vs. Wattage
The debate between a soldering gun vs soldering iron fundamentally comes down to thermal mass, wattage delivery, and the specific thermal profile required for your joint. While beginners often assume 'more wattage is always better,' applying a 240W transformer-based gun to a delicate 2-layer FR4 printed circuit board will instantly exceed the board's Glass Transition Temperature (Tg), delaminating the copper pads. Conversely, using a 40W pencil iron on 8 AWG silicone wire results in a textbook 'cold joint' as the copper acts as a massive heat sink, pulling thermal energy away faster than the iron's ceramic heater can replenish it.
Understanding the mechanical and thermal differences between these tools is critical for achieving reliable electrical connections that meet IPC-A-610 acceptability standards. This guide breaks down the exact use cases, failure modes, and technique adjustments required for both tools in 2026.
Comparative Matrix: Soldering Iron vs. Soldering Gun
| Specification | Soldering Iron (Precision Station) | Soldering Gun (Transformer/Trigger) |
|---|---|---|
| Wattage Range | 20W – 80W (Continuous) | 100W – 250W (Burst/Trigger) |
| Heating Element | Ceramic cartridge (e.g., Hakko T18) | Step-down transformer copper loop |
| Thermal Mass | Low to Medium | Extremely High |
| Heat-Up Time | 5 – 15 seconds | Instantaneous (at trigger pull) |
| Primary Use Case | PCBs, SMD, small gauge wire (28-18 AWG) | Thick wire (14-4 AWG), stained glass, plumbing |
| Typical Cost (2026) | $25 (Pinecil V2) – $120 (Hakko FX-888D) | $50 – $80 (Weller D550PK) |
Deep Dive: The Soldering Iron for Electronics
Modern soldering irons are precision thermal management devices. When working with printed circuit boards (PCBs), surface mount devices (SMDs), and small-gauge wires, your goal is to heat the pad and lead to the solder's liquidus temperature as quickly as possible without lingering and damaging the component.
Recommended Models and Techniques
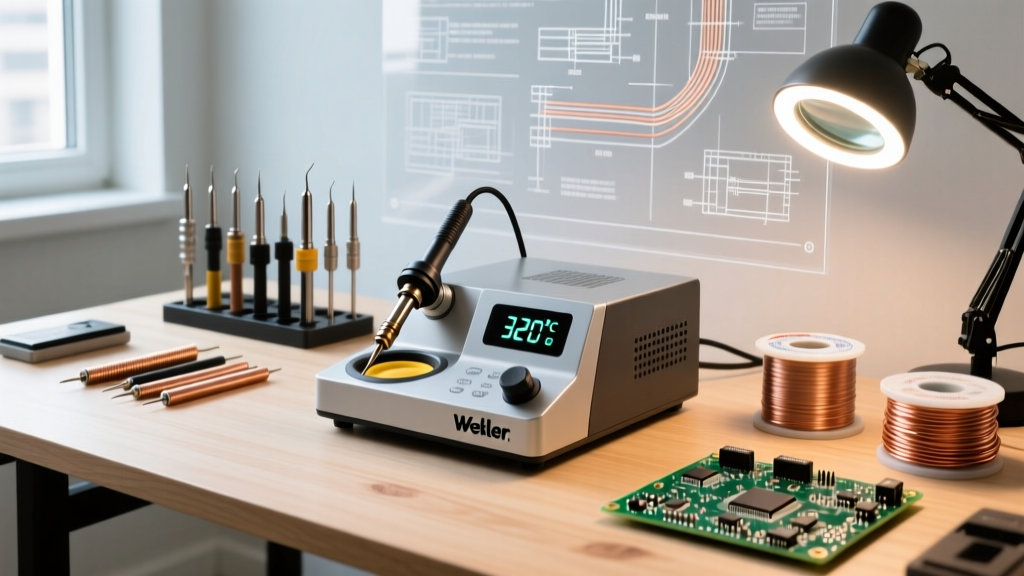
- Hakko FX-888D (~$115): The industry-standard 70W station. Its digital PID controller monitors tip temperature 20 times per second, providing rapid thermal recovery when the tip touches a ground plane.
- Pine64 Pinecil V2 (~$26): A 2026 favorite for portable electronics work. Powered via USB-C Power Delivery (up to 65W), it leverages a RISC-V processor for precise thermal profiling, making it ideal for field repairs on drones and robotics.
Expert Technique Tip: When soldering SAC305 (lead-free) alloys, set your station to 350°C. Apply the iron to the pad and component lead simultaneously for 1 second before introducing the solder wire. This ensures the flux activates (usually around 150°C-180°C) and cleans the oxidation before the alloy melts, ensuring proper capillary wetting.
Deep Dive: The Soldering Gun for Heavy-Duty Applications
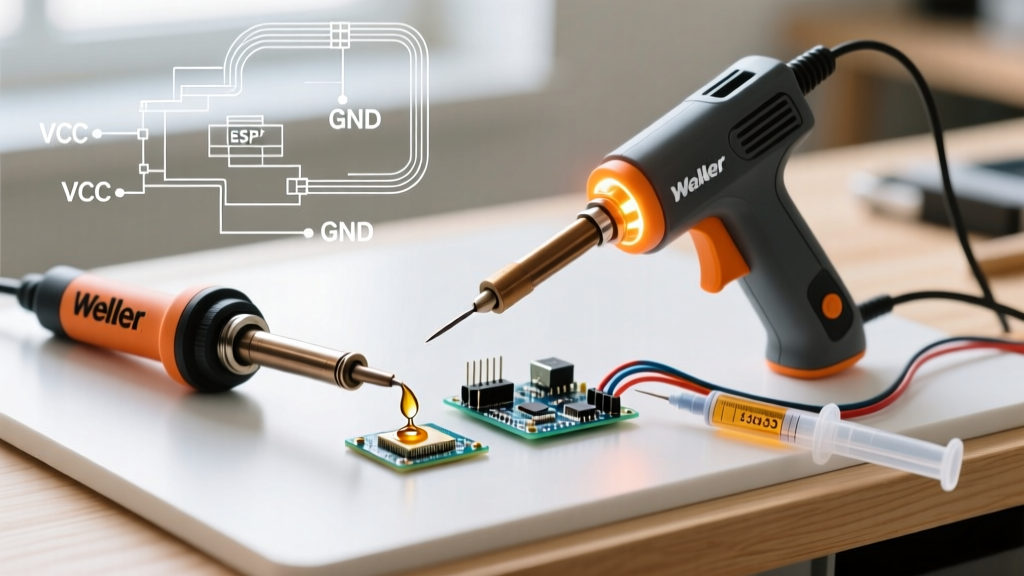
Soldering guns operate on an entirely different principle. They use a step-down transformer to push a massive amount of electrical current (often hundreds of amps) through a thick, low-resistance copper loop tip. This creates instant, brute-force heat. The trigger mechanism is essential; holding the trigger down continuously will overheat the tip, oxidizing it in seconds and potentially melting the internal transformer windings.
When to Deploy the Gun
- High-Current RC and Automotive Wiring: Soldering 10 AWG to 4 AWG silicone wires to XT90 or Amass connectors. The thermal mass of these connectors will completely stall a standard 60W iron.
- Stained Glass (Copper Foil Method): Running continuous beads of 60/40 solder along long copper foil seams requires a massive reservoir of heat that only a 100W+ gun (or a specialized rheostat-controlled iron like the Weller 100PG) can sustain.
- Coaxial Cable Shielding: Grounding heavy braided shields to large RF connectors where thermal sinking is extreme.
The Danger Zone: Cross-Application Failure Modes
Using the wrong tool doesn't just make the job harder; it creates latent reliability hazards. According to the NASA Soldering Handbook (HDBK-8739.3), improper thermal profiles are a leading cause of micro-cracking in solder joints.
Failure Mode 1: Using a Gun on a PCB
If you touch a 240W Weller D550PK gun to a standard 1.6mm FR4 circuit board, the localized temperature spike will vaporize the flux instantly and scorch the board's solder mask. Worse, the intense heat transfers through the plated through-hole (PTH), potentially lifting the internal copper barrel from the fiberglass substrate. This creates an intermittent open circuit that is nearly impossible to diagnose with a standard multimeter.
Failure Mode 2: Using an Iron on Thick Wire
Attempting to solder an 8 AWG wire to a large battery tab with a 40W iron results in a 'disturbed joint' or 'cold joint.' The solder may melt on the tip of the iron and transfer to the wire, but the core of the wire never reaches the liquidus temperature. The flux burns off prematurely, leaving oxidized copper trapped inside a shell of hardened solder. This joint will exhibit high electrical resistance, generating dangerous heat under load and eventually failing.
Step-by-Step Technique: Soldering 12 AWG Silicone Wire
12 AWG wire sits in the 'tweener' zone. You can use a high-wattage iron (80W+) or a low-wattage gun (100W). Here is the optimal technique using a temperature-controlled 80W station:
- Preparation: Strip 8mm of insulation. Twist the strands tightly to prevent fraying.
- Tinning the Wire: Set iron to 380°C (for 63/37 eutectic solder). Apply a small dab of solder to the tip for thermal transfer, then press the tip into the exposed wire. Feed rosin-core solder into the wire strands until it wicks to the edge of the insulation. Do not let solder wick under the insulation.
- Tinning the Connector: Apply flux to the connector cup. Touch the iron to the cup for 1.5 seconds, then feed solder until the cup is 75% full.
- The Marriage: Insert the tinned wire into the tinned cup. Apply the iron to the side of the cup for 2-3 seconds until the solder flashes (melts and flows smoothly). Remove the iron, then remove the wire, holding it perfectly still for 4 seconds while the eutectic alloy transitions from plastic to solid state.
Safety and Fume Extraction
High-wattage tools vaporize flux resins at a much higher rate, creating dense plumes of colophony smoke. Prolonged exposure to these fumes can cause occupational asthma. When using soldering guns or high-wattage irons, always utilize a localized HEPA/Carbon fume extractor. Furthermore, if you are still using leaded solders (Sn63/Pb37) for their superior wetting properties, adhere strictly to OSHA lead safety guidelines, washing hands thoroughly before eating or drinking to prevent heavy metal ingestion.
Frequently Asked Questions
Can I use a soldering gun for delicate guitar potentiometers?
It is highly discouraged. Guitar pots have thin lugs that can transfer heat directly to the internal carbon track or plastic casing, melting it. A temperature-controlled 40W-60W iron with a chisel tip is much safer for audio electronics.
Why does my soldering gun tip turn black and stop taking solder?
Copper loop tips on guns oxidize rapidly when overheated. Because guns don't have thermostats, holding the trigger down when not actively melting solder will cause the tip to exceed 400°C, burning off the iron plating. Always pulse the trigger, and re-tin the tip with fresh solder immediately after releasing the trigger.
Are USB-C irons replacing traditional stations?
For 90% of electronics hobbyists and field technicians, yes. USB-C PD irons like the Pinecil V2 or FNIRSI HS-01 offer thermal recovery speeds that rival $200 benchtop stations, provided you use a high-quality 65W GaN charger. However, for continuous production-line soldering or heavy plumbing, traditional AC stations and guns remain superior.