
Mastering the Iroda Soldering Iron: Beyond the Box
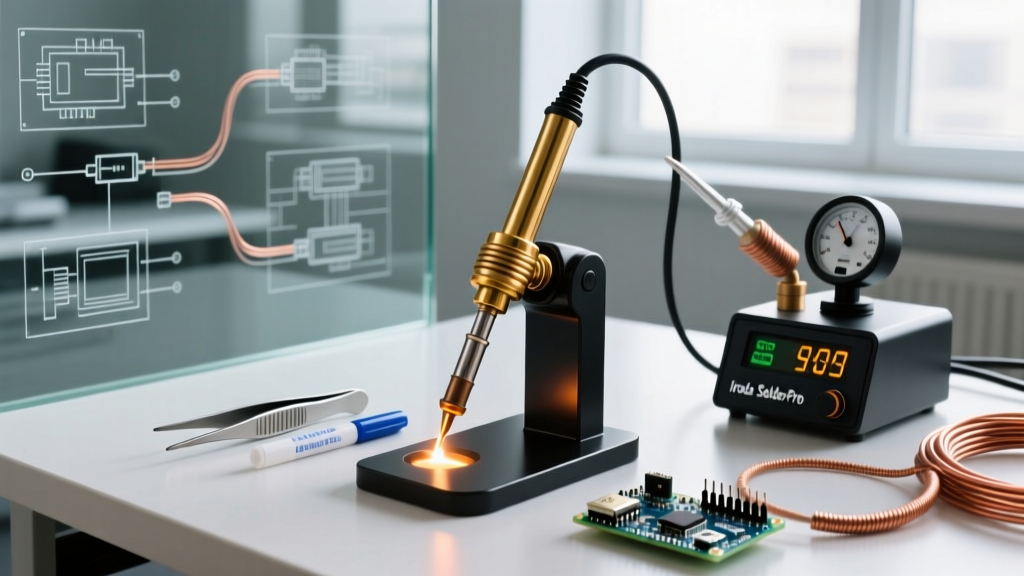
Cordless butane soldering irons are frequently dismissed by bench-bound purists who swear by digital ceramic stations. However, the Iroda SolderPro series (including the 120W and 50W models) and the Iroda MJ-9000 heat gun/iron combo offer genuine, field-deployable thermal mass that rivals plug-in units. The catch? Out of the box, the gas-flow dial on an Iroda iron is merely a suggestion. Because butane combustion is subject to ambient temperature, atmospheric pressure, and fuel purity, you must physically calibrate the gas-to-temperature ratio to meet modern electronics manufacturing standards.
According to the guidelines set forth in IPC J-STD-001 for soldered electrical assemblies, thermal profiles must be tightly controlled to prevent cold joints or thermal pad delamination. This tutorial provides a deep-dive, step-by-step framework for setting up, purging, and thermally mapping your Iroda soldering iron to achieve benchtop precision in a cordless form factor.
Phase 1: Fuel Selection and Line Purging
The most common point of failure for Iroda catalytic irons is catalyst poisoning caused by impure fuel. Standard lighter butane contains oils and mercaptans that will permanently clog the micro-mesh of the catalytic tip, reducing maximum temperature by up to 40°C within a month.
The 5x Refined n-Butane Rule
You must use 5x refined (or higher) n-butane. Brands like Colibri or Newport offer the necessary purity. In 2026, a high-quality can of 5x refined butane costs between $8 and $12. Do not compromise here.
Step-by-Step Line Purging (Bleeding)
Before your first fill, or if the iron has been stored for over six months, you must purge the internal reservoir of trapped air. Airlocks cause sputtering and erratic thermal output.
- Power Down: Ensure the gas flow dial is set to the 'OFF' or '0' position.
- Invert the Unit: Hold the Iroda iron upside down so the fill valve faces the ceiling.
- Depress the Valve: Using a small flathead screwdriver or the included purge tool, press the center pin of the brass fill valve. You will hear a hissing sound.
- Wait for Silence: Hold the valve open for exactly 15 seconds after the hissing stops to ensure all vapor and ambient air are expelled.
- Fill to 80% Capacity: Press the butane canister nozzle firmly into the valve for 5 to 7 seconds. Never fill to 100%. Butane requires vapor space (ullage) to expand and maintain consistent internal pressure. Overfilling leads to liquid butane entering the catalytic chamber, causing massive flare-ups.
- Thermal Equilibrium: Wait 3 minutes before igniting. The rapid expansion of butane during filling chills the internal tank; waiting allows the fuel to return to ambient temperature and stabilize pressure.
Phase 2: Tip Seating and Thermal Transfer
Unlike plug-in irons where the tip slides over a ceramic heating element, the Iroda SolderPro utilizes a catalytic mesh tip that glows red-hot when exposed to butane vapor and oxygen. The physical connection between the tip base and the gas nozzle is critical for thermal transfer and gas metering.
- The Tightness Sweet Spot: Screw the tip in by hand until it seats, then use the provided wrench to turn it exactly one-quarter (1/4) turn further.
- Failure Mode - Under-tightening: Results in a microscopic gap that acts as a thermal bottleneck and allows unburned gas to leak past the catalyst, creating a sooty, oxidizing flame.
- Failure Mode - Over-tightening: Cracks the internal ceramic insulator or strips the brass threads, ruining the $25-$35 replacement tip.
Expert Insight: Always apply a microscopic dab of high-temperature anti-seize compound to the external threads of the tip base before installation. This prevents the tip from fusing to the nozzle after repeated thermal cycling, a common issue reported by field technicians using Iroda irons in humid environments.
Phase 3: Gas-Flow to Temperature Mapping (Calibration)
The numbers on the Iroda gas dial (typically 1 through 5, or a gradient scale) do not correspond to fixed temperatures. To calibrate your iron, you need a K-type thermocouple tip thermometer (such as the Hakko FG-100B or a Fluke 52 II). You will create a custom lookup table for your specific environment.
The Calibration Procedure
- Initial Ignition: Set the dial to the middle position (e.g., 3). Ignite the iron and let it run for 180 seconds to allow the catalytic mesh to reach full thermal saturation.
- Thermocouple Placement: Apply a tiny amount of thermal paste or liquid rosin flux to the very center of the soldering tip. Press the K-type thermocouple bead flat against the tinned surface of the tip.
- Record the Baseline: Wait 10 seconds for the thermometer reading to stabilize. Record the temperature.
- Adjust and Map: Turn the dial to position 1. Wait 60 seconds. Record the temperature. Repeat for positions 2, 4, and 5.
Sample Calibration Matrix (Sea Level, 22°C Ambient)
| Iroda Dial Position | Measured Tip Temp (°C) | Optimal Application | Solder Alloy Match |
|---|---|---|---|
| 1 (Low) | 210°C - 230°C | Desoldering heat-sensitive SMDs, wire tinning | Sn42/Bi58 (Low Temp) |
| 2 (Medium-Low) | 280°C - 300°C | Standard through-hole, 0805/0603 SMD rework | Sn63/Pb37 (Leaded) |
| 3 (Medium) | 330°C - 350°C | Multilayer PCB pads, thick ground planes | SAC305 (Lead-Free) |
| 4 (High) | 380°C - 410°C | Heavy gauge wire (12 AWG+), XT90 connectors | SAC305 / Sn96.5 |
| 5 (Max) | 450°C+ | Emergency heat-shrinking, soldering to large lugs | Not for PCBs (Risk of delamination) |
Note: Tape this custom matrix to the inside of your Iroda carrying case. As the catalytic mesh ages (typically after 40-50 hours of use), the maximum temperature will drop, requiring you to re-run this calibration.
Phase 4: Environmental Factors and Altitude Adjustments
One of the most overlooked aspects of butane iron calibration is atmospheric pressure. Butane combustion relies on a specific stoichiometric ratio of fuel to oxygen. If you are performing field work in high-altitude locations (e.g., Denver, Colorado, or mountainous telecom tower sites above 5,000 feet), the air is thinner.
The High-Altitude Failure Mode
At high altitudes, a dial setting of '3' that yielded 340°C at sea level may only yield 280°C. The catalytic mesh starves for oxygen, leading to incomplete combustion and a buildup of carbon soot on the tip. If you are working to NASA workmanship standards (like NASA-STD-8739.3) for high-reliability aerospace electronics in field conditions, this thermal drop will result in unacceptable, dull, or grainy solder joints.
The Fix: When operating above 4,000 feet, you must manually adjust the gas flow dial downward by half a step to lean out the fuel mixture relative to the available oxygen, or physically open the air-intake vents on the Iroda shroud if your specific model permits. Always recalibrate with your thermocouple upon arriving at a high-altitude job site.
Troubleshooting Edge Cases
The Iron Sputters or Flares Up
Cause: Liquid butane is entering the catalytic chamber instead of vapor. This happens if the iron was overfilled, or if you are using it immediately after filling while the tank is still freezing cold from the filling process.
Solution: Turn the iron off. Hold it upright in a well-ventilated area and let it sit for 5 minutes to allow the internal temperature to normalize and the liquid to vaporize.
Tip Glows Red but Won't Melt Solder
Cause: Severe tip oxidation. The catalytic mesh is glowing, but the external copper core and iron plating are heavily oxidized, creating a thermal barrier.
Solution: Never file or sand an Iroda tip. While the tip is warm (not hot), wipe it on a damp cellulose sponge, then immediately apply a large blob of 63/37 rosin-core solder to re-tin the surface. The rosin will reduce the copper oxide and restore thermal conductivity.
Final Thoughts on Cordless Precision
An Iroda soldering iron is not a toy; it is a highly capable chemical-thermal tool. By treating the fuel selection, mechanical seating, and thermal mapping with the same rigor you would apply to a $300 digital bench station, you unlock the ability to perform IPC-compliant, high-reliability soldering anywhere on the planet. Keep your thermocouple handy, respect the 80% fill line, and let the custom calibration matrix guide your field work.