
The Physics of Soldering: Why Your Iron's Price Tag Dictates Your Technique
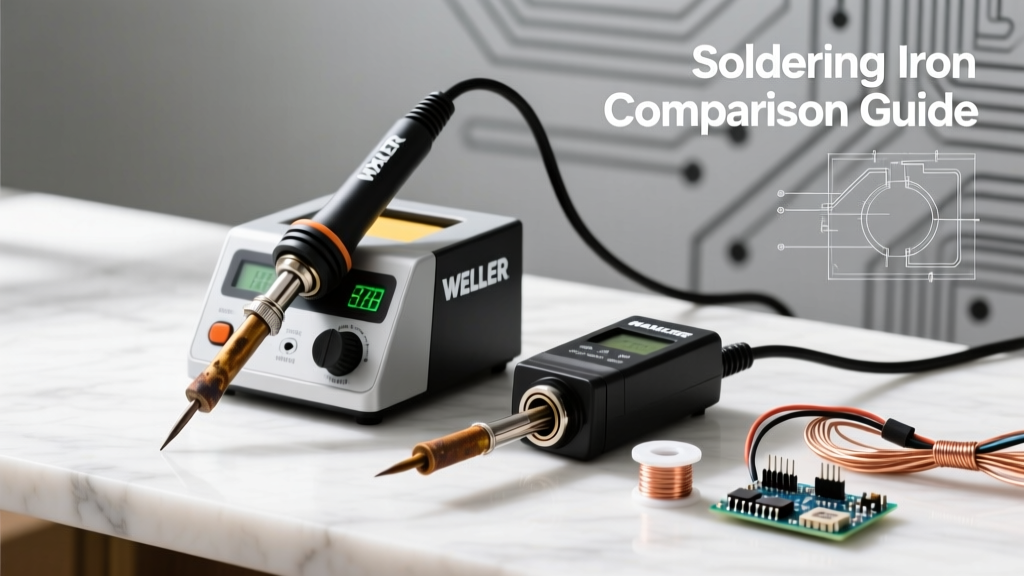
Learning how to use a soldering iron is not a one-size-fits-all endeavor. The physical technique, muscle memory, and timing required to create a reliable metallurgical bond change drastically depending on the thermal architecture of your tool. A generic $18 adjustable 60W iron from an online marketplace operates on fundamentally different physics than a $135 Weller WE1010NA or a $285 Hakko FX-951. While a budget iron relies on slow, high-mass thermal soaking, premium stations utilize active, high-surface-area ceramic heaters that recover from temperature drops in milliseconds.
This analysis breaks down exactly how to adjust your soldering workflow, temperature settings, and dwell times based on whether you are operating a budget or premium soldering station in 2026.
Temperature Dialing and Thermal Mass
The most common mistake beginners make when figuring out how to use a soldering iron is treating the temperature dial as a volume knob. Higher temperatures do not melt solder faster; they simply increase the rate of oxidation and flux burn-off.
Budget Irons: The Pre-Heat Compensation Strategy
Generic irons typically use a basic triac dimmer or a slow-reacting thermocouple buried deep inside a thick copper core. When the tip touches a copper ground plane, the tip temperature can plummet by 50°C to 80°C, and it may take 8 to 12 seconds to recover. To compensate, operators must set the dial higher—often around 380°C (716°F) for leaded Sn63/Pb37 solder—and rely on the thermal mass of the tip to push heat into the joint before the heater catches up.
Premium Stations: Precision Thermal Coupling
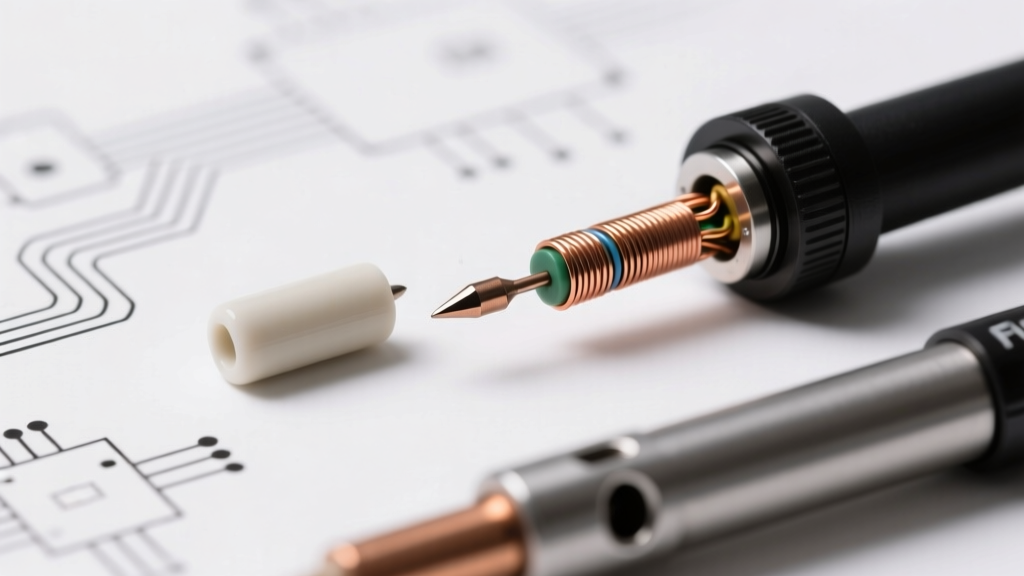
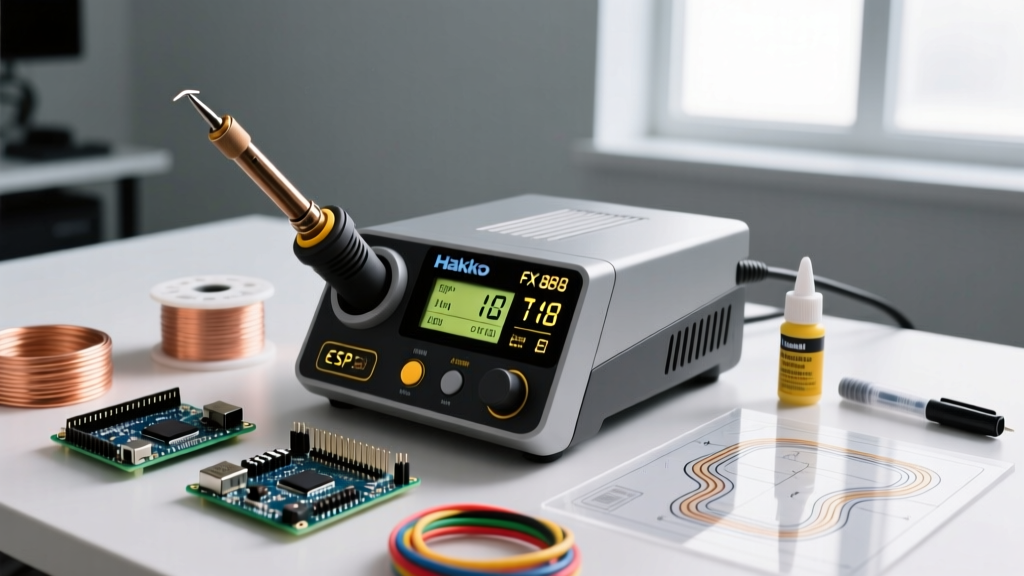
Premium stations like the Hakko FX-951 use T18 tips where the heater is integrated directly into the back of the tip sleeve. This provides near-instantaneous thermal feedback. When using premium gear, you can safely set your station to 315°C (600°F) for leaded solder or 340°C (644°F) for lead-free SAC305. The station will inject wattage exactly when the joint demands it, preventing pad delamination and component heat stress.
Step-by-Step Technique: Budget vs. Premium Workflow
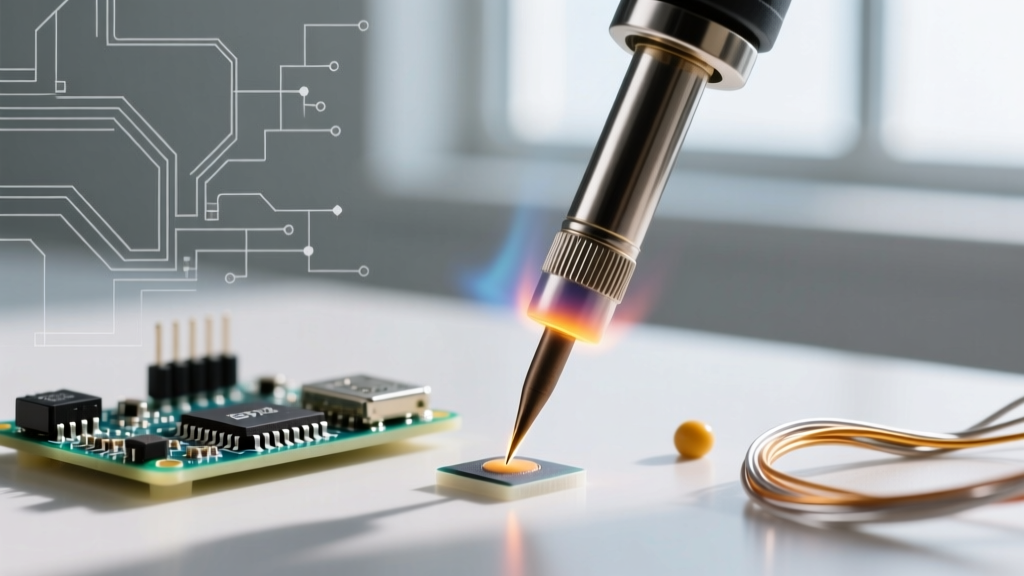
According to the comprehensive SparkFun through-hole soldering guide, the core mechanic of soldering is heating the workpiece, not the solder. However, the execution varies by equipment tier.
- The Approach (0.0s - 0.5s): Clean the tip on brass wool. Approach the pad and lead simultaneously at a 45-degree angle. Budget adjustment: Apply slightly more downward pressure to maximize surface area contact and overcome thermal lag. Premium adjustment: Use a feather-light touch; the active heater will do the work.
- Feeding the Solder (0.5s - 1.5s): Touch the solder wire to the opposite side of the iron tip, directly against the copper pad and component lead. Budget adjustment: Wait an extra 1.5 seconds before feeding solder to ensure the pad has reached the 183°C melting point of Sn63/Pb37. Premium adjustment: Feed solder almost immediately upon contact; the flux will activate and flow within 0.5 seconds.
- The Withdrawal (1.5s - 2.5s): Remove the solder wire first, then sweep the iron away in a swift, fluid motion to create a smooth concave fillet. Budget adjustment: Do not linger. If the joint looks dull or grainy, you have induced a cold joint due to thermal drop-off. Re-tin and try again. Premium adjustment: The joint should snap to a shiny finish instantly upon iron removal.
Thermal Recovery Data Matrix
Understanding your tool's thermal recovery time is critical to avoiding lifted pads on fragile FR4 fiberglass PCBs. The table below illustrates real-world performance metrics for popular 2026 models.
| Station Model | Tier / Price (2026) | Wattage | Time to Recover 50°C Drop | Max Safe Dwell Time (0805 Pad) |
|---|---|---|---|---|
| Generic 60W Adjustable | Budget / $18 | 60W | 9.5 seconds | 2.0 seconds |
| Pine64 Pinecil V2 | Mid-Budget / $26 | 65W (PD) | 3.2 seconds | 3.5 seconds |
| Weller WE1010NA | Premium / $135 | 70W | 1.8 seconds | 5.0+ seconds |
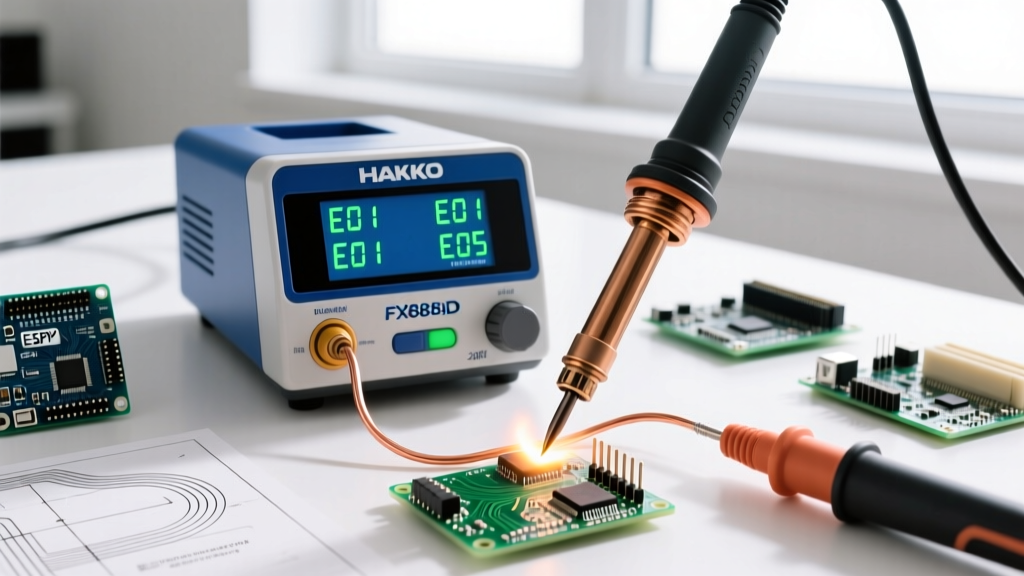
| Hakko FX-951 | Pro-Premium / $285 | 70W | 0.9 seconds | 5.0+ seconds |
Tip Tinning and Oxidation Management
Knowing how to use a soldering iron also means knowing how to preserve its tip. Oxidation is the enemy of heat transfer. When copper is exposed to air at 350°C, it rapidly forms copper oxide, a thermal insulator. Soldering iron tips are plated with a micro-layer of iron to prevent the copper core from dissolving into the molten tin, but this iron layer still oxidizes.
The Adafruit Guide to Excellent Soldering emphasizes the importance of keeping a heavy blob of solder on the tip when placing it back in the holster. This sacrificial solder layer oxidizes instead of the iron plating. Furthermore, Hakko's official technical FAQ on tip care strongly advises against using a wet sponge for cleaning, as the rapid thermal shock causes micro-fractures in the iron plating, leading to premature tip death. Always use a dry brass wire sponge, especially when using budget irons that lack the thermal stability to recover from the massive heat sink effect of a wet sponge.
Real-World Edge Case: Soldering a 14-Pin SOIC IC
Surface-mount device (SMD) soldering exposes the flaws of budget equipment. Let us examine the process of hand-soldering a 14-pin SOIC (Small Outline Integrated Circuit) with a 1.27mm pitch.
The Budget Iron Failure Mode
When using a generic 60W iron with a standard chisel tip, the operator often struggles to heat the narrow gull-wing lead and the PCB pad simultaneously. To compensate, they apply excessive solder, creating a massive surface tension bridge. Because the iron cannot recover heat quickly, the flux burns away before the solder can flow evenly, resulting in 'icicle' joints or accidental solder bridges between pins 4 and 5. Fixing this requires aggressive wicking with desoldering braid, which further stresses the board.
The Premium Station Solution
Using a Weller WE1010NA equipped with an RT4 micro-tip (0.4mm x 1.2mm), the technique shifts to 'drag soldering' or precise pin-by-pin tacking. The operator applies a generous amount of no-clean flux paste to the pads. The micro-tip touches the lead and pad for exactly 0.8 seconds, feeding a microscopic amount of 0.5mm diameter SAC305 solder. The rapid thermal recovery ensures the flux remains active, pulling the solder into a perfect, shiny concave fillet via capillary action without bridging to the adjacent pin.
Expert Verdict: Adjusting Your Muscle Memory
Mastering how to use a soldering iron requires adapting your physical technique to the thermal realities of your equipment. If you are operating on a budget, you must rely on patience, higher thermal mass tips, and strict adherence to pre-heating protocols to avoid cold joints. If you invest in a premium station, you must unlearn the habit of 'lingering' on the pad; premium irons demand a fast, surgical approach to prevent overheating sensitive silicon dies. Ultimately, the best soldering iron is the one whose thermal characteristics you understand intimately, allowing your muscle memory to produce flawless, IPC-compliant joints every time.