
Why the Hakko Soldering Station FX-888 Remains the 2026 Benchmark
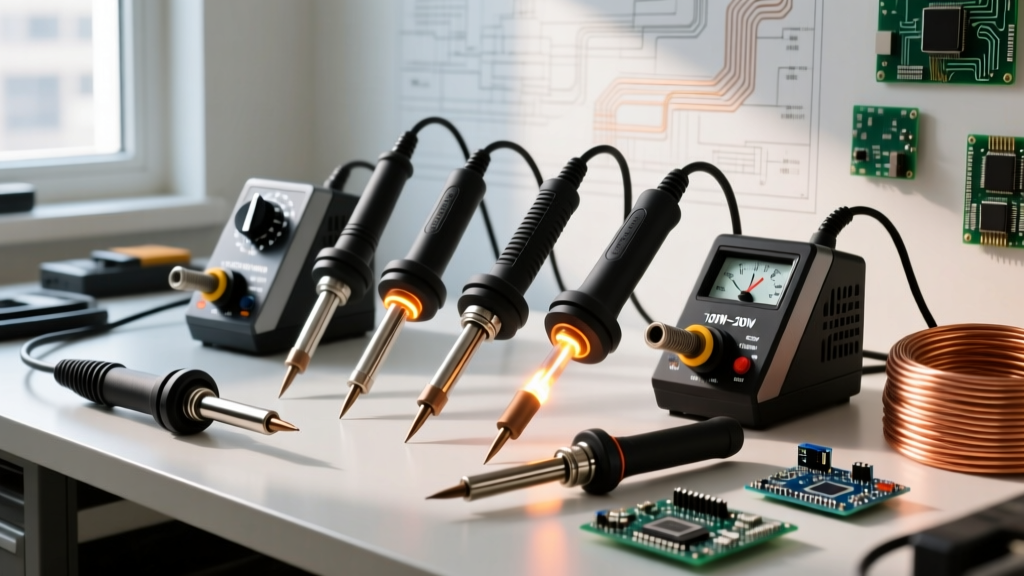
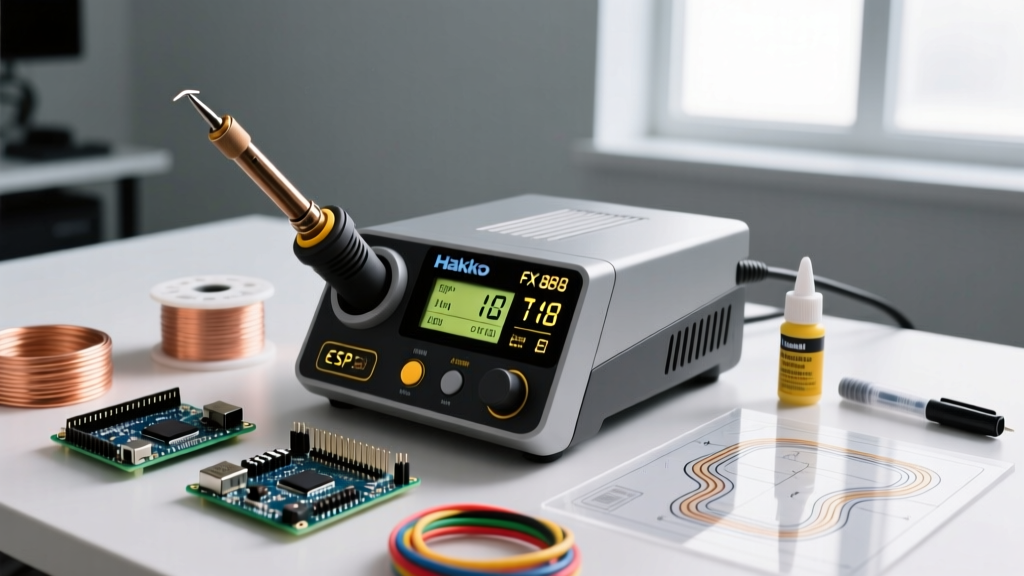
For over a decade, the Hakko soldering station FX-888 lineage has been the undisputed gold standard for electronics hobbyists, students, and entry-level professionals. While the market is flooded with cheap, unregulated irons, the FX-888 (and its modern digital successor, the FX-888D) continues to dominate workbenches in 2026. Its 70-watt ceramic heating element provides rapid thermal recovery, meaning the tip temperature snaps back to your set point within seconds of touching a cold copper pad.
However, owning a premium station is only half the battle. Many beginners unbox their Hakko, install the wrong tip, set the temperature arbitrarily high, and immediately ruin their iron's tip through oxidation. This comprehensive guide will walk you through the exact setup, metallurgical considerations, and operational techniques required to master the FX-888 platform and achieve IPC-compliant solder joints from day one.
Anatomy of the Station and ESD Grounding
Before plugging in your station, it is critical to understand the difference between the legacy analog FX-888 and the current digital FX-888D. In 2026, almost all new units sold are the FX-888D, featuring a digital display, push-button controls, and a password-protected temperature lock. A genuine Hakko FX-888D retails between $105 and $125 USD. Beware of $35 clones found on third-party marketplaces. Counterfeits often lack proper ESD (Electrostatic Discharge) grounding and use inferior heating elements that can leak AC voltage directly into your sensitive microcontrollers.
Establishing the Ground Path
The FX-888 is designed to protect sensitive CMOS and MOSFET components from static shock. To ensure this works:
- Verify that your wall outlet is properly grounded using a standard receptacle tester.
- The three-prong plug on the FX-888 connects the station's chassis and the tip's grounding wire to earth ground.
- If you are working on highly static-sensitive bare ICs, connect an ESD wrist strap to the grounding lug located on the back of the Hakko station.
The T18 Tip Ecosystem: Choosing Your First Bits
The FX-888 utilizes the Hakko T18 series tips. These are hollow copper tips with an iron plating, designed to slide over a separate ceramic heating element. Choosing the correct tip geometry is the most common stumbling block for beginners.
Expert Warning: Avoid the T18-B (Conical) tip for general through-hole and surface-mount work. While it looks precise, the conical shape offers a microscopic surface area for thermal transfer, leading to prolonged dwell times and cold joints.Instead, stock your bench with these three essential T18 profiles:
- T18-D16 or T18-D24 (Chisel): The absolute best tip for beginners. The flat, angled face maximizes surface contact with the component lead and PCB pad, ensuring rapid heat transfer. Use the D16 for standard 0.1-inch header pins and the D24 for larger ground planes.
- T18-K (Knife): Excellent for drag-soldering SOIC and QFP surface-mount ICs, as well as cleaning up tight through-hole joints. You can use the flat side for broad heating and the sharp point for precision rework.
- T18-C2 (Bevel): Features a scooped-out face that acts like a tiny spoon. Ideal for holding a small amount of molten solder while drag-soldering or tinning thick wires.
Temperature Profiling: Leaded vs. Lead-Free Solder
A common beginner mistake is cranking the station to 400°C (750°F) to 'make the solder melt faster.' This instantly burns the rosin flux core, oxidizes the tip, and delaminates the copper pads from your PCB. According to the IPC J-STD-001 standard for soldered electrical assemblies, thermal management and dwell time are critical to joint reliability.
| Solder Alloy | Composition | Melting Point | Recommended FX-888 Temp | Max Dwell Time |
|---|---|---|---|---|
| Sn63/Pb37 (Leaded) | 63% Tin, 37% Lead | 183°C (361°F) | 300°C - 320°C | 2 - 3 Seconds |
| SAC305 (Lead-Free) | 96.5% Sn, 3% Ag, 0.5% Cu | 217°C (423°F) | 340°C - 360°C | 3 - 4 Seconds |
| Sn42/Bi57 (Low Temp) | 42% Tin, 58% Bismuth | 138°C (280°F) | 240°C - 260°C | 2 - 3 Seconds |
Note: Always use the lowest temperature that allows you to complete the joint within the 2-3 second dwell window. If the solder isn't flowing, you need a larger tip (more thermal mass), not a higher temperature.
Step-by-Step: Executing the Perfect Through-Hole Joint
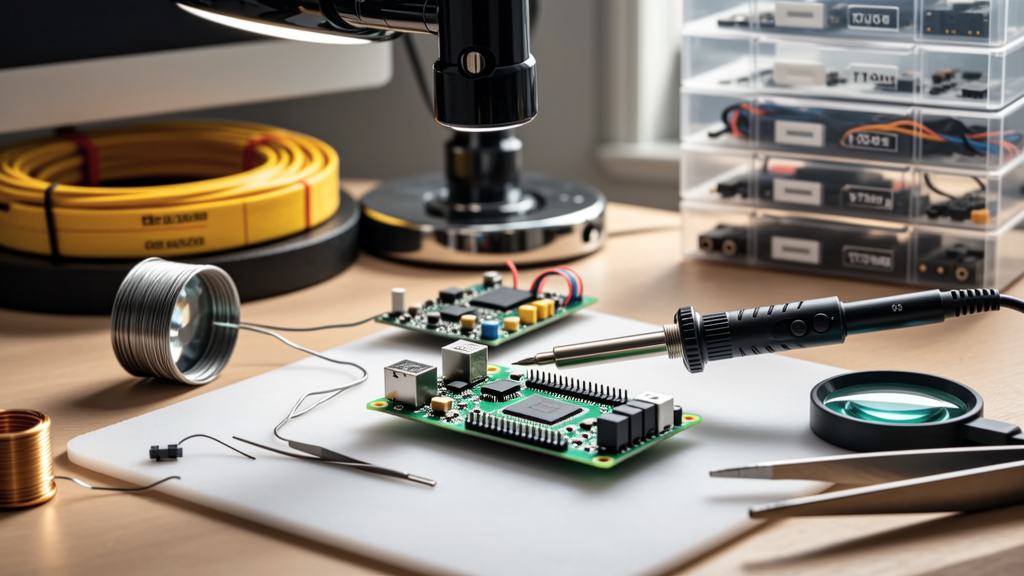
Mastering the physical technique of soldering requires understanding that solder follows heat, not the iron. As detailed in SparkFun's through-hole soldering tutorial, flux activation is the key to metallurgical wetting.
- Tin the Tip: Before approaching the board, wipe the tip on a brass sponge and apply a tiny amount of fresh solder to the working face. This creates a thermal bridge.
- Heat the Joint: Place the flat face of your T18-D16 chisel tip so it touches both the component lead and the copper PCB pad simultaneously. Hold for 1 second.
- Feed the Solder: Bring your solder wire to the opposite side of the joint, touching it to the heated lead and pad, not directly to the iron tip. The flux will activate, bubble, and the solder will instantly wick around the barrel of the hole.
- Remove Solder, Then Iron: Pull the solder wire away first, then slide the iron off the joint at a 45-degree angle. This draws excess solder up onto the tip, leaving a pristine, concave fillet on the board.
- Inspect: A proper Sn63/Pb37 joint should look shiny and have a smooth, concave volcano shape. (Note: Lead-free SAC305 joints will naturally look dull and slightly grainy; this is normal and does not indicate a cold joint).
Common Beginner Failure Modes and Troubleshooting
Even with a premium Hakko FX-888, poor technique will yield defective boards. Here is how to diagnose and fix the most common issues:
1. Solder Balls Up on the Tip (Refuses to Flow to the Pad)
Cause: The pad or lead is oxidized, or the flux core in your solder has burned off before the metal reached melting temperature.
Solution: Apply external liquid or gel flux (such as Amtech NC-559 or Chip Quik TACK) to the joint before applying the iron. External flux provides a larger thermal window for the solder to wet the copper.
2. Black, Crusty Tip (Non-Wetting)
Cause: Severe oxidation. This happens when the iron is left at operating temperature for more than 15 minutes without use, or if you wipe the tip on a dry synthetic sponge instead of a damp cellulose sponge or brass wire.
Solution: Never use sandpaper or a file on an iron tip; this destroys the microscopic iron plating and ruins the tip permanently. Instead, use a Hakko 599B brass tip cleaner. Plunge the tip into the brass shavings while twisting, then immediately apply a heavy coat of fresh, flux-cored solder to re-tin the surface.
3. Solder Joint is Dull, Lumpy, and Convex (Cold Joint)
Cause: The pad did not reach the melting temperature of the solder alloy, or the joint was moved while the solder was transitioning from liquid to solid state.
Solution: Switch to a wider chisel tip (e.g., from T18-D16 to T18-D24) to increase thermal transfer. Apply fresh flux and reheat the joint until the solder flows completely smooth.
Advanced Maintenance: Calibrating the FX-888D Offset
Over time, or when switching between different tip geometries, the digital display on the FX-888D may drift slightly from the actual tip temperature. Professional labs calibrate their stations weekly using a tip thermometer (like the Hakko 191). You can adjust the station's internal offset using this exact sequence:
- Turn the power switch on the side of the station to the OFF position.
- Press and hold the UP arrow button on the front panel.
- While holding the UP button, turn the power switch ON.
- The display will flash and then show the current temperature offset (usually 0).
- Use the UP and DOWN arrows to input the difference between your display and your tip thermometer. (e.g., If the display says 320°C but the thermometer reads 315°C, input an offset of -5).
- Press and hold the ENTER button for 3 seconds until the display returns to the main screen.
Frequently Asked Questions
Can I use T12 or T15 tips on the Hakko FX-888?
No. The FX-888 is strictly designed for the T18 tip series, which slides over a standalone ceramic heater. The T12 and T15 series are integrated cartridge tips (where the heater is built inside the tip) and are only compatible with Hakko's FX-951 and FX-952 stations.
How often should I replace the ceramic heating element?
Under normal hobbyist or light professional use, the ceramic heating element in the FX-888 will last for many years. You only need to replace the sensor/heater assembly (Part # B2032) if you accidentally drop the handpiece and crack the ceramic core, or if the station throws a digital error code (H-E or S-E) indicating a sensor failure.
Is the Hakko FX-888D suitable for SMD (Surface Mount Device) soldering?
Absolutely. While hot air rework stations are preferred for desoldering multi-pin ICs, the FX-888D paired with a T18-K (Knife) or T18-J02 (Mini-Hoof) tip is exceptionally capable of hand-soldering 0805, 0603, and SOIC-8 surface mount components, provided you use generous amounts of high-quality tack flux.