
Introduction: The Hidden Potential of Your Soldering Station
When a 3D-printed ABS bracket snaps or an automotive interior trim piece cracks, replacing the part is often expensive or impossible. This is where diy plastic welding with soldering iron tools becomes an invaluable skill. However, not all irons are created equal when transitioning from joining copper and tin to fusing polymer chains. Unlike solder, which flows via capillary action at predictable eutectic points, melting plastic requires manipulating a highly viscous, non-Newtonian fluid. You are physically stirring two semi-solid masses together, demanding continuous heat transfer and mechanical work.
In this 2026 analysis, we break down the thermal dynamics, failure modes, and real-world results of using a $15 budget plug-in iron versus a $120 premium PID-controlled station for plastic welding. Whether you are repairing a drone chassis or a household appliance housing, understanding the thermal recovery of your tool is the difference between a structural weld and a brittle scar.
The Polymer Science: Why Temperature Control Dictates Weld Strength
Before comparing tools, we must understand the thermal thresholds of common plastics. According to the British Plastics Federation, polymers like ABS (Acrylonitrile Butadiene Styrene) have a glass transition temperature around 105°C and a melting/processing range between 200°C and 240°C. High-Density Polyethylene (HDPE) melts much lower, typically between 130°C and 170°C.
If your iron lacks precise temperature regulation, two catastrophic failure modes occur:
- Under-heating (Cold Welding): The iron fails to maintain 220°C when pressed against the heat-sinking mass of a thick plastic part. The polymer doesn't fully cross-link, resulting in a superficial scar that snaps under minor torsional stress.
- Over-heating (Thermal Degradation): The iron overshoots to 300°C+. The plastic burns, releasing toxic fumes, carbonizing at the weld joint, and destroying the tensile strength of the polymer matrix.
CRITICAL SAFETY WARNING: Never attempt to weld PVC (Polyvinyl Chloride) with a soldering iron. When heated past 200°C, PVC undergoes thermal dehydrochlorination, releasing highly toxic and corrosive hydrochloric acid gas. The CDC NIOSH guidelines on toxic fumes explicitly warn against the thermal degradation of halogenated plastics. Always identify your plastic type (look for the recycling stamp or perform a burn/smell test on a scrap piece) before applying heat.
The Budget Contender: $15 - $30 Dial-Controlled Irons
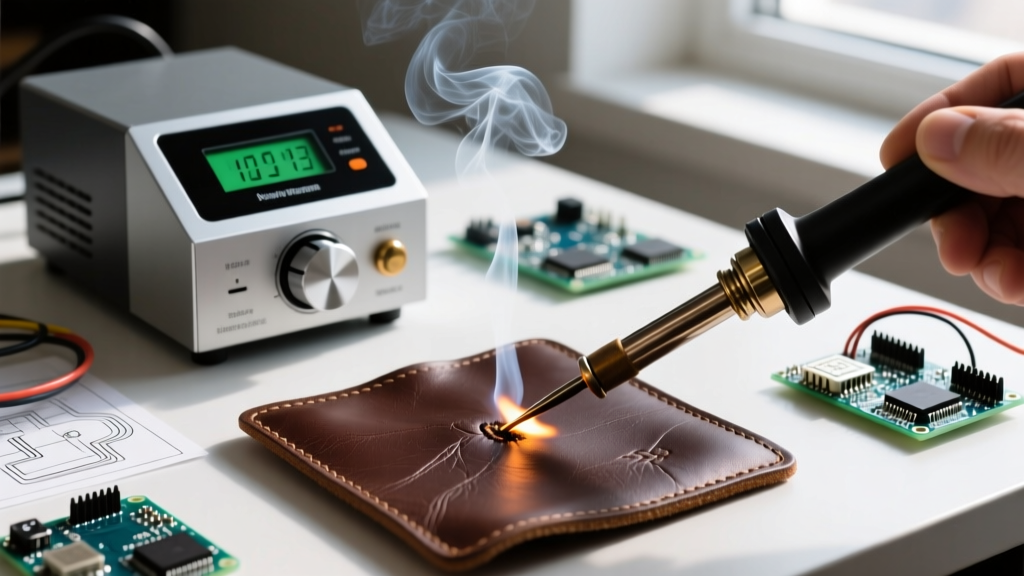
The ubiquitous 60W adjustable dial irons found on Amazon and eBay are staples in beginner kits. These tools do not actually measure temperature. The dial simply adjusts the AC voltage duty cycle sent to the nichrome heating element.
Real-World Performance on ABS
When you set a budget 60W iron to its 'maximum' setting, the tip might read 280°C in open air. However, the moment you press a 2.4mm chisel tip into a cold, 3mm-thick ABS car bumper, the thermal mass of the plastic instantly drains the heat from the tip. Because the iron lacks a thermocouple feedback loop, the tip temperature plummets to 160°C. You are now smearing cold, tacky plastic rather than welding it. When you lift the iron to reposition, it rapidly overshoots back to 300°C, burning the next section you touch.
Cost: $15 - $25
Best For: Tacking thin HDPE sheets, melting zip-ties, or embedding brass threaded inserts into 3D prints where precise continuous welds aren't required.
The Premium Contender: $100 - $150 PID-Controlled Stations
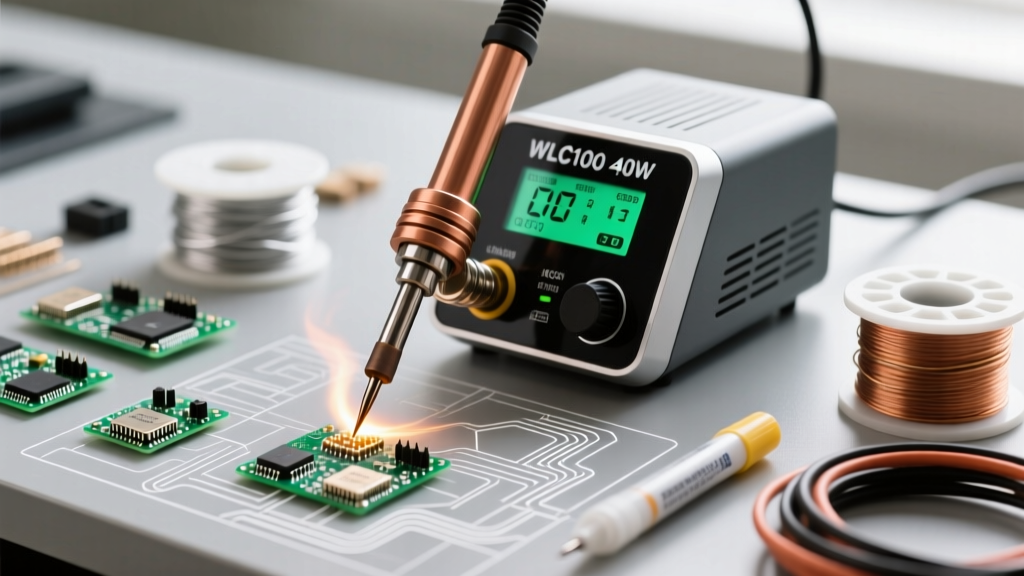
Stations like the Hakko FX-888D ($115) or the Weller WE1010NA ($125) utilize a PID (Proportional-Integral-Derivative) controller paired with a ceramic heater and a built-in thermocouple. As of 2026, smart-budget options like the Pinecil V2 ($26) also offer PID control via a RISC-V chip, bridging the gap between cheap hardware and premium software control.
Real-World Performance on ABS
When you press a Hakko FX-888D (set to 225°C) into thick ABS, the thermocouple detects the 2°C drop at the tip within milliseconds. The PID controller dumps maximum current into the ceramic heater, recovering the lost heat in under 1.5 seconds. This allows you to maintain a continuous, viscous 'puddle' of melted polymer, enabling you to stir the base material and the filler rod together seamlessly. The resulting weld achieves up to 80% of the original tensile strength of the parent material.
Cost: $26 (Pinecil V2 Smart Iron) to $125 (Weller WE1010NA)
Best For: Structural repairs, automotive trim, drone frames, and continuous bead welding.
Head-to-Head Comparison Matrix
| Feature | Budget 60W Dial Iron | Premium PID Station (Hakko/Weller) | Smart Budget (Pinecil V2) |
|---|---|---|---|
| Price Range (2026) | $15 - $25 | $110 - $130 | $26 - $35 |
| Temperature Feedback | None (Voltage dial) | Hardware PID + Thermocouple | Software PID + RISC-V |
| Thermal Recovery Time | 15 - 30 seconds | 1.5 - 2.5 seconds | 2.0 - 3.0 seconds |
| Weld Consistency | Poor (Burns and cold spots) | Excellent (Continuous viscous flow) | Very Good |
| Ideal Tip Shape | Chisel (2.4D) | Chisel (2.4D) or Knife (K) | Chisel (2.4D) |
Step-by-Step: Welding a Cracked ABS Housing with a PID Station
To achieve a structural repair, you cannot simply melt the surface crack. You must create a volumetric joint and reinforce it. Here is the professional workflow for DIY plastic welding with soldering iron equipment.
- Prep the Joint (The V-Groove): Use a Dremel or a V-shaped file to route the crack into a 60-degree V-groove. This increases the surface area for the filler material to bond and prevents the weld from snapping at a single shear plane.
- Select the Right Tip: Install a 2.4mm Chisel tip (e.g., Hakko T18-D24). Avoid conical tips; they lack the surface area to transfer heat into the viscous plastic and will simply slice through the material.
- Set the Temperature: Dial your PID station to 225°C for ABS. Allow 60 seconds for the thermal mass of the tip to stabilize.
- Tack Weld the Alignment: Apply the iron across the crack at 2-inch intervals to tack the pieces in place, ensuring they remain perfectly aligned.
- Embed Reinforcement Mesh: Cut a piece of 0.2mm stainless steel or brass wire mesh slightly smaller than the V-groove. Hold the mesh over the crack with tweezers. Press the 225°C iron directly onto the mesh. The heat will transfer through the metal, melting the ABS beneath it. Slowly push the mesh down until it is fully embedded and flush with the surface of the plastic. This acts as rebar in concrete, providing massive tensile strength.
- Cap Coat with Filler: Using a scrap piece of matching ABS (or a dedicated ABS welding rod), melt filler material over the embedded mesh, using the iron to 'stir' the molten filler into the base V-groove walls. Move at a rate of about 1 inch per 3 seconds.
- Cool and Sand: Allow the part to air-cool to room temperature (do not use compressed air, as rapid cooling induces internal stresses and warping). Once cool, sand flush with 120-grit, then 400-grit sandpaper.
Essential Accessories Beyond the Iron
A premium iron is only half the battle. To elevate your plastic welding results, invest in these specific accessories:
- Brass/Stainless Mesh (0.2mm - 0.3mm): Essential for structural reinforcement. Aluminum mesh melts at 660°C, which is too close to the degradation point of some high-temp engineering plastics; stick to brass or stainless.
- Fume Extractor with Carbon Filter: Melting ABS releases styrene gas, which is a known irritant and potential carcinogen. A standard HEPA filter will not catch VOCs; you must use an activated carbon filter setup.
- Silicone Filler Spatulas: High-temp polyimide or silicone spatulas allow you to smooth the molten plastic bead immediately after the iron passes, reducing post-weld sanding time by 50%.
Expert Verdict: Which Setup Should You Buy?
If your goal is strictly occasional repairs of thin, low-stress items like HDPE buckets or polypropylene storage bins, a $20 budget 60W iron will suffice, provided you use a light touch and work in a highly ventilated area. The thermal mass of thin plastics won't overwhelm the iron's slow recovery time.
However, if you are repairing automotive interiors, structural 3D prints, drone frames, or appliance housings made of ABS or Polycarbonate, the thermal dynamics demand a PID controller. Spending $115 on a Hakko FX-888D or even $30 on a Pinecil V2 is mandatory. The ability to maintain a continuous 225°C viscous puddle is the sole differentiator between a repair that lasts a decade and one that fails the next time the part is flexed.
Frequently Asked Questions (FAQ)
Can I use standard 60/40 tin-lead solder to fill a plastic crack?
No. Solder will not chemically bond to polymers. While it might mechanically lock into a rough gouge, it will easily pop out under vibration or thermal expansion. You must use a filler rod of the exact same polymer family (e.g., ABS rod for ABS parts) to achieve molecular cross-linking.
Why does my plastic weld look black and bubbly?
Blackening and bubbling indicate thermal degradation. Your iron is either set too high (above 260°C for ABS) or you are lingering in one spot too long with a budget iron that has overshot its temperature. Lower your PID setting to 215°C and increase your travel speed.
Is it safe to weld Nylon with a soldering iron?
Nylon (Polyamide) has a much higher melting point (220°C - 260°C) and is highly hygroscopic (absorbs moisture from the air). If you attempt to weld Nylon with an iron without pre-drying the part in an oven at 80°C for 4 hours, the trapped water will instantly turn to steam, causing violent bubbling and a porous, structurally worthless weld.