
Why Your Craftsman 20V Soldering Iron Won't Heat Up
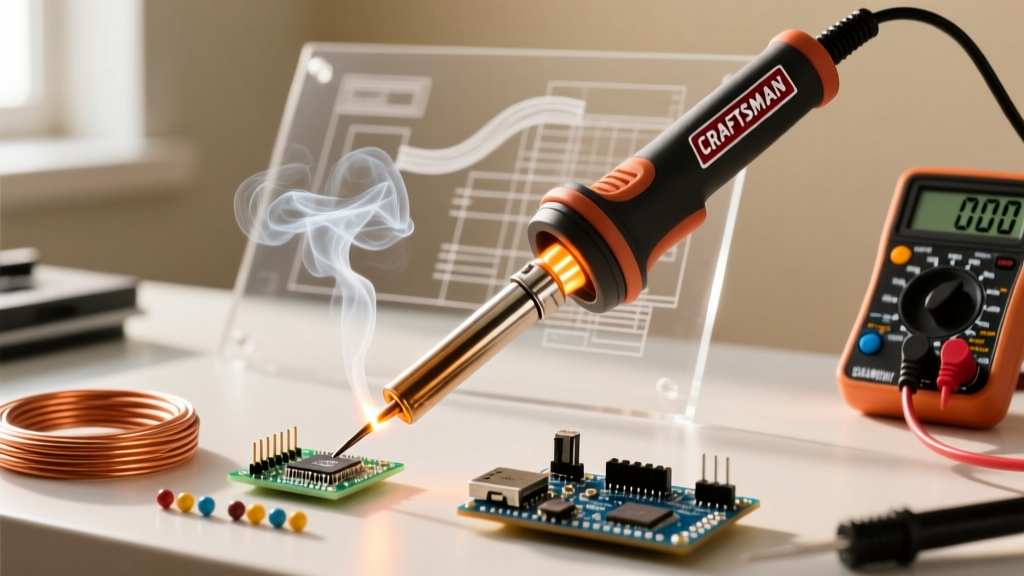
You pull the trigger on your Craftsman 20V MAX Cordless Soldering Iron (Model CMHT50000), ready to splice some 14 AWG automotive wire or repair a PCB, but nothing happens. No LED indicator, no heat. Cordless soldering irons are fantastic for field work, HVAC repairs, and automotive diagnostics, but they introduce battery and BMS (Battery Management System) complexities that traditional AC stations don't have.
If your Craftsman 20V soldering iron is not working, the issue almost always falls into one of three categories: a tripped battery BMS, thermal transfer failure at the tip, or an internal microswitch fault. As of 2026, the bare tool typically retails between $79 and $99, making it a highly repairable asset rather than disposable e-waste. This beginner-friendly guide will walk you through diagnosing and fixing the exact failure modes of the CMHT50000 using basic tools.
Safety First: Always remove the V20 battery before disassembling the iron's handle. Even when off, the internal capacitors and heating element can retain residual energy or cause short circuits if the battery rails are bridged.
Phase 1: Diagnosing the V20 Battery & BMS Lockout
The most common reason a Craftsman 20V soldering iron stops working isn't the iron itself—it's the battery. The Craftsman V20 lineup (such as the 2.0Ah CMCB202 or 4.0Ah CMCB204) uses a 5-cell lithium-ion configuration (18V nominal, 20V Max). These packs contain a BMS that will completely shut off power output if it detects a fault.
How to Test the V20 Battery Output
- Set your multimeter to DC Voltage (20V or 200V scale).
- Probe the terminals: Place the red probe on the positive (+) outer rail and the black probe on the negative (-) outer rail of the battery.
- Read the voltage: A fully charged, healthy V20 battery should read between 20.5V and 21.0V.
If your multimeter reads 0V or below 15V, the BMS has tripped. According to lithium-ion safety protocols outlined by Battery University, if a lithium cell drops below 2.5V due to self-discharge over long storage, the BMS permanently disables the pack to prevent dendrite formation and thermal runaway during recharging. If the battery reads 0V, try placing it on a Craftsman V20 smart charger. If the charger flashes a red error light, the battery is dead and must be recycled.
Cleaning the Battery Contact Rails
Flux fumes and environmental moisture create a non-conductive patina on the copper contact rails. Use a fiberglass scratch pen to gently burnish the battery terminals and the corresponding contacts inside the iron's battery dock. Wipe away the residue with 99% isopropyl alcohol. A voltage drop across dirty contacts will starve the iron's 60W ceramic heater of the amperage it needs to initialize.
Phase 2: Thermal Transfer & The Grub Screw Failure
If the iron's LED turns on and you hear a faint click, but the tip remains cold, you are likely experiencing a thermal transfer failure. The CMHT50000 uses a hollow ceramic heating element. The soldering tip slides into this core and is secured by a tiny M3 grub screw (set screw) located on the side of the wand.
The Thermal Expansion Problem
When soldering, the tip reaches up to 800°F (426°C). Repeated heating and cooling cycles cause the metal tip and the ceramic housing to expand and contract at different rates. Over time, this thermal cycling backs the grub screw out. If the tip loses physical contact with the ceramic heater, two things happen:
- Heat cannot transfer to the tip.
- The internal thermistor detects that the tip isn't heating up, assumes a sensor fault, and cuts power to prevent the ceramic core from melting itself down.
The Fix: Let the iron cool completely. Use the included hex key (or a precision 1.5mm/2mm Allen wrench) to tighten the grub screw. Ensure the tip is fully seated at the bottom of the ceramic bore before tightening. Do not overtighten, as the ceramic core is brittle and will crack under excessive torque.
Phase 3: Internal Microswitch & Wiring Faults
If you have a confirmed good battery (20.5V+) and a tightly seated tip, but the iron remains completely dead, the issue lies inside the handle. The trigger mechanism relies on a small microswitch that completes the circuit to the heating element.
Testing the Trigger Switch
- Remove the battery and unscrew the handle casing (typically requiring a T10 or T15 Torx security bit).
- Locate the microswitch behind the trigger paddle.
- Set your multimeter to Continuity mode (the setting with the sound wave icon).
- Place probes on the switch terminals. Press the trigger. You should hear a continuous beep. If the circuit remains open, the switch is dead.
In many cases, the switch isn't broken but corroded. Flux vapors are highly acidic and can infiltrate the handle's ventilation slots, corroding the copper contacts inside the switch. A quick spray of electronic contact cleaner (like DeoxIT) can often restore functionality without needing to solder in a replacement $2 microswitch.
Symptom vs. Root Cause: Quick Diagnostic Matrix
| Observed Symptom | Probable Root Cause | Diagnostic Tool Needed | Estimated Fix Cost |
|---|---|---|---|
| Completely dead, no LED | BMS Battery Lockout or Dirty Rails | Multimeter (DC Volts) | $0 (Clean) or $69 (New Battery) |
| LED turns on, but tip stays cold | Loose Grub Screw / Tip Not Seated | Visual Inspection & Hex Key | $0 |
| LED flashes, iron shuts off after 5s | Thermistor Fault or Cracked Ceramic Core | Multimeter (Ohms) | $15 (Replacement Tip/Heater) |
| Trigger feels mushy, no power | Corroded Internal Microswitch | Continuity Test | $5 (Contact Cleaner) |
Preventative Maintenance for Cordless Irons
To ensure your Craftsman 20V soldering iron remains operational for years, adopt these professional maintenance habits:
- Never Store with a Hot Tip: Cordless irons lack the heavy metal stands of bench stations. Always turn the iron off and let it cool in a safe holster before putting it in a tool bag. Residual heat will melt nearby wire insulation and damage the internal PCB.
- Keep the Tip Tinned: When turning the iron off, apply a thick layer of 63/37 rosin-core solder to the tip. This sacrificial layer prevents the iron plating from oxidizing in the air, which is the number one killer of soldering tips.
- Rotate Your Batteries: Don't leave a V20 battery on the iron for months. The iron's internal circuitry draws a micro-parasitic drain that can slowly deplete the battery below the BMS safety threshold.
When to Claim the Warranty
If your multimeter tests confirm the battery is outputting 20V+, the contacts are clean, the grub screw is tight, and the internal switch has continuity, the main control board or ceramic heating element has likely suffered a catastrophic failure. Craftsman offers a robust warranty on their V20 power tools. Before attempting any destructive teardowns or ordering third-party replacement heating elements, check your purchase receipt and consult the official Craftsman warranty support page to see if your CMHT50000 is eligible for a free replacement.
Furthermore, always ensure you are operating your cordless soldering iron in well-ventilated areas. As noted in OSHA's safety guidelines for soldering, the rosin flux fumes generated at 800°F contain colophony, which can cause severe respiratory sensitization and occupational asthma over time. Use a small desktop fume extractor or work near an open window when troubleshooting and repairing your gear.
Final Thoughts
Troubleshooting a Craftsman 20V soldering iron that is not working is rarely a complex electronics engineering problem; it is almost always a mechanical or battery-management issue. By systematically checking the V20 battery voltage, cleaning the contact rails, and ensuring proper thermal coupling at the tip, you can get your cordless iron back to peak operating temperature in under ten minutes.