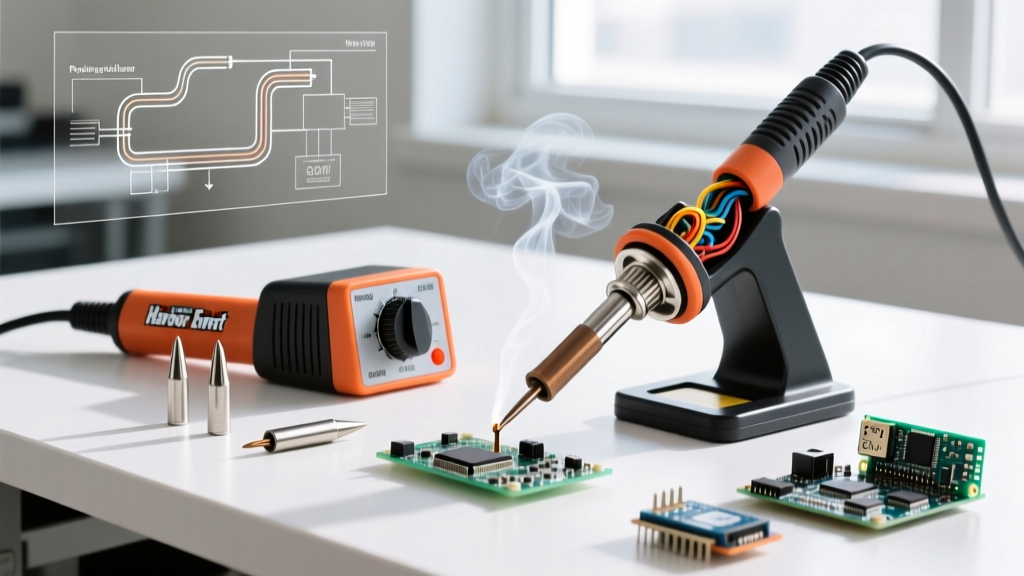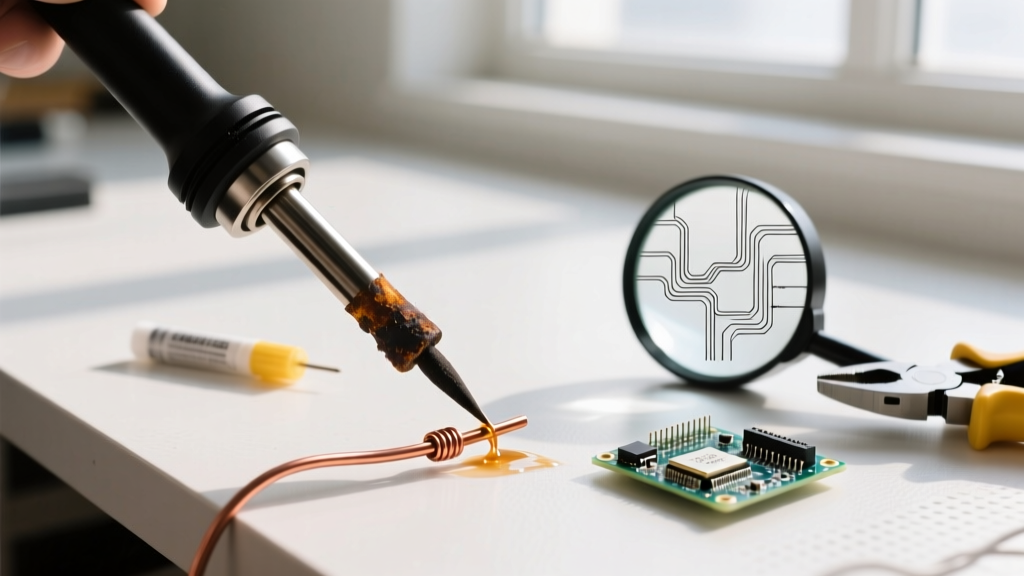

Every electronics hobbyist and professional assembly technician eventually faces the same frustrating scenario: your station is powered on, the display reads 350°C, but the soldering iron tip refuses to melt solder. Instead, the solder balls up and rolls off the blackened, oxidized surface. This phenomenon, known as tinning failure or tip dewetting, is the primary reason for premature tip replacement. However, in 90% of cases, a dead soldering iron tip can be resurrected without reaching for a replacement, saving you time and money.
The Metallurgy of Tinning Failure
To effectively troubleshoot a soldering iron tip, you must first understand its anatomy. Modern high-performance tips—such as the Hakko T18 series, Weller RT micro-tips, or JBC C245 cartridges—are not solid copper. They consist of a high-thermal-conductivity copper core, electroplated with a 0.8mm to 1.2mm layer of iron. This iron plating prevents the molten solder from dissolving the copper (a destructive process known as leaching). The working end is then pre-tinned, while the non-working shaft is often coated with chromium to repel solder and prevent creep.
Oxidation occurs when the iron layer reacts with oxygen at elevated temperatures, forming iron(III) oxide (Fe2O3). This black or dark-blue crust acts as a severe thermal insulator and physically blocks the molten solder alloy from wetting the iron beneath. Furthermore, the organic rosin core inside your solder wire can carbonize on the tip if left at idle temperatures, creating a hardened, glassy barrier that standard sponges cannot remove.
Diagnostic Matrix: Identifying Your Tip Condition
Before attempting restoration, diagnose the exact failure mode. Using the wrong cleaning method can permanently destroy an otherwise salvageable tip.
| Visual Symptom | Underlying Cause | Severity | Reversibility |
|---|---|---|---|
| Dull gray or light yellowish tint | Mild surface oxidation / flux residue | Low | Easily restored with brass wool & fresh flux |
| Crusty black or dark blue coating | Heavy iron oxide buildup / carbonized rosin | Moderate | Restored via chemical tip tinner or activator |
| Visible pitting, craters, or rough texture | Iron plating breach (copper core exposed) | Severe | Irreversible; tip must be discarded |
| Solder wets the sides but not the very point | Tip wear / mechanical abrasion damage | Moderate | Usable for through-hole, but replace for SMD |
The 4-Stage Restoration Protocol
Follow this escalation matrix to safely restore your soldering iron tip. Never jump straight to aggressive mechanical methods.
Stage 1: Thermal Shock & Brass Wool (Mild Oxidation)
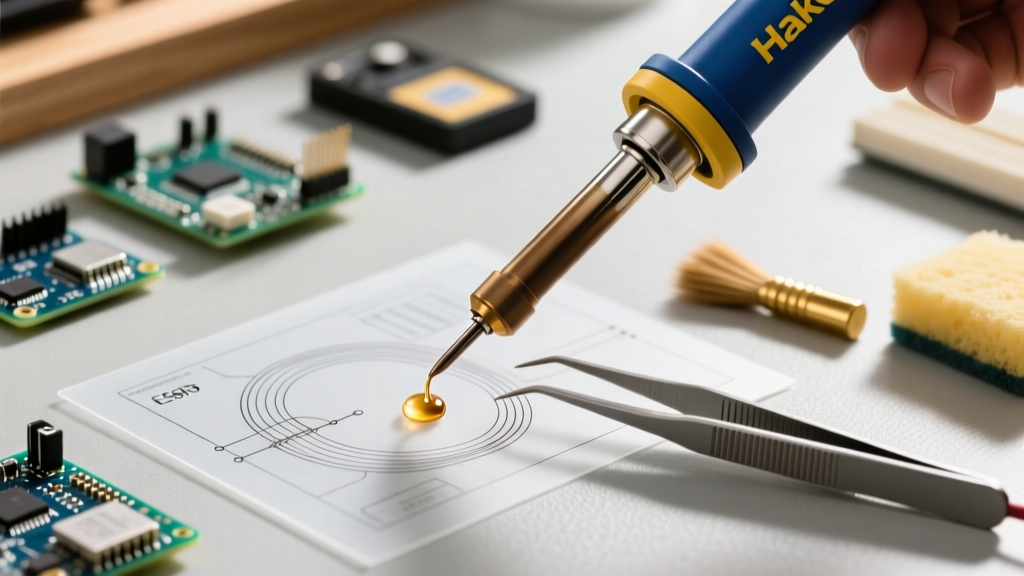
For routine maintenance and mild oxidation, rely on a high-quality brass or copper wool pad (e.g., the Hakko 599B Tip Cleaner, typically priced around $7–$9). Never use steel wool, as the iron particles will embed into your tip and cause rapid galvanic corrosion. Dip the hot tip (set to 300°C) into a small puddle of liquid rosin flux or wipe it on a flux-soaked high-temp silicone pad, then plunge it into the brass wool. The thermal shock fractures the brittle oxide layer, and the brass strands scrape it away without damaging the underlying iron plating.
Stage 2: Chemical Reduction via Tip Tinner (Moderate Oxidation)
If brass wool fails, the oxide layer is too thick for mechanical removal. You need a chemical reduction agent. Commercial tip tinners (like the Weller WDC2 or Multicore Tip Tinner, costing $10–$15) are composed of tin/lead powder suspended in a mildly abrasive ammonium chloride (sal ammoniac) flux. When the 350°C tip is plunged into the paste, the heat sublimates the ammonium chloride, which chemically strips the iron oxide. Simultaneously, the tin powder melts and instantly wets the newly exposed iron. Wipe the tip on a damp cellulose sponge immediately after tinning to remove the corrosive chloride residue.
Stage 3: The Rosin Paste & Aluminum Foil Trick (Severe Crusting)
For heavily carbonized tips where commercial tinner is unavailable, use a specialized electronics rosin paste (such as MG Chemicals 8341) and a crumpled ball of aluminum foil. Set your station to 250°C. Coat the tip heavily in the rosin paste to cut off the oxygen supply. While the flux is actively boiling and bubbling, gently rub the tip against the aluminum foil. The foil is softer than the iron plating but harder than the carbonized rosin, allowing you to scrape away the black crust safely. Immediately apply fresh 63/37 solder to the cleaned surface.
Stage 4: Condemning the Tip (Pitting & Plating Breach)
If you run your fingernail over the working end of the soldering iron tip and feel deep grooves, craters, or a rough, sandy texture, the iron plating has been breached. Once the copper core is exposed to molten solder, it will leach rapidly, creating a concave crater that makes precise heat transfer impossible. At this stage, the tip is dead. Attempting to file it down will only expose more copper and accelerate the destruction.
Preventative Maintenance: Extending Lifespan by 300%
According to the stringent soldering standards outlined by the NASA Electronic Parts and Packaging (NEPP) Program, proper tip wetting and temperature management are critical for reliable thermal transfer in aerospace and commercial assemblies. To maximize the lifespan of your tips, implement the following protocols:
- Utilize Sleep Modes: Modern smart stations like the Pinecil V2, Hakko FX-888D, or JBC CD-2BE feature auto-sleep functions. Set your station to drop to 150°C after 5 minutes of inactivity. Continuous exposure to 380°C (required for lead-free SAC305 alloys) accelerates iron oxidation by up to 400% compared to idle temperatures.
- The "Shut-Off Blob" Rule: Never power off your station with a clean tip. Before turning the dial to zero, melt a massive, generous blob of cheap, leaded 60/40 solder over the entire working surface. This sacrificial blob will oxidize instead of your tip's iron plating. When you power the station back on, simply wipe the oxidized blob off on your brass wool, revealing a perfectly tinned tip underneath.
- Match Tip Mass to the Joint: Using a microscopic Weller RT3 (0.8mm chisel) to solder a heavy 12AWG ground plane will force you to max out the temperature dial to 420°C to compensate for the thermal deficit. This destroys the tip via thermal stress. Instead, use a high-mass bevel tip (like the Hakko T18-D52) at a moderate 350°C to transfer heat efficiently without overheating the plating.
Expert Warnings: What NEVER to Do
As documented in Hakko's official technical QA on tip degradation, mechanical abrasion is the leading cause of user-induced tip failure. Never use sandpaper, emery cloth, files, or a Dremel tool on a modern iron-plated tip. You will instantly strip the 0.8mm iron layer, exposing the copper core and ruining the tool in seconds. Furthermore, avoid using synthetic kitchen sponges; they melt onto the tip and release sulfur compounds that cause irreversible sulfidation of the silver and tin in your solder alloy. Always use high-temp, sulfur-free cellulose sponges or brass wool.
Industry Note on Lead-Free Alloys: Transitioning to lead-free solders (like SAC305 or SN100C) requires higher operating temperatures (350°C–380°C) and features a higher tin content, which is highly aggressive to iron plating. For advanced assembly guidelines and tip selection matrices when using lead-free alloys, refer to the IPC (Association Connecting Electronics Industries) J-STD-001 requirements for soldered electrical and electronic assemblies.
Frequently Asked Questions
Can I use a file to reshape a blunt chisel tip?
No. While vintage solid-copper tips from the 1970s could be filed and reshaped, modern tips rely on a microscopic iron plating. Filing a Hakko T18 or Weller ETA tip will remove the plating, exposing the copper core. The solder will immediately begin eating away the copper, creating a useless crater within a single soldering session.
Why does my lead-free solder destroy tips faster than 60/40?
Lead-free alloys like SAC305 contain roughly 96.5% tin. Tin is a highly reactive solvent for iron. When combined with the higher temperatures required to melt lead-free paste (often 360°C+), the tin aggressively dissolves the iron plating. To combat this, manufacturers offer specialized "lead-free" tip lines (such as Hakko's T18 series with reinforced iron plating or JBC's exclusive high-durability tips) which cost slightly more but resist tin leaching significantly better.
How often should I replace the brass wool in my cleaner?
Replace the brass wool insert every 3 to 6 months, depending on usage volume. Over time, the brass strands become packed with carbonized flux residue, oxidized solder dust, and microscopic iron particles. A clogged brass wool pad loses its thermal shock properties and can actually scratch your tip if hardened rosin debris is trapped deep inside the metal matrix. Most manufacturers sell replacement brass inserts for under $4.