
The Physics of Tip Degradation: Why Cleaning Requires Calibration
Understanding how to clean soldering iron tip surfaces effectively requires looking past the sponge and brass wool, straight into the metallurgy of the tip itself. Modern soldering tips are not solid iron; they are a complex sandwich consisting of a high-conductivity copper core, a 100 to 150-micron electroplated iron layer for durability, and a non-wettable chrome layer on the shaft. When technicians ask why their tips turn black and reject solder, the culprit is rarely just surface dirt—it is almost always a failure of temperature calibration combined with improper cleaning mechanics.
Oxidation is an exponential function of temperature. For every 10°C increase above your baseline target, the oxidation rate of the iron plating roughly doubles. If your station's PID controller has drifted and is delivering 380°C instead of the intended 350°C for SAC305 (lead-free) solder, your tip will burn out in weeks rather than months. Therefore, a proper cleaning tutorial must begin with station setup and thermal calibration.
Phase 1: Workstation Setup and Thermal Calibration
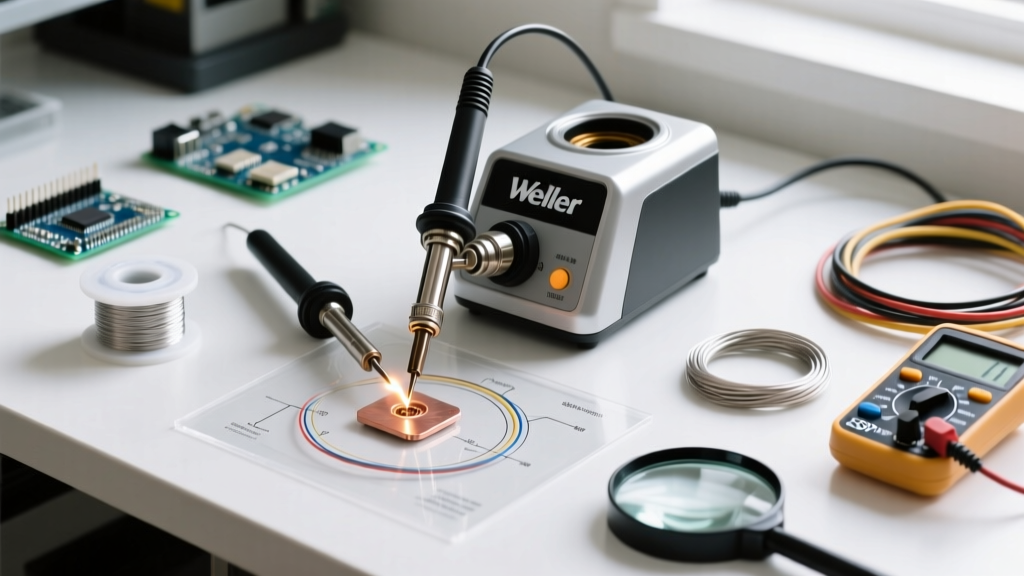
Before you even pick up a sponge, you must verify that your soldering station is delivering the exact temperature displayed on the screen. In 2026, even premium digital stations like the Weller WE1010NA (retailing around $115) or the Hakko FX-888D ($110) can experience thermal drift over time due to sensor aging and ambient temperature variations.
Calibrating Your Station
- Acquire a Tip Thermometer: You need a dedicated sensor, such as the Hakko FG-100B ($165) or the Weller WSDCB ($90). Infrared thermometers are useless here because they cannot read the emissivity of polished metal accurately.
- Set Your Baseline: Set your station to 350°C (662°F) and allow it to stabilize for three minutes.
- Measure and Offset: Apply a small bead of fresh solder to the tip, then press the thermocouple sensor into the molten bead. If the thermometer reads 365°C, you have a +15°C drift.
- Apply the Offset: Access your station's calibration menu (on the WE1010NA, this is done by holding the 'A' and 'B' buttons simultaneously) and input a -15°C offset.
According to high-reliability manufacturing guidelines published by NASA's Electronic Parts and Packaging (NEPP) program, uncalibrated thermal profiles are a leading cause of latent solder joint defects and premature tool failure. Calibrating your station ensures that when you clean the tip, you aren't inadvertently shocking a super-heated piece of metal.
Phase 2: Selecting the Right Cleaning Medium
The debate between brass wool and damp cellulose sponges is ongoing, but the metallurgical reality heavily favors one for daily maintenance. When you wipe a 350°C tip across a wet sponge, the localized temperature drops by over 300°C in a fraction of a second. This severe thermal shock can cause micro-fractures in the 150-micron iron plating. Once the iron cracks, the underlying copper core is exposed to molten solder, which dissolves the copper and creates a permanent, un-tinnable pit.
| Cleaning Medium | Mechanism | Thermal Shock Risk | Best Use Case |
|---|---|---|---|
| Brass Wire Sponge (e.g., Hakko 599B, $14) | Mechanical scraping via soft brass coils. | Low (No temperature drop) | Daily maintenance, heavy flux residue removal. |
| Damp Cellulose Sponge | Steam generation and thermal wiping. | High (Rapid quenching) | Light cleaning, final wipe before delicate SMD work. |
| Chemical Tip Tinner (e.g., MG Chemicals 4901, $18) | Phosphoric acid reduction + re-tinning. | None | Emergency restoration of severely oxidized (black) tips. |
| Fiberglass Scratch Pen | Abrasive glass fibers. | None | Never use on plated tips. Destroys iron layer instantly. |
Phase 3: Step-by-Step Cleaning Routine
The IPC (Association Connecting Electronics Industries) emphasizes that a tip should never be left bare. The presence of molten solder acts as a sacrificial barrier against oxygen. Follow this exact sequence to maintain optimal wetting.
The Active Soldering Sequence
- The Approach: Before touching the iron to your PCB pad, melt a tiny amount of fresh, flux-cored solder (e.g., Kester 245 ROL0) onto the tip. This fresh flux breaks down surface oxides instantly.
- The Wipe: After completing the joint, wipe the tip in a figure-8 motion through your brass wool sponge. Do not stab the tip into the brass, as this can bend the delicate apex of micro-tips (like the Hakko T18-B2).
- The Re-tin: Immediately apply a generous coat of fresh solder to the working end of the tip. This is called "pre-tinning" and it protects the iron plating while the iron sits in the holder.
The Shutdown Sequence (Critical)
Most tip degradation occurs during the cool-down phase. As the station is powered off, the tip passes through the 200°C to 300°C range where flux carbonization and oxidation are highly aggressive. Never turn off your station with a bare, wiped tip. Always apply a massive, ugly blob of cheap, heavily fluxed solder (60/40 rosin core is perfect for this) right before powering down. This sacrificial blob will turn black and crusty, but when you power up the next day, you simply wipe it away on the brass wool, revealing a perfectly shiny, pristine tip underneath.
Emergency Restoration: Saving a Burnt Tip
If you inherit a workstation or forget to pre-tin, you may encounter a tip that is entirely black and refuses to accept solder. Do not use sandpaper, a file, or a knife. Removing the black oxide physically removes the iron plating, ruining the tip permanently.
Expert Warning: Never use mechanical abrasives on a soldering tip. The iron plating is thinner than a human hair. Once compromised, the liquid tin will dissolve the copper core via capillary action within hours.
Instead, use a chemical reduction method:
- Step 1: Set the station to a low temperature: 250°C (482°F).
- Step 2: Plunge the blackened tip into a pot of Tip Tinner/Cleaner (such as MG Chemicals 4901-35G). The phosphoric acid in the paste will chemically reduce the iron oxide back to bare iron, while the suspended solder powder immediately wets the surface.
- Step 3: Withdraw the tip and immediately wipe it gently on a damp cellulose sponge to remove the acidic residue.
- Step 4: Apply standard rosin-core solder to re-establish the protective sacrificial layer.
Frequently Asked Questions
Why does my tip turn black even when I use a damp sponge?
Tap water contains dissolved minerals (calcium, magnesium, silica). When the water flashes to steam against a 350°C tip, these minerals are baked directly into the microscopic pores of the chrome and iron layers, creating a hard, non-wettable scale. Always use distilled or deionized (DI) water to dampen your cellulose sponge.
How often should I replace the brass wool in my cleaner?
Brass wool traps carbonized flux residue and microscopic metal shavings. If the brass coil turns black and stiff, it will no longer clean effectively and may scratch your tip. For a technician soldering 4 hours a day, replace the brass insert (e.g., Hakko 599B-01 replacement coil, ~$8) every 3 to 4 months.
Does lead-free solder destroy tips faster?
Yes. Lead-free alloys like SAC305 (Tin/Silver/Copper) require higher operating temperatures (340°C - 380°C) and contain higher tin content. Liquid tin is highly aggressive and slowly dissolves the iron plating. To combat this in 2026, many professionals are switching to specialized SAC0307 (low-silver) alloys or using nitrogen-assisted soldering stations, which eliminate ambient oxygen and allow for lower operating temperatures.