
Why Use a Soldering Station for Leather Pyrography?
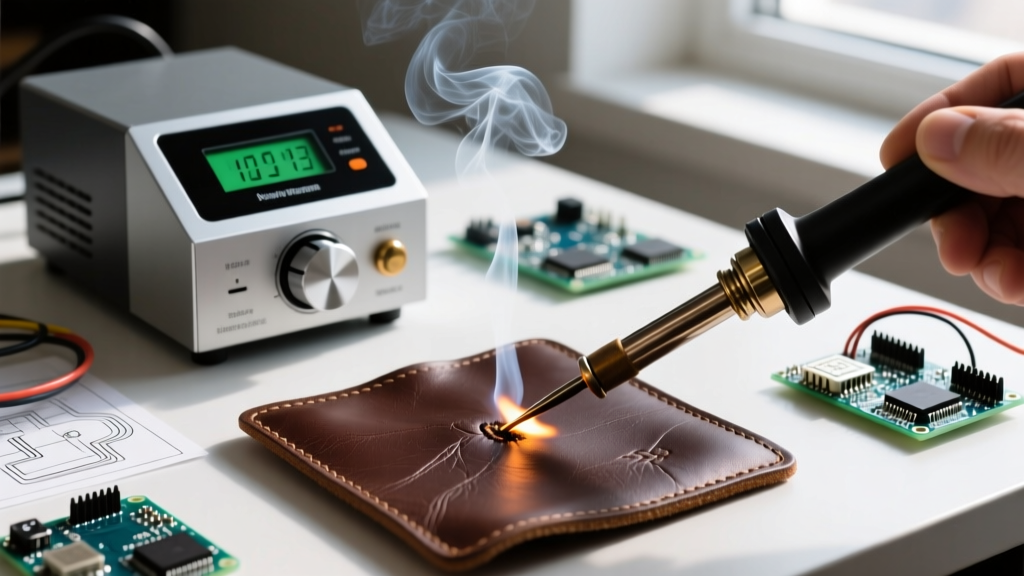
While dedicated wood-burning kits are popular among hobbyists, professional leatherworkers and advanced DIYers frequently turn to precision soldering stations to burn leather with soldering iron setups. Why? Because modern digital soldering stations offer unparalleled thermal recovery, precise temperature control down to the single degree, and a vast ecosystem of interchangeable tips. When executing intricate floral tooling, geometric shading, or custom branding on vegetable-tanned leather, the thermal stability of a high-end soldering station prevents the scorching and uneven burns commonly caused by cheap, transformer-based wood burners that fluctuate wildly in temperature.
In this comprehensive technique guide, we will explore the exact equipment, tip geometries, temperature matrices, and stroke techniques required to master leather pyrography using electronics soldering hardware.
Selecting the Right Equipment: Stations and Irons
To successfully burn leather, you need a station that can sustain temperatures between 550°F and 750°F (285°C to 400°C) without dropping heat when the tip makes contact with dense, damp leather. Here are the top-tier stations for this specific application in 2026:
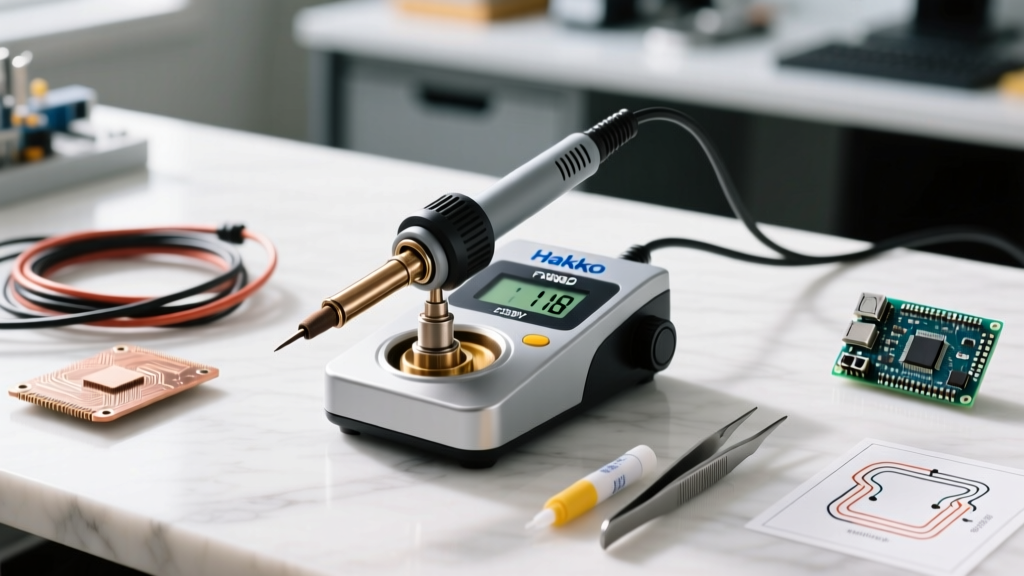
- Hakko FX-888D ($115 - $125): The industry standard. Its 70-watt ceramic heater provides excellent thermal recovery. The digital interface allows you to lock in exact temperatures, which is critical when transitioning from deep outline burns to delicate shading.
- Weller WE1010 ($110 - $130): Featuring an 85-watt heating element, the WE1010 recovers heat slightly faster than the Hakko, making it ideal for burning thick, heavily cased leather where rapid heat transfer is required.
- Pine64 Pinecil V2 ($26 - $35): For portable leather tooling or makers without a dedicated bench, this RISC-V powered, PD3.0 USB-C iron is a revelation. It boots in two seconds and holds temperature remarkably well for its price point, though it requires a robust 65W+ USB-C power brick to maintain high-heat leather burns.
Tip Geometry: The Secret to Clean Burns
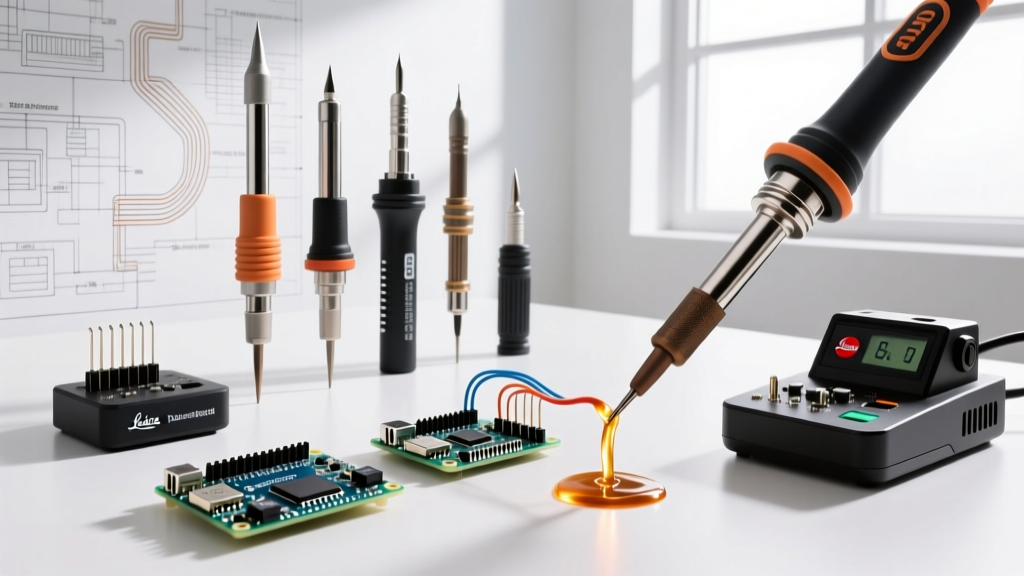
Standard conical soldering tips (like the Hakko B2) are generally poor choices for leather burning. They tend to dig into the leather grain, causing uneven thermal transfer and physical gouging. Instead, you must select tips with flat or angled profiles:
- Chisel Tips (e.g., Hakko D24 or Weller SMT): The flat edge is perfect for pulling smooth, consistent lines and creating broad shading gradients. A 2.4mm to 4.0mm chisel width provides the ideal surface area for leather contact.
- Knife/Blade Tips (e.g., Hakko K or Weller KN): Essential for cutting deep, crisp outlines and creating sharp, angled stippling effects. The edge can be used like a scalpel for fine detail, while the flat side can be laid down for shading.
- Bevel/Hoof Tips: Excellent for stamping repetitive patterns or burning circular motifs without catching on the leather's natural grain.
The Golden Rule: Leather Selection and Toxicity Warnings
CRITICAL SAFETY WARNING: You must ONLY use Vegetable-Tanned (Veg-Tan) leather for pyrography. Never burn Chrome-Tanned leather. Chrome-tanning utilizes chromium salts, and applying high heat to this leather releases hexavalent chromium—a highly toxic, known human carcinogen. Always verify your leather source before applying heat.
According to the CDC's National Institute for Occupational Safety and Health (NIOSH), hexavalent chromium exposure can cause severe respiratory issues and cellular damage. When sourcing leather for burning, purchase undyed, natural vegetable-tanned hides from reputable suppliers like Weaver Leathercraft or Tandy Leather. Veg-tan leather reacts beautifully to heat, caramelizing into rich shades of amber, brown, and deep mahogany depending on the temperature and dwell time.
Temperature Control Matrix for Leather Burning
Unlike soldering copper traces where temperature is dictated by the solder alloy's melting point, leather burning is an art of controlled caramelization. The exact temperature depends on the leather's thickness, moisture content (casing), and the desired contrast. Use the following matrix as your baseline:
| Burn Type | Target Temp (°F / °C) | Tip Profile | Application / Visual Result |
|---|---|---|---|
| Light Shading / Background | 550°F - 600°F (285°C - 315°C) | Wide Chisel (4.0mm+) | Soft, pale amber gradients; requires multiple slow passes. |
| Mid-Tone Texturing | 620°F - 670°F (325°C - 355°C) | Standard Chisel (2.4mm) | Rich brown tones; ideal for fur, wood grain, or floral leaves. |
| Deep Outlines & High Contrast | 680°F - 730°F (360°C - 385°C) | Knife or Fine Chisel | Dark mahogany to near-black lines; immediate searing on contact. |
| Brand Stamping / Deep Carving | 750°F+ (400°C+) | Custom Brass Tip / Bevel | Deep physical indentation combined with maximum color contrast. |
Step-by-Step Technique: Executing the Burn
Achieving professional results requires more than just dragging a hot piece of metal across a hide. Follow this exact workflow to ensure clean, predictable burns.
1. Casing the Leather
Never burn bone-dry leather; it will scorch unevenly and result in a rough, pitted texture. "Casing" involves introducing moisture to the leather fibers. Lightly mist the surface with distilled water using a spray bottle. Allow the water to absorb for 5 minutes, then place the leather in a sealed plastic bag for 2 to 4 hours (or overnight). The leather should feel cool and slightly damp to the touch, not wet. This moisture acts as a heat sink, allowing the iron to caramelize the fibers smoothly rather than instantly charring them.
2. Transferring the Design
Use a graphite transfer paper or lightly trace your design with a stylus. Avoid using ink pens or carbon paper, as the heat from the soldering iron will melt the ink and smear it permanently into the leather grain.
3. The Pull Stroke Technique
When executing lines, always pull the iron toward your body rather than pushing it away. Pulling allows you to see the exact point of contact and leverages the natural pivot of your wrist for smoother curves. Keep the iron moving at a steady pace; lingering for even a fraction of a second too long will result in a dark, sunken "hot spot" that cannot be sanded out.
4. Shading and Stippling
For smooth gradients, use the flat side of a chisel tip at a lower temperature (around 600°F). Use overlapping, sweeping motions. For textured shading (like animal fur or stone), use the corner of a knife tip to perform rapid, light stippling motions. Let the iron's thermal recovery do the work—do not press down hard. Excessive pressure compresses the leather fibers and creates unnatural grooves.
Tip Maintenance and Oxidation Prevention
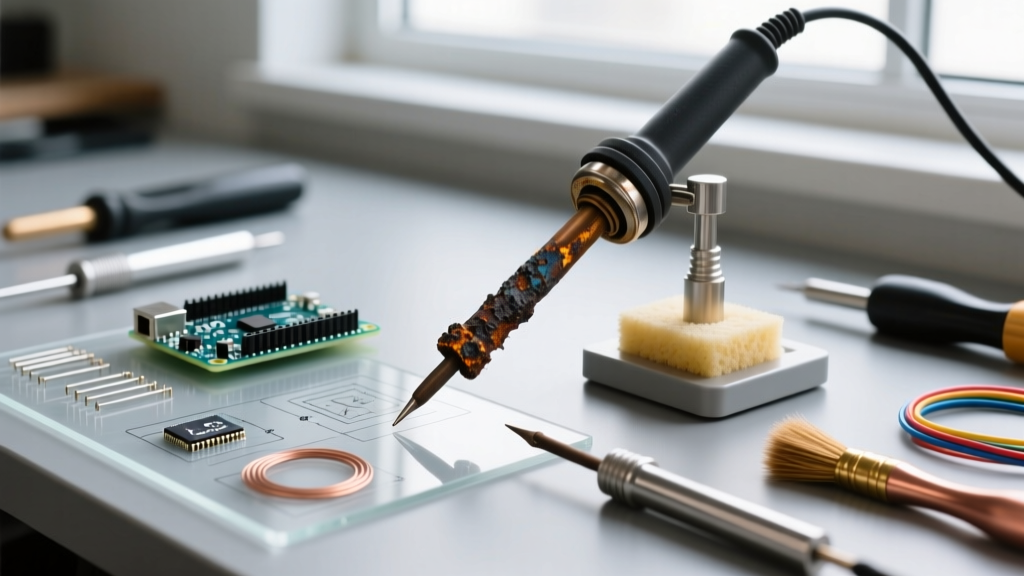
Leather contains natural tannins, oils, and residual moisture that will rapidly oxidize and degrade standard iron-plated soldering tips if not maintained properly. Burning leather is significantly harsher on tips than soldering electronic components.
According to the official maintenance guidelines from Hakko's Soldering Tip Care Guide, thermal shock and chemical corrosion are the primary killers of soldering tips. To extend tip life during leatherwork:
- Avoid Damp Sponges: While electronics work often uses damp cellulose sponges, wiping a 700°F leather-burning tip on a wet sponge causes severe thermal shock, leading to micro-fractures in the iron plating. Once the plating cracks, the copper core will dissolve rapidly.
- Use Brass Wool: Clean your tip exclusively with a dry brass wire wool pad (like the Hakko 599B) between shading sessions. This removes carbonized leather residue without dropping the tip temperature drastically.
- Re-tinning is Mandatory: Leather residue will strip the solder tinning off your tip. Every 15 minutes, apply a small amount of lead-free or 63/37 rosin-core solder to the tip to re-establish a protective metallic barrier against the acidic tannins in the leather.
- Power Down Promptly: Never leave your station at 700°F while idle. If you are taking a break longer than 3 minutes, drop the temperature to 350°F to prevent the tip from oxidizing into a useless, blackened crust.
Finishing and Sealing the Burned Leather
Once your pyrography is complete, the burned areas will be slightly raised and textured due to the expansion of the heated fibers. Allow the leather to dry completely for 24 hours. Once dry, you can lightly buff the surface with a soft horsehair brush to remove any loose carbon dust. Finally, seal the leather with a light coat of neatsfoot oil, mink oil, or a dedicated leather finisher like Resolene. The oil will dramatically darken the burned areas, increasing the contrast and giving the piece a rich, professional patina that will only improve with age.
By leveraging the precise thermal control of modern soldering stations and respecting the chemical properties of vegetable-tanned leather, you can elevate your leathercraft from basic stamping to fine art pyrography.