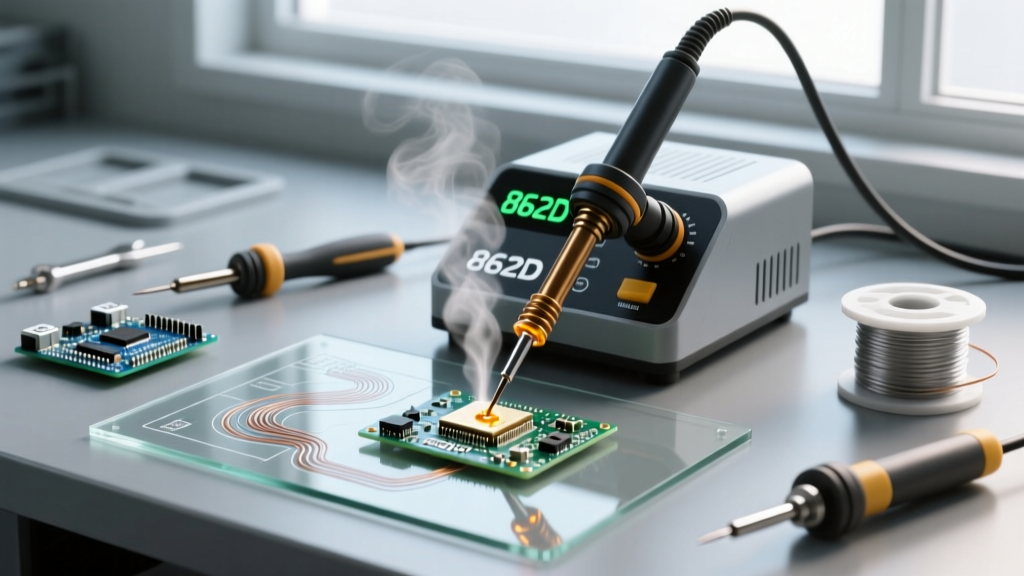

Unlocking the Potential of Your 862D Rework Soldering Station
If you are transitioning from basic through-hole soldering to surface-mount device (SMD) rework, the 2-in-1 hot air and iron combo is an essential upgrade. In 2026, the market is saturated with options, but the classic 862D architecture remains the undisputed king of budget-friendly, high-reliability bench tools. Whether you are repairing consumer electronics, prototyping PCBs, or replacing aging capacitors, understanding how to properly calibrate and wield a rework soldering station 862d model is the difference between a flawless repair and a destroyed PCB.
This comprehensive beginner guide will bypass the generic manual fluff and provide you with exact temperature matrices, airflow calibration secrets, and real-world troubleshooting frameworks used by professional bench technicians.
Anatomy of the 862D: What You Are Working With
Before applying heat to a sensitive microcontroller, you must understand the hardware. A standard 862D station typically delivers 700W to 750W of total power, split between a 500W hot air gun and a 50W to 60W soldering iron.
The Diaphragm Pump Advantage
Unlike cheaper fan-in-handle models, a genuine 862D+ or high-tier 862D clone utilizes a base-mounted diaphragm pump. This is a critical E-E-A-T distinction: diaphragm pumps provide linear, highly controllable airflow at low settings. Fan-based guns often stall or pulse at low speeds, which can blow 0402 capacitors across your workbench. Always verify your station uses a hose-connected diaphragm pump before attempting precision SMD rework.
Critical First Step: Grounding and ESD Safety
Modern ICs and MOSFETs are incredibly sensitive to Electrostatic Discharge (ESD). The 862D hot air gun generates significant static electricity as air rushes through the PTFE-lined nozzle. According to the ESD Association fundamentals, ungrounded rework tools can generate static potentials exceeding 2,000 volts, instantly destroying the gate oxide of a component.
- Ground the Station: Ensure the 862D chassis is plugged into a properly grounded 3-prong outlet. Use a multimeter to verify continuity between the station's metal ground lug and the earth ground of your outlet.
- Use an ESD Mat: Place your PCB on a dissipative ESD mat connected to the station's ground port via a 1-megohm resistor wire.
- Wear a Wrist Strap: Connect your personal ESD wrist strap to the station's secondary ground jack.
The Ultimate 862D Temperature and Airflow Matrix
Beginners often make the mistake of maxing out the temperature and airflow to 'get the job done faster.' This leads to scorched FR4 fiberglass and lifted copper pads. Below is a tested matrix for lead-free solder (SAC305) commonly used in modern electronics. If you are working with older leaded solder (Sn63/Pb37), subtract 30°C from these targets.
| Component / Task | Target Temp | Airflow Dial (%) | Estimated Time | Nozzle Size |
|---|---|---|---|---|
| 0805 / 0603 Passives | 320°C | 15% - 20% | 3 - 5 seconds | 3mm Round |
| SOIC-8 / SOP-16 ICs | 350°C | 35% - 45% | 15 - 25 seconds | 5mm Round |
| QFP-44 / QFP-64 | 360°C | 40% - 50% | 30 - 45 seconds | 10mm x 10mm Square |
| Large Ground Planes | 380°C | 60% - 80% | 60+ seconds | 12mm Round / BGA |
Step-by-Step: Removing an SOIC-8 Chip Without Lifting Pads
Pad lifting is the most catastrophic failure in SMD rework. The NASA Workmanship Standards explicitly state that any separation of the land (pad) from the base laminate constitutes a rejectable defect. Follow this precise sequence to safely remove an 8-pin IC using your 862D station.
- Apply Generous Flux: Use a high-tack, no-clean gel flux like Amtech NC-559 or Chip Quik SMD291AX. Flux lowers the surface tension of the solder and dramatically improves heat transfer. Do not skip this step.
- Pre-heat the Board: If possible, use a bottom pre-heater set to 100°C. If you lack a pre-heater, use the 862D hot air gun at 200°C with 30% airflow to gently warm the entire PCB area for 20 seconds. This reduces thermal shock.
- Target the IC: Increase the station to 350°C and 40% airflow. Hold the nozzle 1/2 inch above the chip. Move the gun in a tight, continuous circular motion to heat all pins evenly.
- The Nudge Test: After 15 seconds, gently nudge the corner of the IC with fine-point titanium tweezers. If it slides slightly and self-centers (due to liquid solder surface tension), the joints are fully liquidus.
- Lift Straight Up: Never pry from one side. Grip the IC firmly but gently and lift straight up. Place it on a heat-resistant silicone mat.
Expert Insight: If the chip does not move during the nudge test, do not apply force. Increase your airflow by 10% or add more flux, then wait another 10 seconds. Forcing a cold joint will rip the copper trace right off the fiberglass substrate.
Troubleshooting Common 862D Beginner Failures
Even with the right settings, environmental variables can cause defects. Here is how to diagnose and fix the most common issues encountered by novices.
1. Tombstoning (Drawbridging)
The Symptom: A small passive component (like a 0603 resistor) stands up on one end, resembling a tombstone. The Cause: Uneven heating. One pad reached the solder melting point before the other, and the surface tension of the liquid solder pulled the component upright. The Fix: Ensure your hot air nozzle is centered perfectly over the component. Use a smaller nozzle to focus the heat exclusively on the component and its immediate pads, avoiding adjacent copper pours that act as heat sinks.
2. Solder Balling and Splattering
The Symptom: Tiny spheres of solder shoot out from under the IC and stick to the solder mask. The Cause: Moisture trapped inside the PCB or the component body rapidly expanding into steam when hit with 350°C heat, or using a low-quality flux that boils violently. The Fix: Bake moisture-sensitive PCBs at 80°C for 4 hours before rework. Switch to a higher-quality, low-splatter gel flux, and ensure your pre-heating phase is long enough to gently evaporate residual moisture.
3. Cold Joints on Large Ground Pins
The Symptom: The signal pins of a connector look shiny and perfect, but the large mechanical ground tabs are dull, grainy, and easily break. The Cause: The massive copper ground plane dissipates the heat from your 862D gun faster than it can be applied. The Fix: You must use a pre-heater for boards with heavy ground planes. Alternatively, use the 862D soldering iron (not the hot air) with a massive chisel tip (like a 2.4D or 3C tip) and 63/37 leaded solder to manually flow the ground tabs, leveraging the iron's direct conductive heat transfer.
Longevity Hacks: Tip and Nozzle Maintenance
The 862D is a workhorse, but it requires specific maintenance to survive years of daily use. Adhering to IPC standards for tool maintenance ensures consistent thermal recovery.
- Iron Tip Tinning: Never leave the soldering iron tip bare. The moment you turn off the station, melt a large blob of cheap, leaded 63/37 solder over the entire working surface of the tip. This sacrificial layer prevents the iron plating from oxidizing and pitting while it cools.
- Nozzle Carbon Buildup: Flux vaporizes and bakes onto the inside of your hot air nozzles, eventually restricting airflow and causing the pump to overwork. Once a month, soak your metal nozzles in isopropyl alcohol (IPA) and use a soft brass brush to clear the carbon deposits. Never use steel brushes, as they will scratch the protective plating.
- Handle Care: The 862D hot air handle contains a delicate ceramic heating element and a fragile K-type thermocouple. Always place the handle in the magnetic cradle when not in use. Dropping the handle on a hard bench is the number one cause of internal thermocouple wire fractures, which results in the station displaying 'Error' or 'S-E' on the digital LED screen.
Frequently Asked Questions
Can I use the 862D for BGA rework?
While the 862D can technically reflow small BGAs (like those on flash memory chips), it lacks the precise, multi-zone temperature profiling required for large, modern smartphone processors or GPUs. For large BGAs, an IR (Infrared) or dedicated BGA rework station with programmable thermal curves is mandatory to prevent substrate warping.
Why does my 862D hot air gun take 45 seconds to reach 350°C?
This is normal for diaphragm pump stations. The heating element must warm the ceramic core, and the ambient air being pushed through must reach thermal equilibrium. Do not increase the temperature dial to 450°C to 'speed it up'—this will overshoot the target temperature and potentially scorch your first component. Let the PID controller do its job.
Is the 862D safe for automotive ECU repair?
Yes, provided you have verified your ESD grounding. Automotive ECUs contain highly sensitive flash memory and microcontrollers. Always use a grounded ESD mat, a wrist strap, and keep the hot air gun moving to avoid localized thermal damage to the conformal coating often found on automotive boards.