
The Metallurgical Barrier: Why Standard Flux Fails
Soldering stainless steel (particularly austenitic grades like 304 and 316) is fundamentally different from soldering copper or brass. The British Stainless Steel Association notes that the corrosion resistance of stainless steel relies on a passive, microscopic layer of chromium oxide (Cr2O3). This passive layer is chemically inert and completely blocks the metallurgical wetting required for solder to form intermetallic compounds (IMCs).
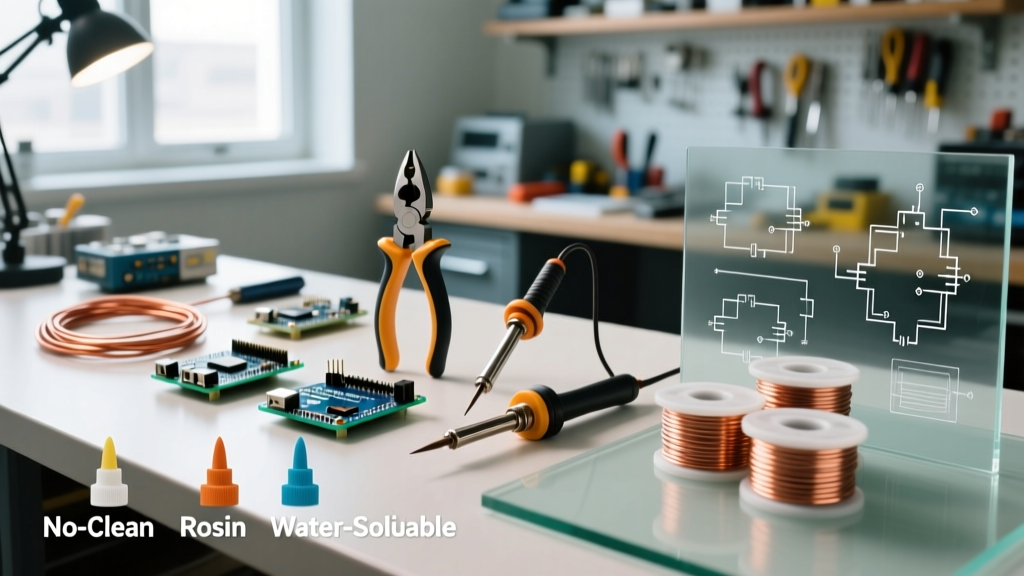
Standard rosin-based (R, RMA, RA) or no-clean fluxes used in electronics lack the chemical aggressiveness to dissolve this chromium oxide layer. If you attempt to use them, the solder will simply ball up and roll off the joint. To achieve a permanent, high-strength bond, stainless steel flux soldering mandates the use of highly active, acid-based fluxes—typically formulated with zinc chloride or phosphoric acid—that chemically strip the oxide layer at soldering temperatures.
Essential Consumables and Tooling Matrix
Success in this process relies on matching the right thermal mass with the correct chemical agents. Below is the professional-grade consumable checklist required for reliable stainless steel joints.
| Category | Recommended Specification | Estimated Cost (2026) | Technical Notes |
|---|---|---|---|
| Flux | Superior Flux #2000 or Harris Stay-Clean | $12 - $18 / 4oz | Zinc chloride-based liquid. Highly corrosive. Do not use on live PCBs. |
| Solder Alloy | Sn63/Pb37 (Eutectic) or SAC305 (Lead-Free) | $35 - $60 / lb | Use Indium Corporation or Kester wire, 0.062" diameter for thermal mass. |
| Soldering Station | 60W - 120W Station (e.g., Hakko FX-951, Weller WE1010) | $120 - $350 | Stainless steel has low thermal conductivity; high wattage prevents tip temperature collapse. |
| Tip Geometry | Heavy Chisel or Blade (e.g., Hakko T12-D24, Weller RTW035) | $10 - $45 | Maximize surface contact area. Avoid conical tips entirely. |
| Abrasive | 220-grit Aluminum Oxide sandpaper or Scotch-Brite | $5 - $10 | Required for mechanical disruption of the macro-oxide layer prior to fluxing. |
Step-by-Step Execution Flow
Follow this precise sequence to ensure complete oxide removal, optimal wetting, and structural joint integrity.
Step 1: Mechanical Surface Disruption
Before applying any chemicals, you must mechanically abrade the joint area. Use 220-grit aluminum oxide sandpaper or a heavy-duty Scotch-Brite pad to scuff the stainless steel surface. This does not remove the microscopic chromium oxide layer entirely, but it creates surface roughness (increasing the surface area for capillary action) and breaks up heavy macro-contaminants like oils or shop dirt. Immediately wipe the abraded area with 99% isopropyl alcohol (IPA) to remove embedded particulates. Do not touch the prepared surface with bare fingers.
Step 2: Targeted Flux Application
Apply a generous, localized bead of your zinc chloride-based liquid flux (such as Superior #2000) directly to the joint interface. Because these fluxes are water-based liquids, they will flow via capillary action. Ensure the flux covers the entire intended solder footprint, plus a 2mm perimeter to account for thermal displacement when the iron makes contact.
Step 3: Thermal Transfer and Dwell Time
Set your soldering station to 360°C (680°F) for Sn63/Pb37 alloys, or 390°C (734°F) for SAC305 lead-free alloys. Apply the heavy chisel tip directly to the stainless steel workpiece, not the solder wire. Stainless steel is a poor thermal conductor compared to copper. You must allow a dwell time of 3 to 5 seconds for the localized zone to reach the flux's activation temperature (typically around 200°C to 250°C). You will see the liquid flux bubble, then suddenly turn clear and glassy—this indicates the zinc chloride has successfully reacted with and dissolved the chromium oxide layer.
Step 4: Solder Feeding and Wetting Observation
Once the flux turns glassy, feed your solder wire directly into the interface between the iron tip and the stainless steel. The solder should instantly flash and flow outward, pulled by capillary action into the joint. If the solder forms a discrete, convex dome (balling up) and refuses to spread, stop immediately. This indicates either insufficient thermal mass (the workpiece is acting as a heat sink) or the flux has burned off before wetting occurred. Remove the iron, let the part cool, re-abrade, and restart.
Step 5: Joint Solidification
Remove the heat source and allow the joint to cool naturally. Do not blow on the joint or use compressed air, as rapid cooling of the high-tin alloys can induce micro-fractures or disturb the delicate intermetallic layer formation, resulting in a disturbed, grainy-looking cold joint.
Post-Solder Neutralization and Cleaning
CRITICAL SAFETY & RELIABILITY WARNING: Zinc chloride and ammonium chloride fluxes are highly corrosive and hygroscopic. If left on the joint, they will absorb atmospheric moisture and rapidly corrode the stainless steel and the solder joint itself, leading to catastrophic mechanical failure over time.
Because these fluxes are acidic, they must be chemically neutralized, not just wiped away. Prepare a neutralizing solution of warm distilled water and sodium bicarbonate (baking soda) at a ratio of 1 tablespoon per 8 ounces of water.
- Submerge the soldered assembly in the baking soda solution for 3 to 5 minutes. You will observe mild effervescence (bubbling) as the base neutralizes the residual acid.
- Scrub the joint gently with a nylon bristle brush while submerged to dislodge any crystallized flux salts.
- Rinse thoroughly with deionized (DI) or distilled water to prevent water-spot mineral deposits.
- Dry completely using compressed air or a low-heat convection oven (80°C for 15 minutes).
Troubleshooting Matrix: Edge Cases and Failure Modes
Even with the correct materials, stainless steel flux soldering presents unique failure modes. Use this diagnostic matrix to correct issues in real-time.
| Failure Symptom | Root Cause Analysis | Corrective Action |
|---|---|---|
| Solder balls up / Dewetting | Chromium oxide layer remains intact; flux burned off before activation temperature was reached. | Increase iron wattage or tip mass. Apply flux, heat the base metal faster, and feed solder before the flux carbonizes. |
| Black, crusty residue | Flux has been subjected to excessive heat for too long, carbonizing the chemical activators. | Reduce station temperature by 15°C. Pre-tin the tip and use the side of the chisel for broader heat transfer. |
| Joint cracks upon cooling | Thermal shock or high-lead/impurity alloy used on austenitic stainless steel. | Ensure natural cooling. Verify solder alloy purity; avoid cheap, unbranded solder wire with high bismuth or antimony impurities. |
| White powdery corrosion post-clean | Incomplete neutralization of zinc chloride salts in micro-crevices. | Utilize an ultrasonic cleaner (40kHz) with the baking soda solution to force neutralizing agents into capillary gaps. |
Fume Extraction and Operator Safety
When zinc chloride-based fluxes reach their activation and boiling points, they release dense, acrid white smoke. According to the Occupational Safety and Health Administration (OSHA), inhalation of zinc chloride fumes can cause severe respiratory tract irritation and metal fume fever. Never perform stainless steel flux soldering in an unventilated space. You must use a dedicated fume extraction system equipped with both a HEPA filter (for particulates) and an activated carbon bed (for acidic gas adsorption), positioned no more than 4 inches from the soldering plume. Standard desk fans that merely blow the smoke across the room are entirely inadequate and dangerous.
Summary
Mastering stainless steel flux soldering is less about the soldering iron itself and more about understanding the metallurgical barrier of the chromium oxide layer. By utilizing aggressive zinc chloride fluxes, maximizing thermal transfer with heavy chisel tips, and严格执行 (strictly executing) post-solder chemical neutralization, you can achieve structural, leak-proof, and electrically conductive joints on one of the most notoriously difficult metals to solder.