
Defining the Medium: Flux Paste vs. Solder Paste
Before diving into application techniques, it is critical to establish a fundamental distinction that trips up many electronics hobbyists and junior technicians: the difference between solder paste and flux paste (often called tacky flux). Solder paste is a suspension of microscopic solder alloy spheres (like SAC305 or Sn63/Pb37) embedded in a flux medium. Flux paste, conversely, contains zero metal powder. It is a highly viscous, thixotropic chemical activator designed to hold components in place, strip oxides, and promote wetting during hand soldering, BGA reballing, and rework.
Understanding how to use soldering flux paste correctly requires matching its chemical activation profile to your specific solder alloy and PCB surface finish. Using a high-temperature lead-free no-clean flux paste with a low-temperature bismuth alloy will result in catastrophic wetting failures because the flux will never reach its activation threshold. This guide breaks down the chemistry, compatibility, and precise application methodologies required for flawless solder joints in 2026.
IPC-J-STD-004B Chemistry & Alloy Compatibility Matrix
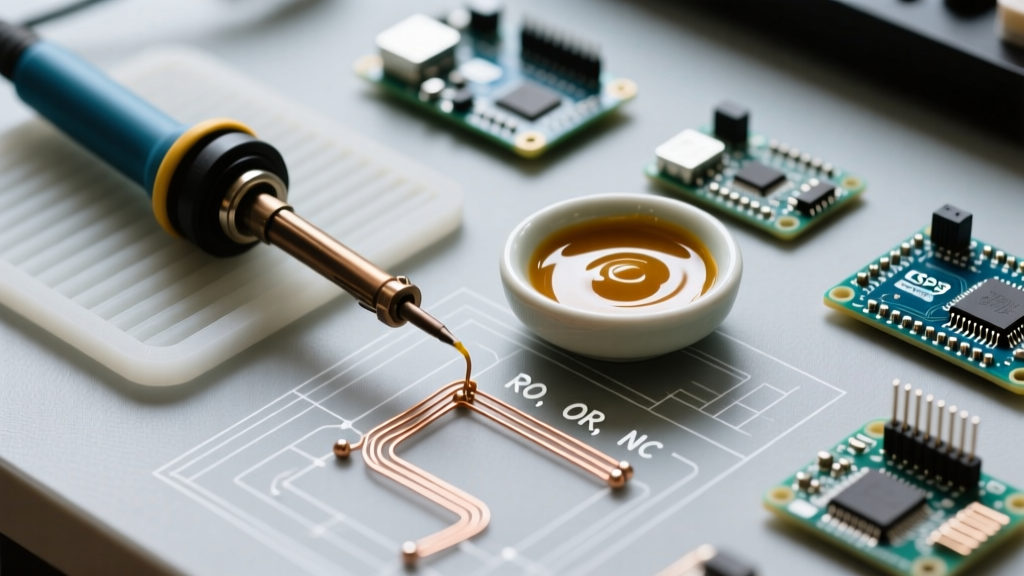
The IPC-J-STD-004B standard categorizes fluxes by material (Rosin, Organic, Inorganic) and activity level (Low, Medium, High). When selecting a tacky flux paste, you must align the flux activation temperature with the liquidus temperature of your chosen solder wire or preform.
| Flux Designation | Chemistry Type | Ideal Alloy Match | Activation Temp Range | Cleaning Requirement |
|---|---|---|---|---|
| ROL0 / ROL1 | Rosin (Low Activity) | Sn63/Pb37, Sn60/Pb40 | 120°C - 150°C | Optional (No-Clean) / Solvent |
| REL0 / REL1 | Rosin-Ester (Low/Med) | SAC305, SAC405 (Lead-Free) | 150°C - 180°C | Optional (No-Clean) |
| ORH1 | Organic (High Activity) | Heavily Oxidized Leads, ENIG | 140°C - 200°C | Mandatory (DI Water/Saponifier) |
| Specialty NC-LT | No-Clean Low-Temp | Sn42/Bi57.6, Sn96.5/Ag3.0/Cu0.5 | 90°C - 120°C | None (Strict No-Clean) |
Expert Insight: If you are reworking a board with an ENIG (Electroless Nickel Immersion Gold) finish that has experienced pad contamination, a standard ROL0 flux paste will fail to break through the oxidation. You must step up to an ORH1 water-soluble tacky flux or use a specialized halide-activated REL1 paste to ensure proper intermetallic compound (IMC) formation. For more on IPC classifications, refer to the IPC Standards Documentation.
Step-by-Step: How to Use Soldering Flux Paste for SMD and BGA
Flux paste is typically packaged in 10cc/30cc syringes or 50g/100g jars. Because of its high viscosity (often between 150,000 and 250,000 cP), application requires specific tooling and technique to avoid excessive buildup, which can cause solder balling or bridging.
Step 1: Surface Preparation and Staging
- Degrease the PCB: Wipe the target area with 99.9% Isopropyl Alcohol (IPA) and a lint-free polyester swab. Do not use standard 70% rubbing alcohol; the 30% water content will cause moisture entrapment and subsequent solder spattering.
- Thermal Staging: If your flux paste has been stored in a refrigerator (common for high-reliability REL0 pastes to extend shelf life), allow it to acclimate to room temperature (22°C - 25°C) for at least 2 hours before opening. Opening a cold jar introduces condensation into the hygroscopic flux medium.
Step 2: Precision Dispensing Techniques
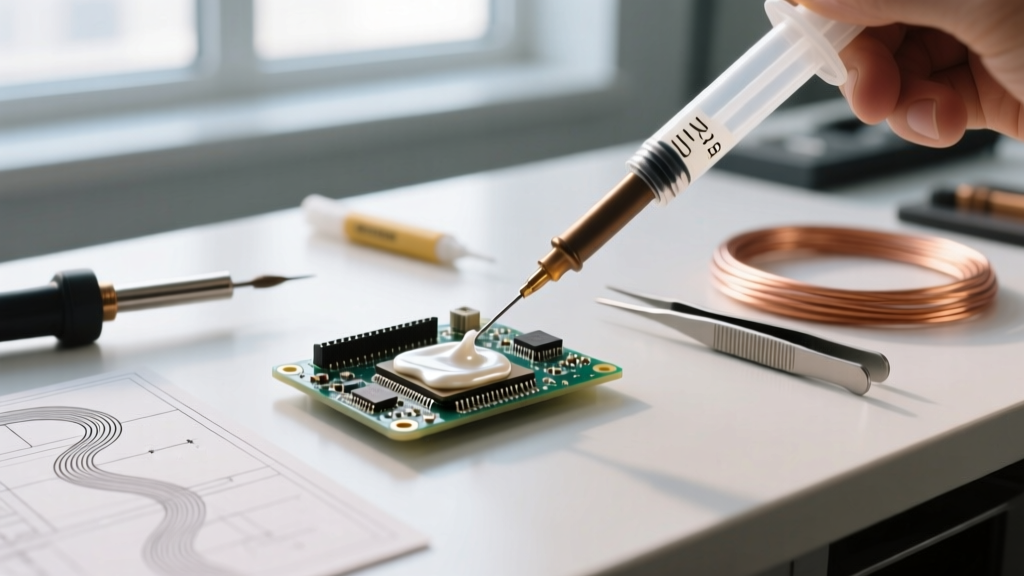
- Syringe Dispensing (Pneumatic): For QFNs and 0402 passives, use a pneumatic dispenser set to 15-25 PSI with a 27-gauge tapered tip. Apply a dot size roughly 50% the volume of the component footprint. The thixotropic nature of the paste will cause it to 'slump' slightly when heated, covering the pads perfectly.
- The 'Dip' Method (BGA Reballing): When reballing a BGA chip, do not brush the paste on. Instead, use a flux-dipping station or spread a uniform 0.05mm layer of tacky flux on a glass plate. Press the BGA into the flux at a precise 90-degree angle to ensure equal flux volume on every sphere. Unequal flux volumes lead to 'head-in-pillow' defects during reflow.
- Stenciling (High-Volume Rework): For array rework, use a 0.12mm (4-mil) thick stainless steel stencil. Apply the flux paste using a hard polyurethane squeegee at a 45-degree angle with moderate downward pressure.
Step 3: Component Placement and Tackiness
Unlike liquid flux, flux paste provides temporary adhesion (tack). Place your SMD component using vacuum tweezers. Press down with approximately 50 to 100 grams of force. You should see a microscopic 'squish' of the paste at the pad edges. If the paste oozes over adjacent pads, you have applied too much; clean with IPA and reapply.
Thermal Profiling: Activating the Paste
Knowing how to use soldering flux paste also means understanding its thermal limits. If you apply a 380°C iron tip directly to a REL1 flux paste, the rosin-ester base will carbonize instantly, turning into a black, glassy residue that actually prevents solder wetting. According to data published in NASA's Electronic Parts and Packaging (NEPP) Program, proper thermal profiling is mandatory for high-reliability assemblies.
Hand Soldering Protocol:
- Set your iron to 320°C (for Sn63/Pb37) or 350°C (for SAC305).
- Use a broad chisel tip (e.g., 2.4mm or 3.2mm) to maximize thermal transfer.
- Apply the iron to the pad and lead simultaneously for 1 second to activate the flux paste.
- Feed your solder wire (which contains its own core flux) into the joint. The external tacky flux and the internal wire flux will co-flow, creating a pristine, shiny fillet.
Troubleshooting Edge Cases and Failure Modes
Even with perfect compatibility, environmental factors can ruin a solder joint. Here is how to diagnose flux paste failures:
1. Micro-Solder Balling (Spattering)
The Cause: Moisture absorption in the flux paste or excessive preheat ramp rates. When the paste hits reflow temperatures, trapped water turns to steam, exploding microscopic solder spheres away from the joint.
The Fix: Ensure your tacky flux is tightly sealed. If using a hot air rework station, limit your ramp rate to 2°C to 3°C per second. Never blast a fluxed joint with 400°C air immediately.
2. Dendritic Growth and Electrochemical Migration (ECM)
The Cause: Using an ORH1 (Water-Soluble) flux paste and failing to clean the board. The highly active organic acids remain on the PCB and, in the presence of ambient humidity and voltage bias, grow metallic dendrites that short adjacent traces.
The Fix: If you must use ORH1 paste for difficult wetting scenarios, you must clean the assembly within 2 hours of soldering using a heated (60°C) DI water and saponifier bath (e.g., Zestron Vigon), followed by an IPA rinse and bake-out.
3. Tombstoning on 0201 Components
The Cause: Unequal flux paste volume on the two pads of a tiny capacitor. The pad with more flux generates higher surface tension during the liquidus phase, pulling the component upright.
The Fix: Switch to a lower-tack, low-solids ROL0 flux paste specifically formulated for micro-passives, and verify your dispensing needle is not partially clogged.
2026 Tacky Flux Product Recommendations
Selecting the right brand ensures consistent rheology and shelf stability. Here are the top-tier flux pastes currently dominating the professional rework market:
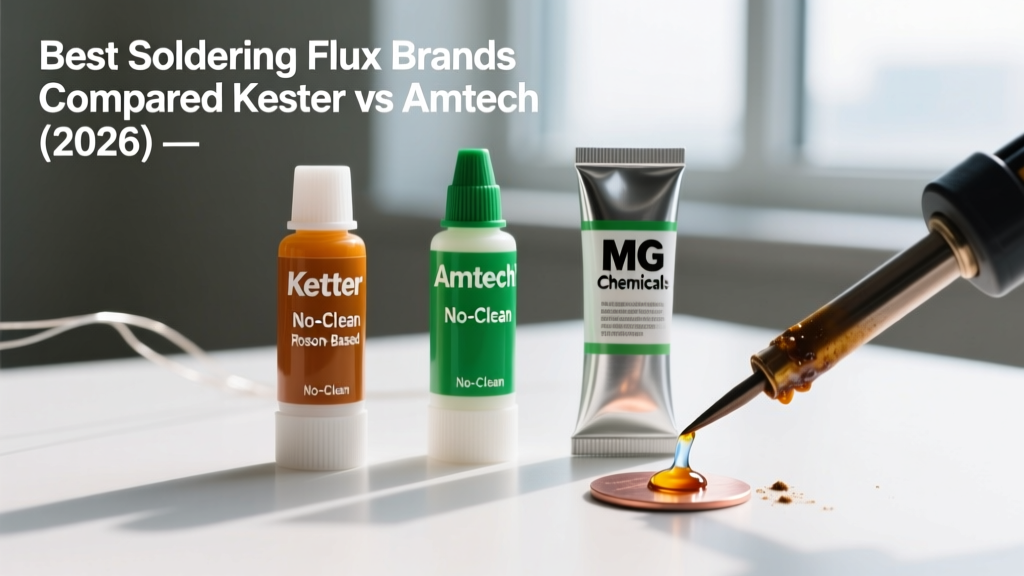
- Indium TACFlux 020B (Approx. $115 / 35g Syringe): The gold standard for BGA reballing and SAC305 lead-free rework. It features an incredibly stable tack time (>12 hours) and leaves a virtually invisible, electrically safe no-clean residue. Consult the Indium Technical Documents for exact reflow profiles.
- Kester 285 Tacky Flux (Approx. $65 / 50g Jar): A reliable ROL1 rosin-based paste ideal for general-purpose hand soldering and Sn63/Pb37 applications. Excellent wetting on mildly oxidized through-hole and SMD pads.
- MG Chemicals 8341 (Approx. $28 / 10ml Syringe): A highly affordable, no-clean tacky flux perfect for hobbyists and rapid prototyping. It performs exceptionally well with low-temperature Sn42/Bi57.6 pastes due to its low activation threshold.
Final Thoughts on Consumable Synergy
Mastering how to use soldering flux paste is ultimately about understanding chemical synergy. The paste you choose must act as a bridge between the thermal energy of your iron and the metallurgical properties of your alloy. By respecting the IPC activation windows, utilizing precision dispensing tooling, and matching the flux chemistry to your specific PCB finish, you will eliminate cold joints, reduce rework time, and achieve factory-grade reliability on your workbench.