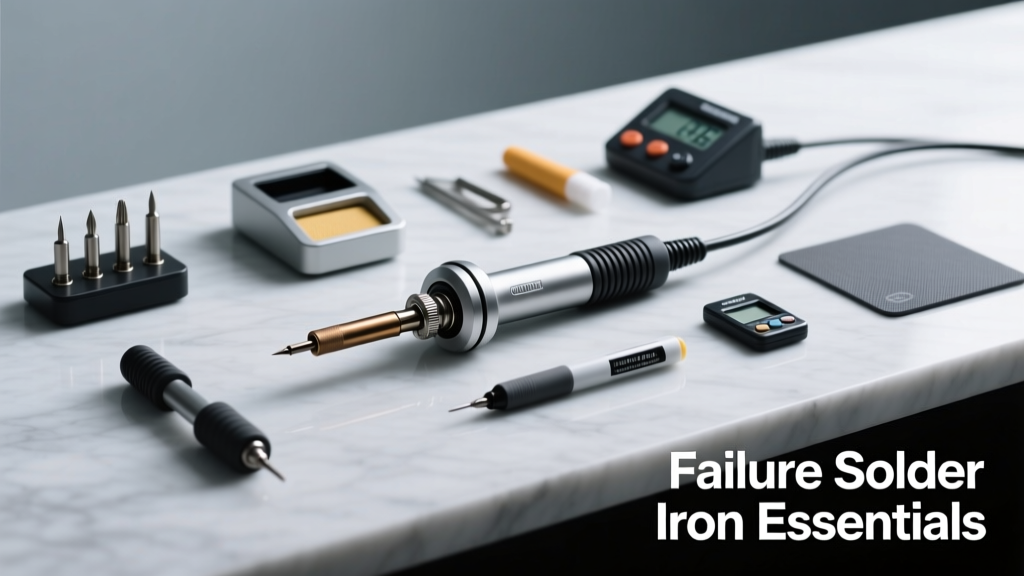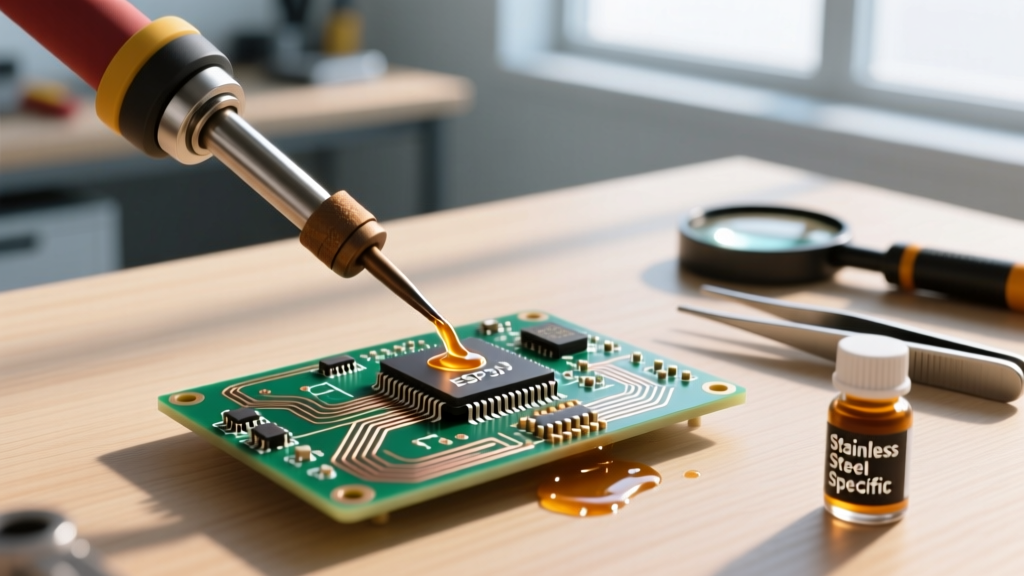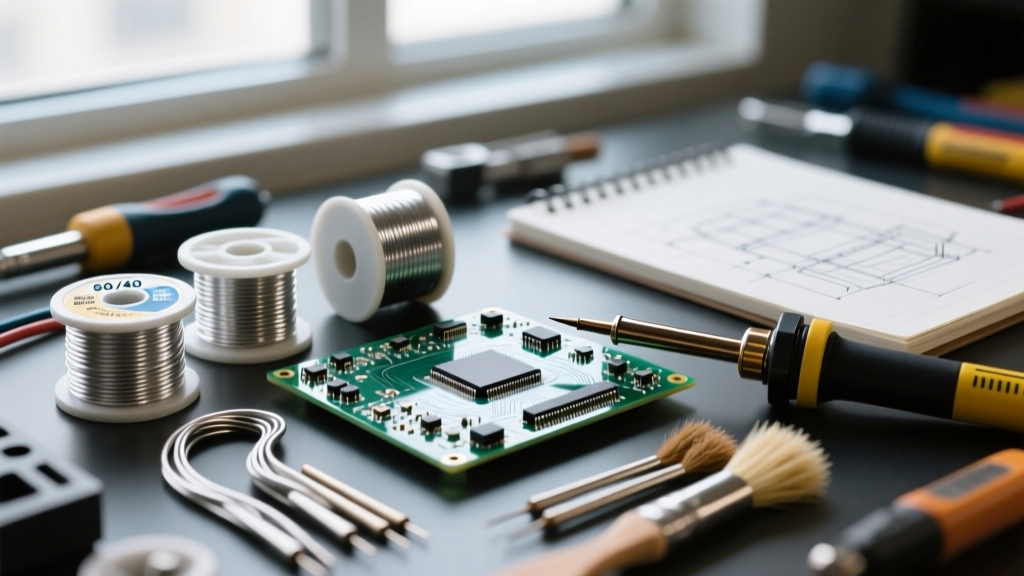

When hobbyists and technicians ask, 'how do I solder wires without burning the insulation or creating a brittle joint?', the answer rarely lies in the soldering iron itself. While thermal management is critical, the true secret to a flawless, aerospace-grade wire splice is hidden in your consumables. Selecting the correct solder alloy, understanding flux activation temperatures, and utilizing proper mechanical preparation are what separate a fragile, high-resistance connection from a permanent, conductive splice.
In this expert guide, we will bypass the basic tutorials and dive deep into the metallurgy and chemistry of wire soldering. We will explore exact alloy compositions, flux chemistries, and the definitive step-by-step protocol for splicing wires from 24 AWG signal cables up to 10 AWG power lines.
The Metallurgy of Wire Splicing: Choosing Your Alloy
The first decision you must make before your iron even heats up is the solder alloy. Wire splices are subjected to mechanical vibration, thermal expansion, and environmental oxidation. Therefore, your alloy must possess a predictable melting profile and high tensile strength.
Eutectic vs. Non-Eutectic Alloys
For general electronics and wire splicing, Sn63/Pb37 (63% Tin, 37% Lead) remains the undisputed champion for non-RoHS applications. This is a eutectic alloy, meaning it transitions from solid to liquid at a single, precise temperature: 183°C (361°F). There is no 'plastic' or semi-solid phase. This eliminates the risk of a 'disturbed joint'—a micro-fractured, high-resistance connection caused by moving the wire while the solder is cooling through a pasty state.
If you are bound by RoHS compliance or environmental regulations, you must use a lead-free alloy. However, not all lead-free solders are equal for wire work. Avoid SAC305 (Tin/Silver/Copper) for thick wires, as the silver content can cause excessive wetting and brittle intermetallic compounds on copper wire strands. Instead, opt for Sn99.3/Cu0.7 (Tin/Copper), which offers better fatigue resistance for wire flexing.
| Alloy Composition | Melting Point | Phase Transition | Best Wire Application |
|---|---|---|---|
| Sn63/Pb37 (Eutectic) | 183°C (361°F) | Instant (No plastic state) | Aerospace, automotive, general DIY |
| SAC305 (Sn96.5/Ag3/Cu0.5) | 217°C - 220°C | Pasty range (2°C) | SMT PCBs (Avoid for thick wire splices) |
| Sn99.3/Cu0.7 | 227°C (441°F) | Instant (Eutectic) | RoHS compliant power wires, high-temp |
Flux Chemistry: Why Core Flux Isn't Always Enough
Solder will not bond to oxidized copper. Flux is the chemical agent that strips away copper oxide and prevents further oxidation while the joint is hot. Most solder wires come with a 'rosin core' (typically 2% to 3% flux by weight). While sufficient for tinning small 22 AWG stranded wires, rosin core is rarely enough for heavy-gauge wire splices (14 AWG to 10 AWG).
When soldering thick wires, the thermal mass of the copper acts as a massive heat sink. By the time the core temperature of the wire reaches the solder's melting point, the rosin core flux has already burned off and vaporized, leaving you with a dry, oxidized joint. To combat this, experts apply an external, high-activity flux.
- Rosin (R) or RMA (Mildly Activated): The safest choice for electronics. It leaves a benign, non-conductive residue that does not cause galvanic corrosion over time.
- Water-Soluble (Organic Acid): Highly active and excellent for heavily oxidized wires. However, it must be cleaned with distilled water and isopropyl alcohol post-soldering, or it will eat through the copper strands.
- WARNING: Never use plumbing flux (Zinc Chloride or Tallow-based acid) on electrical wires. It is highly corrosive and will destroy the wire from the inside out within months.
How Do I Solder Wires? The Expert 4-Step Protocol
According to IPC J-STD-001 and NASA workmanship standards, solder should never be relied upon for mechanical strength. The mechanical splice must bear the load; the solder provides the electrical continuity and environmental seal.
Step 1: Mechanical Preparation and Stripping
Strip the wire insulation back by approximately 3/4 of an inch. For stranded wire, twist the strands tightly in the direction of the original lay. A loose strand will cause a 'wick' effect, drawing molten solder up under the insulation, which makes the wire brittle and prone to snapping under vibration. Expert Tip: Use thermal strippers or precision mechanical strippers; never use a knife, which will nick the copper strands and create a fracture point.
Step 2: The Pre-Tinning Phase (Crucial)
Never attempt to solder two bare wires together simultaneously. You must 'tin' them individually first. Apply a small dab of external RMA flux paste to the twisted strands. Touch your pre-heated, tinned soldering iron tip to the wire, and feed the solder into the wire strands (not directly onto the iron). Capillary action will draw the solder into the bundle. The wire should look uniformly silver, with no excess solder blobs that could create a sharp point.
Step 3: The Mechanical Splice
Cross the two tinned wires in an 'X' shape and twist them together using the classic Lineman's splice (or Western Union splice). This creates a massive surface area for electrical contact and ensures the joint will not pull apart even if the solder melts.
Step 4: Final Solder Flow and Reflow
Apply a final drop of liquid or paste flux over the mechanical splice. Using a chisel or bevel tip (which maximizes surface contact area), apply the iron to the thickest part of the splice. Feed additional solder until it flows smoothly through the entire joint via capillary action. Remove the solder first, then the iron, and hold the wires perfectly still until the joint cools below the solidus temperature.
'A proper solder joint to a wire should exhibit a smooth, concave fillet with a shiny finish (for SnPb) or a slightly dull, satin finish (for Lead-Free). The solder must wet the wire strands completely, forming a visible intermetallic bond.' — Adapted from SparkFun Soldering Tutorials and IPC-A-610 standards.
Troubleshooting: Reading the Anatomy of a Failed Joint
Even with the best consumables, environmental factors can cause failures. Here is how to diagnose your wire joints based on visual inspection:
- The Cold Joint: Appears lumpy, matte, and irregular. Cause: Insufficient heat transfer. The iron temperature was too low for the wire gauge, or the tip was oxidized. Fix: Increase iron temp by 20°C, clean the tip with brass wool, and reflow with fresh RMA flux.
- Flux Starvation (Dry Joint): Solder balls up and refuses to wet the copper, looking like water on a waxed car. Cause: The flux burned off before the solder melted. Fix: Apply external liquid flux and reflow.
- Solder Wicking: Solder has crept far under the wire insulation. Cause: Over-tinning the strands before the mechanical splice, or holding the iron on the wire for too long. This creates a rigid section of wire that will snap at the insulation edge when bent.
- Charred Insulation: The PVC or Teflon jacket is melted or blackened. Cause: Using a wattage that is too low, requiring you to hold the iron on the joint for more than 3-5 seconds. For 12 AWG wires, use a minimum 65W-80W station to achieve rapid thermal saturation.
Expert Consumable Recommendations Summary
To achieve consistent, professional-grade wire splices, stock your bench with the following specific consumables:
- Solder: Kester 245 (Sn63/Pb37) with a 3% 245 No-Clean core for general electronics, or Multicore Sn99.3/Cu0.7 for RoHS power applications.
- External Flux: MG Chemicals 8341 (Amtech) Rosin Paste Flux for heavy-gauge tinning.
- Tip Geometry: A 60-degree bevel tip or a wide chisel tip (minimum 2.4mm width) to maximize thermal transfer to the copper strands.
- Cleaning: Chemtronics 80-1-5 Copper Desoldering Wick for cleaning up excess solder blobs before applying heat shrink tubing.
Mastering how to solder wires is less about hand-eye coordination and more about understanding the thermal and chemical reactions occurring at the tip of your iron. By respecting the melting points of your alloys and the activation temperatures of your fluxes, you will eliminate cold joints and build wiring harnesses that survive the test of time.
For further reading on solder metallurgy and alloy phase diagrams, consult the comprehensive guides at Electronics Notes.