
The Critical Role of Flux Paste in Electronics Assembly
In modern electronics manufacturing and DIY prototyping, the transition from through-hole components to ultra-fine surface-mount devices (SMD) has made traditional rosin-core solder wire insufficient on its own. This is where soldering flux paste for electronics becomes an indispensable tool. Unlike liquid fluxes that can run and pool unpredictably, flux paste offers precise, localized application, staying exactly where you dispense it until the heat of the soldering iron activates its chemical properties.
At its core, flux serves three primary functions: it chemically strips metal oxides from component leads and PCB pads, it prevents re-oxidation during the heating phase by creating a protective barrier, and it reduces the surface tension of molten solder, promoting optimal wetting and capillary action. Without adequate flux, you risk cold solder joints, bridging, and the dreaded 'tombstoning' effect on micro-components. In this comprehensive tutorial, we will explore the exact methodologies for applying flux paste across both SMD and through-hole (THT) applications, ensuring professional-grade reliability in your 2026 electronics projects.
Choosing the Right Soldering Flux Paste for Electronics
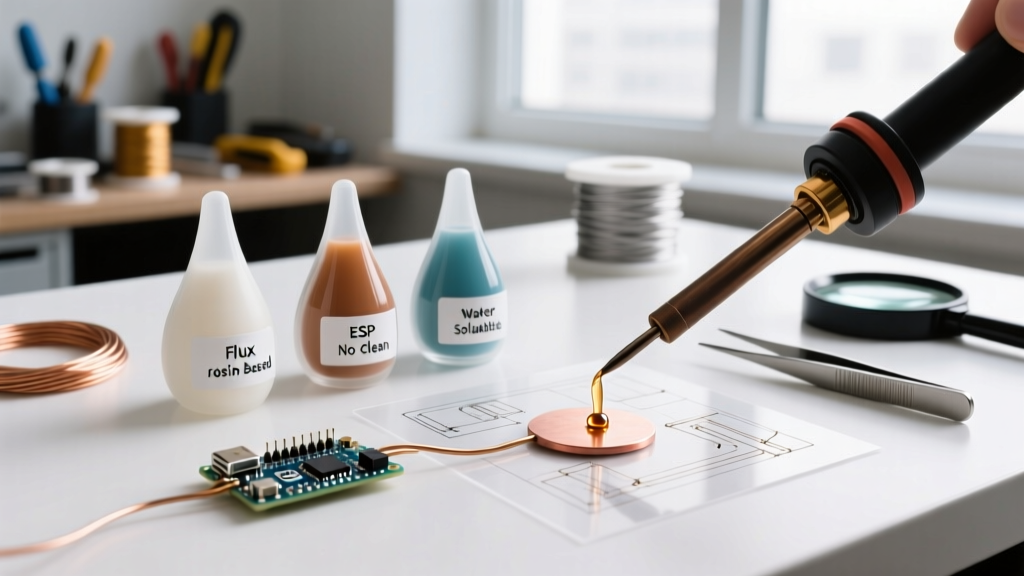
Not all flux pastes are created equal. The chemistry of the paste dictates its activation temperature, residue conductivity, and cleaning requirements. According to the Adafruit Guide to Excellent Soldering, selecting the correct chemistry is the first step in preventing long-term board failures like dendritic growth or electrochemical migration.
| Flux Type | Common Chemistry | Best Application | Residue & Cleaning | Recommended Product (2026) | Avg. Price (10cc) |
|---|---|---|---|---|---|
| No-Clean (NC) | Synthetic Resins / Mild Activators | SMD rework, BGA, general prototyping | Non-conductive, non-corrosive. No cleaning required. | Chip Quik SMD291AX | $18 - $22 |
| Rosin Mildly Activated (RMA) | Natural Pine Rosin / Halide Activators | Heavily oxidized THT leads, RF shielding | Sticky, amber residue. Clean with 99% IPA. | Amtech 4300-141 | $20 - $25 |
| Water-Soluble (OA) | Organic Acids | Automotive, aerospace, high-reliability IPC Class 3 | Highly corrosive if left. MUST clean with DI water/saponifier. | MG Chemicals 8341 | $25 - $30 |
Essential Tools for Flux Paste Application
Before heating your iron, ensure your workstation is equipped with the proper dispensing and cleaning tools. Precision is paramount when working with 0402 or 0201 metric passives.
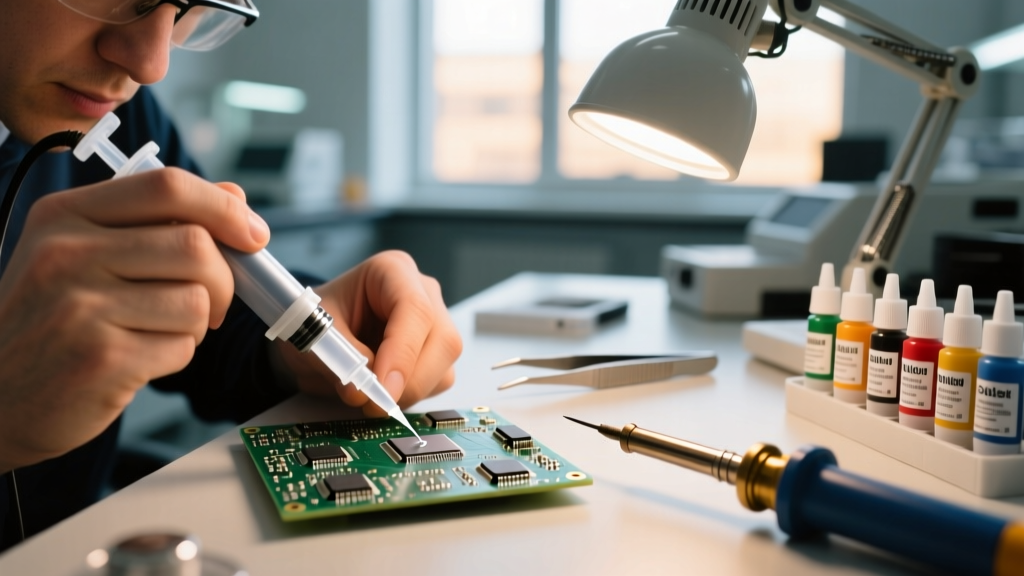
- Flux Syringe & Needles: Use a 10cc or 30cc Luer-lock syringe. For standard SOIC/QFP ICs, a 21-gauge (pink) or 23-gauge (purple) blunt-tip needle is ideal. For micro-BGA and 0201 passives, step up to a 27-gauge (amber) or 30-gauge (lavender) needle to prevent over-application.
- Temperature-Controlled Soldering Station: Capable of holding stable tip temperatures between 300°C and 380°C.
- ESD-Safe Tweezers: Fine-point or curved titanium tweezers for handling SMD components.
- Cleaning Supplies: 99.9% Isopropyl Alcohol (IPA), lint-free Kimwipes, and a soft-bristle ESD-safe brush (for RMA residues).
Step-by-Step Tutorial: Soldering SMD Components with Flux Paste
Surface-mount technology relies heavily on capillary action. The following workflow is optimized for drag-soldering fine-pitch ICs (like QFP-48 or SOIC-16) and placing discrete passives.
Step 1: Pad Preparation and Tinning
Clean the bare PCB pads with IPA to remove manufacturing oils. Apply a microscopic amount of no-clean flux paste to one corner pad of the IC footprint. Melt a tiny bead of 63/37 or SAC305 solder onto this single pad. This 'tinned anchor' will hold the component in place.
Step 2: Component Placement and Tacking
Using tweezers, align the IC leads with the PCB pads. Press the iron tip against the pre-tinned anchor pad while gently pushing the component down. Remove the heat, allowing the solder to solidify and lock the chip in position. Verify alignment under a magnification lamp or microscope before proceeding.
Step 3: Flux Dispensing for Drag Soldering
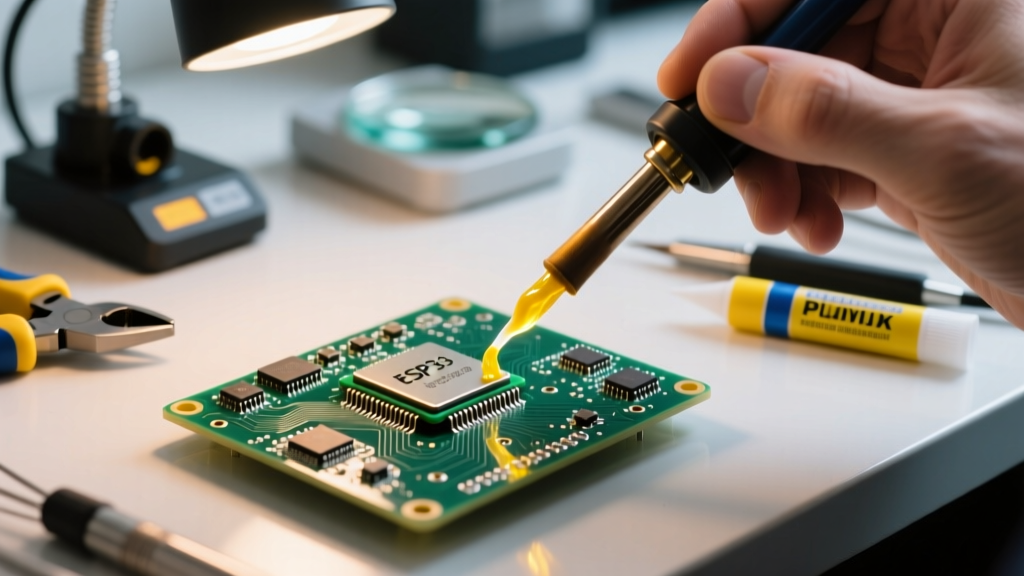
This is where the magic of soldering flux paste for electronics shines. Dispense a continuous, thin bead of flux paste across the entire row of pins you intend to solder. The paste should coat the leads and the pads, but it should not overflow into the adjacent rows. Pro Tip: If you apply too much paste, the rapid outgassing during heating will cause solder balling (graping).
Step 4: The Drag Solder Technique
Load your soldering iron tip (a bevel or mini-wave tip works best) with a generous amount of fresh solder. Set your station to 320°C for leaded solder or 350°C for lead-free. Place the tip at a 45-degree angle at one end of the fluxed pin row. Slowly drag the iron across the pins. The flux will activate, pulling the molten solder into the gaps via capillary action while repelling it from the spaces between pins. If a bridge forms, clean the iron tip on a brass wool sponge, apply a tiny dot of fresh flux, and drag the clean iron over the bridge to wick the excess away.
Step-by-Step Tutorial: Flux Paste for Through-Hole and Heavy Wires
While liquid flux is often preferred for general THT work, flux paste is superior when dealing with large thermal masses, such as heavy-gauge power wires, large electrolytic capacitor leads, or thick copper ground planes. As noted in SparkFun's Through-Hole Soldering Tutorial, managing heat dissipation is the primary challenge in THT soldering.
- Mechanical Prep: Strip and twist the wire, or bend the THT lead to create a mechanical joint. A strong mechanical joint reduces reliance on the solder for structural integrity.
- Paste Application: Dip the wire/lead directly into a jar of RMA flux paste, or use an 18-gauge needle to inject a thick dab of paste onto the joint. The high viscosity of the paste ensures it clings to vertical wires without dripping.
- Thermal Soak: Apply the iron tip to both the pad and the wire simultaneously. Allow 2-4 seconds for the flux to liquefy, bubble, and clean the oxidation. Large ground planes may require a pre-heat plate set to 120°C to prevent the iron from stalling.
- Solder Introduction: Feed 1.0mm or 1.5mm diameter rosin-core solder wire into the joint (not directly onto the iron tip). The activated flux paste will instantly draw the solder into the stranded wire or through the plated through-hole (PTH) barrel.
Troubleshooting Common Flux-Related Failures
Even with premium soldering flux paste for electronics, improper technique can lead to distinct failure modes. Recognizing these visual cues is essential for IPC-compliant workmanship.
Expert Insight: Never confuse flux activation with flux burnout. If your flux turns black and crusty before the solder wets, your iron temperature is too high, or your dwell time is too long. Burnt flux loses its chemical efficacy and actually promotes cold joints.
- Solder Balling (Graping): Caused by applying excessive flux paste and hitting it with sudden high heat. The solvents in the paste boil violently, exploding microscopic droplets of solder away from the joint. Fix: Use a smaller needle gauge, apply less paste, and utilize a pre-heater to ramp the board temperature gradually.
- Tombstoning (Drawbridging): Occurs when one pad of a two-terminal SMD component (like a capacitor) heats faster than the other, or when flux is applied unevenly. The surface tension of the wetting solder on the hotter side pulls the component upright. Fix: Ensure symmetrical flux application and heat both pads equally before introducing solder.
- Dewetting / Non-Wetting: The solder balls up on the iron tip and refuses to stick to the pad, often rolling off the flux paste. This indicates heavily oxidized pads that the mild activators in no-clean flux cannot penetrate. Fix: Switch to an RMA (Rosin Mildly Activated) paste, or mechanically abrade the pad with a fiberglass scratch pen before re-applying flux.
Storage, Handling, and Shelf Life Best Practices
Flux paste is a chemically active suspension that degrades if mishandled. To maintain the rheology (flow characteristics) and activation potency of your paste in 2026 and beyond, adhere to these storage protocols:
- Temperature Control: Store unopened syringes in a refrigerator between 2°C and 8°C (36°F - 46°F). This extends the shelf life from 6 months to over 12 months.
- Acclimatization: Never open a cold syringe. Allow the paste to reach room temperature (approx. 2 hours) before opening. Opening a cold syringe introduces atmospheric moisture via condensation, which will cause violent spattering when the paste hits a 350°C soldering iron.
- Purging: After dispensing, always leave a small 'plug' of paste in the needle tip and cap it immediately. This prevents the solvent from evaporating and clogging the needle with hardened rosin.
Final Thoughts on Electronics Assembly
Mastering the application of soldering flux paste for electronics bridges the gap between amateur tinkering and professional-grade PCB assembly. By matching the correct flux chemistry to your specific alloy and component density, utilizing precise dispensing gauges, and respecting the thermal profiles required for activation, you will consistently produce shiny, concave, and structurally sound solder joints. Whether you are reworking a dense BGA smartphone logic board or soldering heavy-gauge XT60 connectors for a drone, the right flux paste is your most valuable consumable.