
The Core Metallurgical Divide: Fusion vs. Capillary Action
When makers, engineers, and DIYers debate the merits of a welder vs soldering setup, they are fundamentally comparing two entirely different metallurgical processes. The choice is rarely about which method is universally 'better'; rather, it is about which physical mechanism aligns with your project's structural, electrical, and thermal constraints.
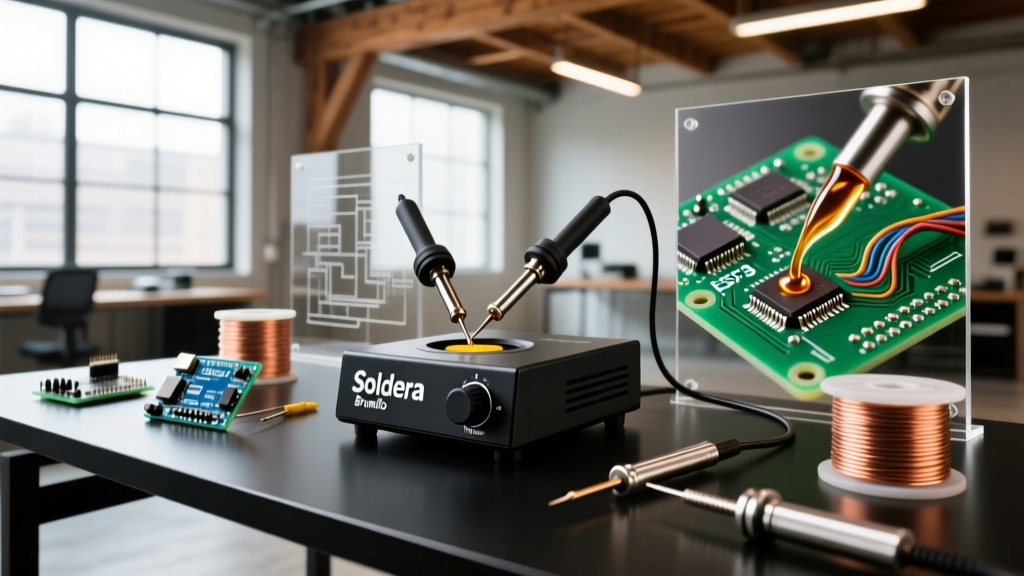
Welding is a fusion process. It melts the base metals themselves (often adding a filler) to create a continuous, homogeneous metallic bond. Soldering, conversely, is a capillary process. The base metals never melt. Instead, a lower-melting-point filler alloy (the solder) flows into the microscopic gaps between the base metals, creating a metallurgical bond via an intermetallic compound (IMC) layer without compromising the structural integrity of the parent material.
Quick-Reference Comparison Matrix
| Feature | Soldering | Welding (Arc/Spot) |
|---|---|---|
| Base Metal Melting | No (Capillary action) | Yes (Fusion) |
| Operating Temperature | 183°C - 450°C (361°F - 842°F) | 3,000°C - 10,000°C+ (Arc) |
| Primary Strength | Electrical continuity, low-stress mechanical | High-tensile structural integrity |
| Heat Affected Zone (HAZ) | Minimal (localized to joint) | Significant (can anneal or warp base metal) |
| Reversibility | High (Desoldering is standard) | Low (Requires grinding/cutting) |
| Governing Standards | IPC-A-610, J-STD-001 | AWS D1.1, ISO 3834 |
Deep Dive: Soldering for Electronics and Precision
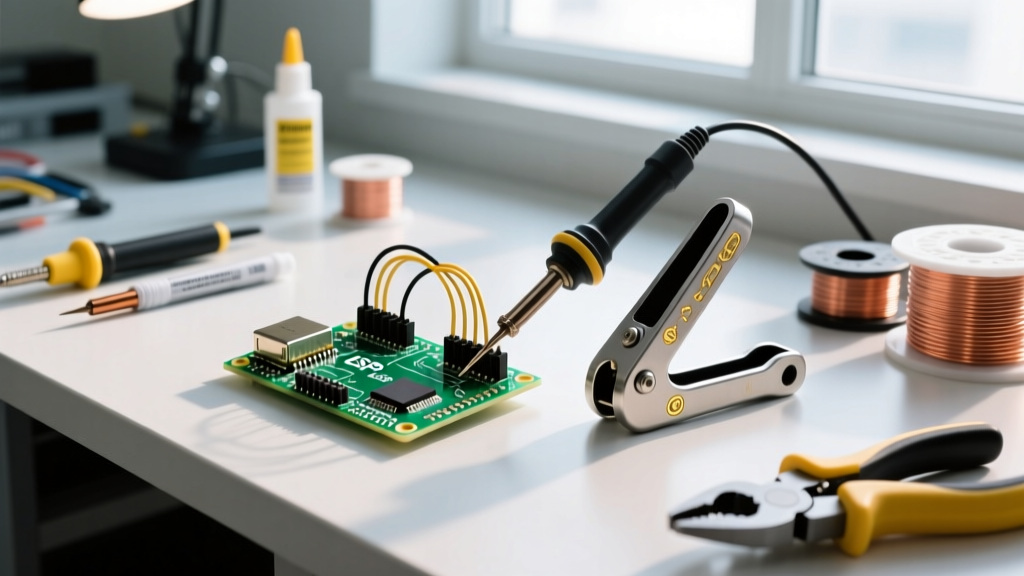
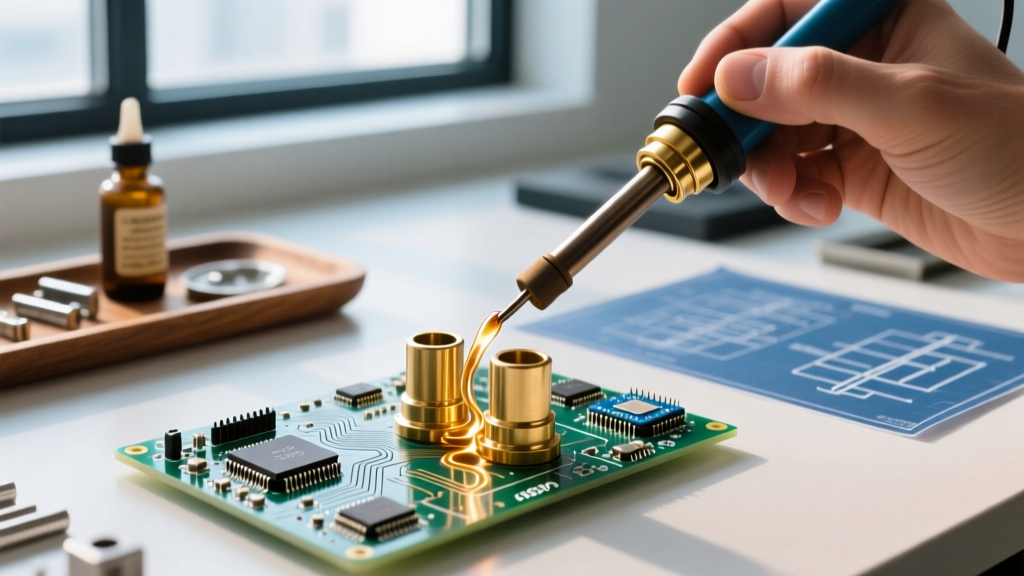
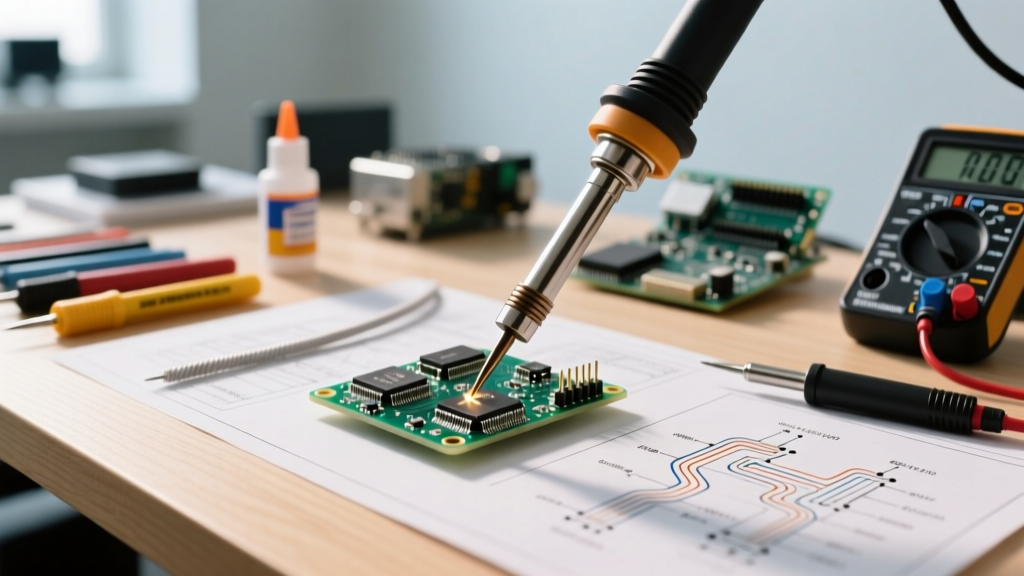
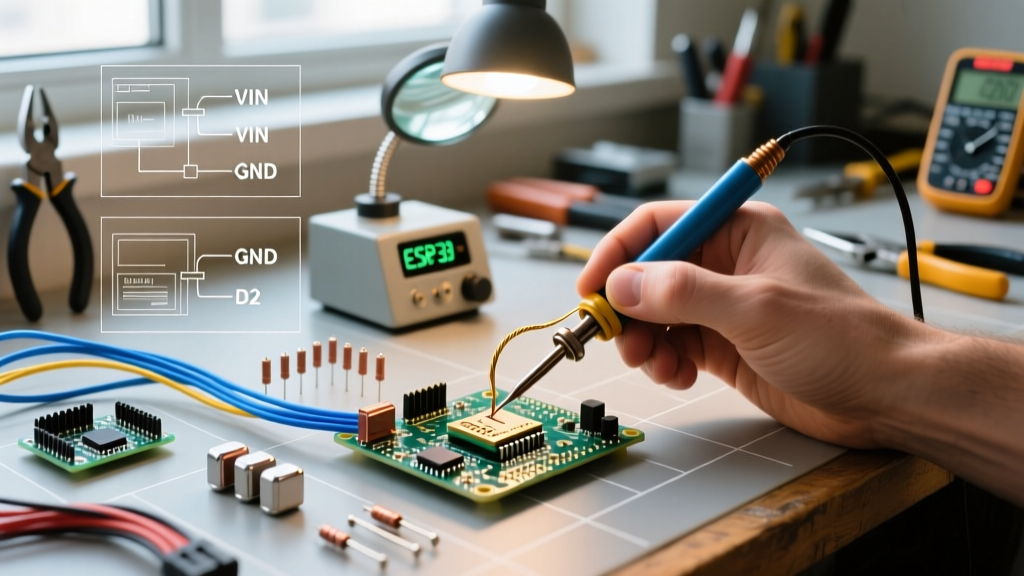
Soldering is the undisputed king of printed circuit boards (PCBs), delicate sensor wiring, and low-to-medium current electrical terminations. Modern lead-free alloys like SAC305 (96.5% Sn, 3.0% Ag, 0.5% Cu) melt at 217°C (423°F), while traditional Sn60/Pb40 melts at 183°C (361°F). According to the IPC standards for electronic assemblies, a proper solder joint relies on flux to remove oxidation, allowing the molten alloy to wet the copper pads and form a thin, reliable Cu6Sn5 intermetallic layer.
The Edge Case: High-Vibration Environments
While soldering provides excellent electrical conductivity, it performs poorly under high mechanical vibration. Solder is relatively soft and susceptible to fatigue cracking. In automotive or aerospace wiring, soldering a wire directly into a crimp terminal is explicitly forbidden by many OEM standards; the solder wicks up the wire strands, creating a stiff transition point that acts as a stress concentrator, eventually snapping the wire under vibration.
Deep Dive: Welding for Structural and High-Current Demands
Welding creates joints that are often as strong as, or stronger than, the base metal. Processes like TIG (GTAW) and MIG (GMAW) are essential for chassis fabrication, robotic arms, and heavy-duty enclosures. As detailed by Lincoln Electric's process theory guides, the extreme heat of an arc weld creates a molten puddle that fuses the joint, but it also creates a Heat Affected Zone (HAZ). In high-carbon steels or heat-treated aluminum (like 6061-T6), the HAZ can anneal the metal, locally reducing its yield strength unless post-weld heat treatment is applied.
Scenario Showdown: Where the Welder vs Soldering Debate Matters Most
Scenario 1: Building Custom 18650 and 21700 Li-Ion Battery Packs
This is where the welder vs soldering debate has the highest stakes. You must never solder directly to lithium-ion cell terminals. The internal polyethylene/ceramic separators inside an 18650 or 21700 cell begin to shrink and melt around 130°C (266°F). Applying a 350°C soldering iron to the cell cap risks thermal runaway, venting, or catastrophic fire.
- The Soldering Approach (Dangerous): Even with high-wattage irons (e.g., 300W Hakko FX-951) and aggressive acid fluxes, the prolonged heat transfer required to wet a steel battery cap will penetrate the cell casing and destroy the internal chemistry.
- The Welding Approach (Mandatory): Battery pack builders use pulse spot welders (like the kweld or Malectrics systems) to fuse 0.15mm pure nickel strips to the cell terminals. The weld pulse lasts only 10 to 50 milliseconds, creating a localized fusion bond on the surface without allowing heat to penetrate the cell interior.
Scenario 2: High-Current Solar and Automotive Lugs (2/0 AWG and larger)
When terminating massive gauge wires to busbars or inverter lugs, hobbyists often wonder if they should solder the lug or use a different method.
Expert Insight: For wires larger than 4 AWG, soldering lugs is generally discouraged. The sheer volume of solder required acts as a thermal sink, and under high continuous loads (e.g., 150A+ in a solar inverter), the joint can heat up. Because solder has a higher electrical resistivity than copper, the joint becomes the hottest point in the circuit, potentially softening the solder and causing a high-resistance failure.
Instead of soldering, professionals use hex-crimp dies with a hydraulic press to cold-weld the copper strands into the lug, or they use exothermic welding (Cadweld) for permanent, high-current grounding connections.
Scenario 3: Structural Robot Chassis and Drones
If you are building a 10kg payload drone frame or a combat robot chassis, soldering aluminum or steel brackets will result in immediate structural failure upon impact. Solder lacks the tensile and shear strength required for dynamic loads. TIG welding aluminum (using 4043 or 5356 filler wire) or brazing steel provides the necessary structural rigidity. However, welding thin-walled aluminum (under 1mm) requires immense skill to avoid burn-through, making mechanical fastening (rivets/bolts) a common alternative for hobbyists lacking high-end AC/DC TIG welders.
2026 Equipment Cost and Workshop Footprint
Setting up a workshop requires balancing budget, space, and electrical infrastructure. Here is a realistic look at the entry-to-pro costs for both disciplines in 2026:
| Equipment Tier | Soldering Setup | Welding Setup |
|---|---|---|
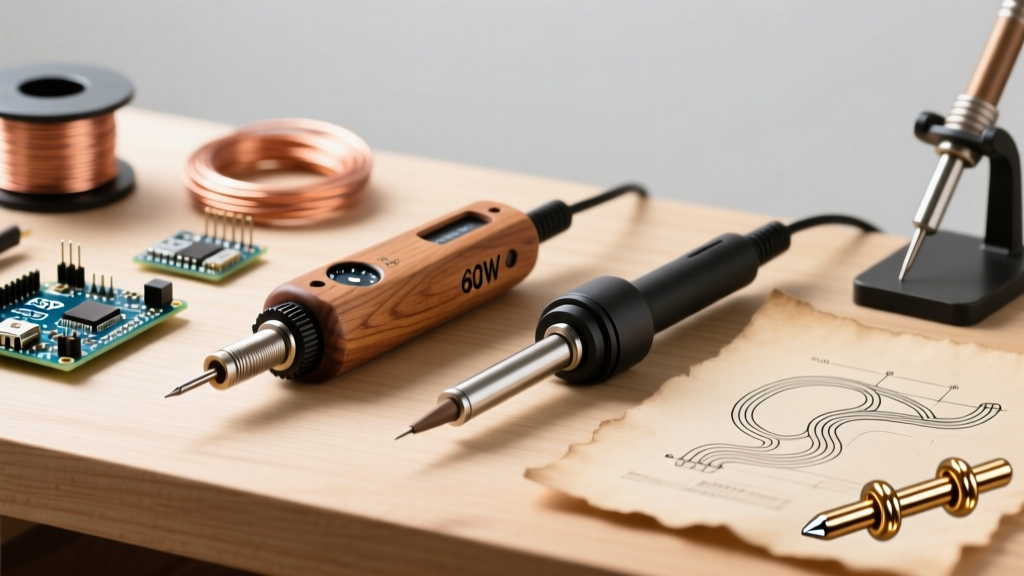
| Entry / Hobbyist | $30 - $80 (Pinecil V2, basic 60W irons) | $120 - $250 (Flux-core MIG, cheap 110V stick welders) |
| Prosumer / Serious DIY | $150 - $350 (Hakko FX-888D, JBC C245 clones) | $400 - $900 (YesWelder TIG-205DS, multi-process units) |
| Professional / Industrial | $600 - $1,500+ (JBC CD-2BQE, Metcal RF systems) | $2,500 - $8,000+ (Miller Dynasty, Fronius CMT systems) |
| Infrastructure Needs | Standard 120V outlet, basic fume extractor | 220V/50A dedicated circuit, 220CFM+ exhaust, fireproof zone |
Safety, Fumes, and Metallurgical Hazards
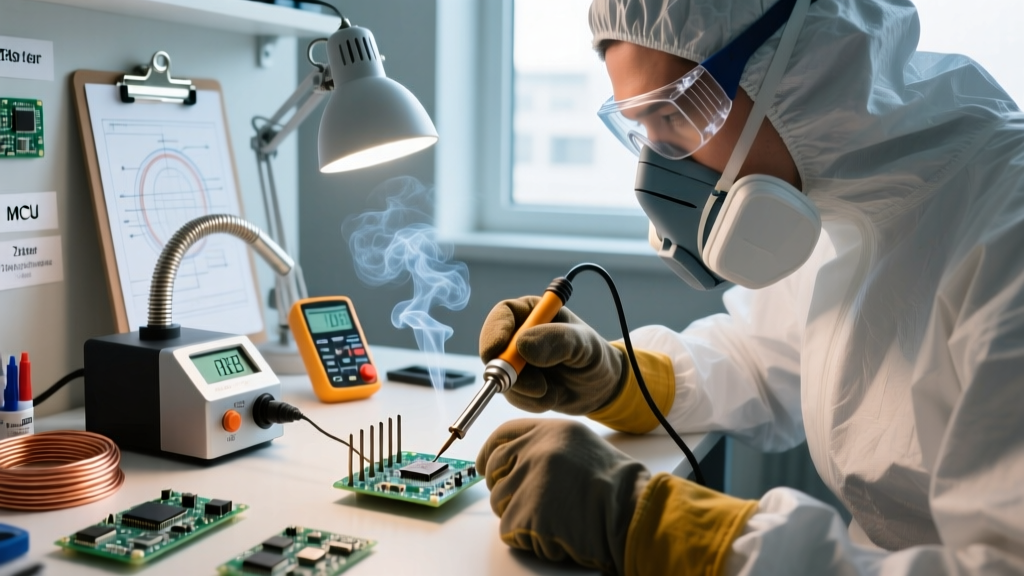
Both processes generate hazardous byproducts, but the nature of the risk differs drastically. Soldering primarily exposes the user to colophony (rosin) flux fumes, which are known respiratory sensitizers and can cause occupational asthma if not captured by a localized HEPA/carbon fume extractor. Lead exposure is a secondary concern, though easily mitigated by washing hands and using Sn60/Pb40 only in well-ventilated, non-food areas.
Welding, however, introduces severe optical and chemical hazards. The arc generates intense UV and IR radiation, requiring auto-darkening helmets (shade 9-13). Furthermore, welding stainless steel or galvanized metals produces hexavalent chromium and zinc oxide fumes. As outlined by OSHA welding safety guidelines, prolonged inhalation of these fumes can lead to severe respiratory diseases and metal fume fever, necessitating high-CFM source-capture ventilation or supplied-air respirators for enclosed spaces.
The Final Verdict: How to Choose
The decision between a welder and a soldering iron is dictated by the physics of your project:
- Choose Soldering if: You are joining copper wires, terminating PCBs, working with heat-sensitive components, or require a reversible joint. The goal is electrical continuity without altering the base metal.
- Choose Welding if: You are joining steel, stainless steel, or thick aluminum for structural loads, building vehicle chassis, or spot-welding battery nickel strips. The goal is mechanical fusion and high-tensile strength.
- Choose Neither (Use Crimping/Brazing) if: You are dealing with high-vibration automotive wiring (use crimps) or joining dissimilar metals with high-stress requirements where fusion welding is impossible (use silver brazing).
By respecting the metallurgical boundaries of each process, you ensure your DIY builds are not only functional but safe, durable, and compliant with industry best practices.