
The Physics and Perils of Desweating Copper
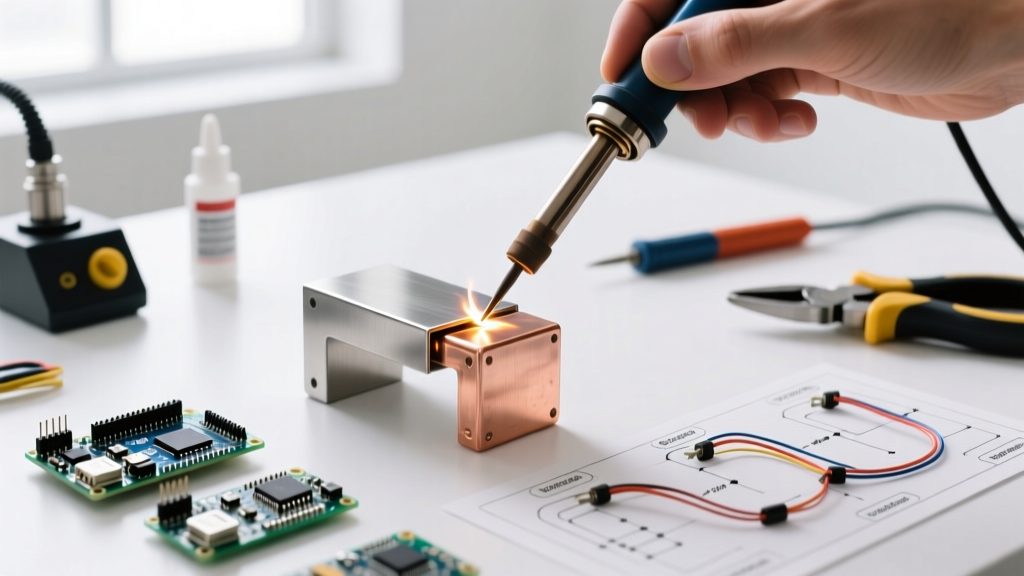
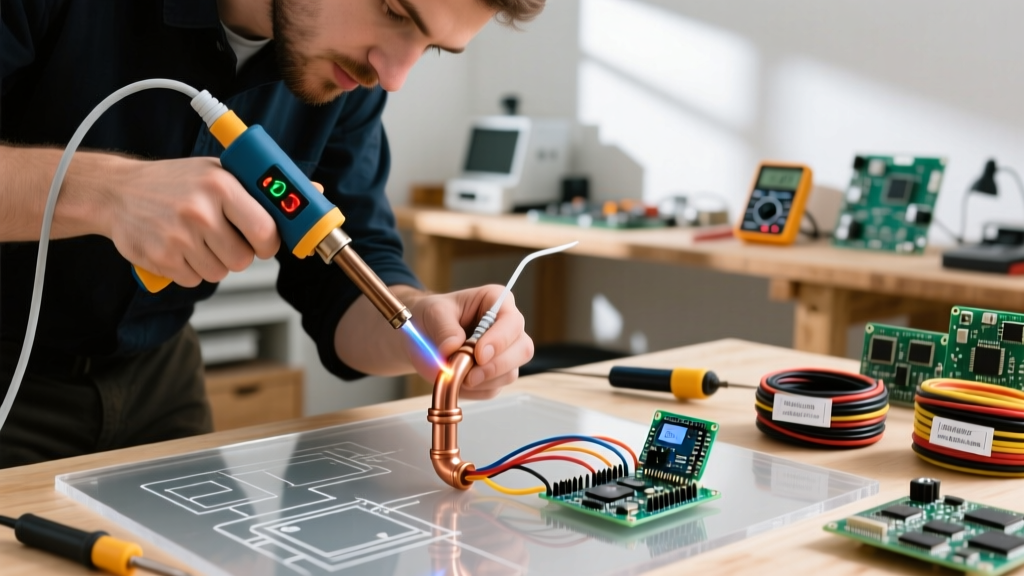
Learning how to safely disconnect soldered copper pipe—commonly known as desweating—is one of the most hazardous tasks in residential plumbing and HVAC repair. Unlike cutting a pipe cold, desweating requires applying concentrated heat exceeding 450°F (232°C) to melt the solder alloy and pull the fitting apart. When performed in enclosed wall cavities or near combustible framing, the risk of catastrophic house fires is exceptionally high. Furthermore, improper line drainage can lead to violent steam explosions, while heating legacy joints can vaporize toxic heavy metals.
This guide details the exact safety protocols, tool selections, and step-by-step procedures required to disconnect a soldered copper joint without causing structural fires, severe burns, or lead exposure. As of 2026, advancements in flameless induction heating and localized heat shields have made this process safer, but fundamental thermodynamic risks remain.
Tool Selection Matrix: Open Flame vs. Induction vs. Cold Cutting
Before striking an arc or lighting a torch, you must evaluate the environment. The tool you choose dictates your fire risk profile and the required safety perimeter.
| Method / Tool | Operating Temp | Estimated Cost (2026) | Fire Risk Profile | Best Use Case |
|---|---|---|---|---|
| MAP-Pro Torch (e.g., Bernzomatic TS8000) | 3,730°F (2,054°C) | $65 - $85 | Extreme: Open flame, radiant heat, sparks. | Open basements, exposed crawlspace joints, outdoor lines. |
| Standard Propane Torch (e.g., Worthington) | 3,600°F (1,982°C) | $25 - $40 | High: Slower heat transfer increases time flame is near wood. | Budget repairs in wide-open, non-combustible areas. |
| Induction Heater (e.g., Mini-Duct 120V) | Localized 600°F+ | $350 - $550 | Low: No open flame. Heats only the ferrous/copper metal. | Tight wall cavities, near wooden joists, high-risk fire zones. |
| Press/Cut Alternative (e.g., Milwaukee M12 Copper Cutter) | Ambient (Cold) | $160 - $190 | Zero: No heat applied. Uses shearing force. | When desweating is too dangerous; cutting out the fitting entirely. |
Critical Pre-Work Safety Protocols
According to the National Fire Protection Association (NFPA 51B) standards for hot work, preparing the environment is just as critical as the soldering technique itself. Do not ignite a torch until the following conditions are met.
1. The Steam Explosion Hazard
If you attempt to disconnect soldered copper pipe while water is trapped inside, the heat will flash-boil the water. Water expands approximately 1,700 times its volume when converting to steam. If the downstream valve is closed or the line is capped, this pressure will blow boiling water, steam, and molten solder directly at your face and hands.
- Protocol: Open all downstream fixtures and the main drain valve. Verify zero water flow before applying heat.
- Vacuum Breaker: Open a fixture on the floor above your work area to break the vacuum and allow the pipe to drain completely.
2. Lead Vaporization and PPE
Homes built before 1986 frequently utilized 50/50 lead-tin solder. When heated to its melting point of roughly 360°F (182°C), lead can release toxic particulates and fumes. The Environmental Protection Agency (EPA) strictly warns against the disturbance of legacy lead solder. Furthermore, the Copper Development Association emphasizes proper ventilation during all thermal copper work.
- Respiratory Protection: Wear a half-face respirator equipped with P100 particulate filters (e.g., 3M 2097) and organic vapor cartridges if working in a poorly ventilated crawlspace.
- Thermal PPE: Use heavy-duty, heat-resistant welding gloves (goat or cowhide). Never use synthetic gloves (nylon/polyester), which will melt onto your skin upon contact with a hot pipe or solder drip.
- Eye Protection: ANSI Z87.1 rated safety glasses are mandatory to protect against solder splatter and flux boil-over.
3. Combustible Isolation
Pro-Tip: Keep a 2-gallon pump sprayer filled with water and a 5 lb ABC fire extinguisher within arm's reach. Never rely on a single cup of water to stop a wall fire.
Use a fiberglass heat shield (such as the Matco-Norca heat shield, approx. $15) placed directly between the copper joint and any wooden studs, OSB, or drywall paper. Wetting the surrounding wood framing with a spray bottle provides an additional thermal buffer, buying you up to 3 minutes of protection against radiant ignition.
Step-by-Step Safe Disconnection Procedure
Follow this exact sequence to break the solder bond without annealing (weakening) the surrounding copper or igniting the surroundings.
- Clean the Joint Exterior: Use sandcloth or a wire brush to remove external oxidation. This allows you to visually identify when the solder begins to melt (it will turn shiny and liquid) rather than relying solely on guesswork.
- Apply Heat Deflection: Slide your fiberglass heat shield behind the fitting. If using a flame, wrap the shield to cover at least 12 inches of the surrounding area.
- Apply the Heat Source:
- With MAP-Pro: Keep the inner blue cone of the flame 1 inch away from the copper. Do not touch the flame directly to the joint, as this causes localized overheating and oxidizes the copper instantly.
- Technique: Sweep the flame continuously around the circumference of the fitting. Never hold the flame in one static spot.
- Test the Solder State: After 10–15 seconds of sweeping heat, touch a piece of solid lead-free solder wire to the seam. If it melts on contact, the joint is ready. Do not heat the pipe until it glows red; this destroys the temper of the copper and causes micro-fractures.
- Pull the Joint Apart: Using channel-lock pliers (wrapped in a rag to prevent crushing the soft, hot copper), grip the pipe. Use a second pair of pliers to grip the fitting. Twist slightly to break the capillary bond, then pull straight out.
- Quench and Secure: Immediately place the disconnected, hot pipe into a metal bucket or on a concrete floor away from combustibles. Spray the fitting and surrounding wood with your pump sprayer to rapidly drop the ambient temperature.
Edge Cases and Troubleshooting
The Solder Won't Melt (The Heat Sink Effect)
If you have applied heat for over 30 seconds and the solder remains solid, you are likely fighting a massive heat sink. This happens when the copper pipe is connected to a large brass valve, a water heater manifold, or is buried in a concrete slab that is wicking the heat away.
- Solution: Switch to a higher BTU output tool (like the TS8000) or use two torches simultaneously if you have a helper. Alternatively, use a wet rag to pack the pipe a few inches away from the joint to create a thermal dam, though this is risky as it can generate steam.
The Joint is Stuck After Melting
Sometimes, old flux residue or internal corrosion creates a mechanical lock even after the solder is liquid.
- Solution: Do not yank the pipe with excessive force; you risk tearing the copper tubing or pulling a separate joint apart inside a closed wall. Apply a penetrating oil designed for high heat (or a 50/50 mix of ATF and Acetone) to the seam after the torch is off and the pipe has cooled slightly, then reheat and twist gently.
Post-Disconnect Cleanup and Inspection
Once the pipe is disconnected, your safety job is not finished. You must inspect the work area for hidden thermal damage.
- Thermal Imaging: If you have access to a FLIR thermal camera, scan the wall cavity or floor joists above the work area. Look for heat signatures lingering above 150°F (65°C) in the wood, which indicates deep charring that could smolder and ignite hours later.
- Internal Oxidation Check: Look inside the disconnected pipe. If the interior is coated in thick, black scale, the pipe was overheated. This scale will break off and clog aerators and appliance valves downstream. The affected section must be cut out and replaced.
- Fire Watch: NFPA guidelines dictate a mandatory fire watch for at least 30 to 60 minutes after hot work concludes. Do not leave the premises immediately after desweating a pipe inside a wall cavity.
By treating the disconnection of soldered copper with the same respect as live electrical work, you eliminate the primary vectors for residential plumbing fires and severe thermal injuries. Always prioritize flameless alternatives when working in confined, combustible spaces, and never bypass the vacuum-breaker drainage step.