
The Metallurgical Challenge of Brass-to-Copper Joints
Joining brass to copper is a routine requirement in residential plumbing, HVAC refrigerant lines, electrical grounding buses, and marine hardware. However, treating a brass-to-copper joint like a standard copper-to-copper joint is a primary cause of catastrophic field failures. The fundamental difference lies in brass’s zinc content. While copper melts at 1,984°F (1,085°C), the zinc in brass begins to vaporize at just 1,665°F (907°C). This phenomenon, known as dezincification, leaves the joint porous, brittle, and prone to micro-leaks under pressure.
Furthermore, copper and brass possess vastly different thermal conductivities. Pure copper conducts heat at roughly 401 W/m·K, while standard cartridge brass (C26000) conducts at only 109 W/m·K. This disparity requires a highly intentional heat management strategy. This decision framework will guide you through selecting the correct filler metal, flux chemistry, and thermal application method for your specific application in 2026.
Decision Node 1: Filler Metal Selection Matrix
The most critical error DIYers and junior technicians make is using a phosphorus-bearing copper filler (such as BCuP-5 or Sil-Fos) on brass. While phosphorus acts as a self-fluxing agent on pure copper, it reacts violently with the zinc in brass to form zinc phosphide, an incredibly brittle intermetallic compound that will fracture under minor vibration or thermal cycling.
Use the following matrix to select your filler metal based on joint pressure, operating temperature, and mechanical stress.
| Filler Type | Alloy Composition | Melting Range | Best Application | Avoid When |
|---|---|---|---|---|
| Soft Solder (Lead-Free) | Sn95 / Sb5 or Sn96 / Ag4 | 430°F - 460°F | Low-pressure drain lines, electrical grounding straps, non-critical instrument housings. | Pressurized water lines, HVAC, or high-vibration environments. |
| Silver Brazing (Low-Temp) | Ag 45% / Cu 30% / Zn 25% | 1,225°F - 1,370°F | Pressurized plumbing, refrigerant lines, structural mechanical joints. | Applications exceeding 300°F continuous operating temp. |
| Silver Brazing (High-Temp) | Ag 56% / Cu 27% / Zn 17% | 1,145°F - 1,205°F | Tight clearance joints, food-service equipment (cadmium-free). | Large thermal mass joints requiring extended heat time. |
2026 Pricing Note: Due to sustained precious metal markets, a 1oz coil of 45% Silver brazing wire (e.g., Harris Stay-Silv 45) currently retails between $38 and $48. Phos-Copper remains around $15/oz but, as noted, is strictly prohibited for brass transitions.
Decision Node 2: Flux Chemistry Strategy
Flux is not optional when brass is involved; it is a chemical necessity to dissolve zinc oxide, which forms rapidly above 400°F. Your flux decision must perfectly mirror your filler metal choice.
For Soft Soldering (Below 800°F)
Use a mild acid or rosin-based flux depending on the end-use. For electrical grounding buses, a Type RMA (Rosin Mildly Activated) flux prevents long-term corrosion. For plumbing drain lines, a water-flushable organic acid flux like LA-CO Regular or Oatey #95 is required. Never use plumbing acid flux on electrical joints; the residual salts will cause galvanic corrosion and eventual high-resistance failure.
For Silver Brazing (Above 1,100°F)
You must use a fluoride-based white flux. Standard borax-based fluxes cannot dissolve zinc oxide at brazing temperatures. Products like Harris Stay-Silv White Flux or Lucas-Milhaupt Handy Flux contain potassium fluorides that actively strip zinc oxide, allowing the silver alloy to wet the brass surface. Apply the flux to both the copper and brass surfaces, as well as the heated filler rod itself.
Critical Safety Warning: When brazing brass, always ensure adequate ventilation or use a localized fume extractor. Vaporized zinc oxide causes 'metal fume fever,' a severe flu-like condition. If you see thick white smoke emanating from the brass fitting, you have exceeded the zinc boiling point and compromised the joint. Pull the torch immediately.
Decision Node 3: Thermal Management and Tooling
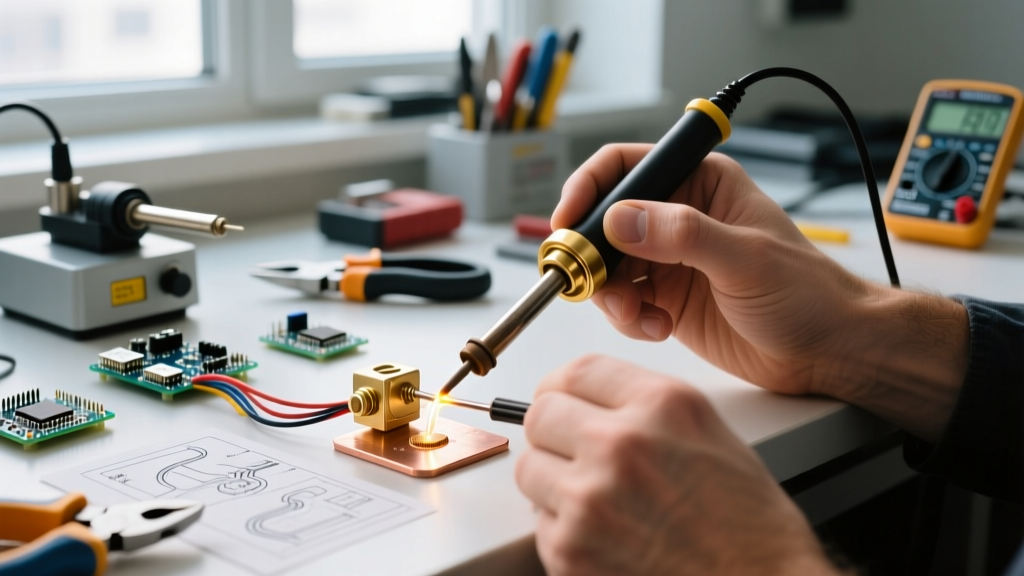
Because copper conducts heat nearly four times faster than brass, applying the torch flame directly to the brass fitting is a guaranteed way to overheat the zinc while the adjacent copper remains below the filler's flow point.
The Asymmetric Heating Technique
- Target the Copper: Direct your flame primarily at the copper pipe or terminal, roughly 1/2 inch away from the joint interface.
- Conduction Transfer: Allow the copper to conduct the heat into the brass fitting. This ensures the brass reaches the necessary flow temperature uniformly without localized surface overheating.
- The Filler Test: Touch your flux-coated filler rod to the brass side of the joint. When the brass is at the correct temperature, the flux will instantly liquefy and the rod will flash-melt into the joint via capillary action.
Torch Selection Framework
- Air-Propane / MAP-Pro (e.g., Bernzomatic TS8000): Ideal for soft soldering and small-diameter (under 1/2") silver brazing. The TS8000 produces a concentrated swirl flame that minimizes wide-area oxidation. Cost: ~$55.
- Oxy-Acetylene (e.g., Smith Little Torch with #3 or #4 tip): Mandatory for silver brazing brass fittings larger than 3/4" or in high thermal-mass environments (like bronze/brass valves). The high-velocity, high-BTU flame allows you to bring the copper up to temperature in seconds before the brass has time to degrade. Cost: ~$280 for a complete portable rig.
- Induction Soldering Systems: For high-volume manufacturing or repetitive HVAC service in 2026, flameless induction heaters (like the Mini-Ductor Snake) are increasingly popular. They heat the copper pipe via magnetic fields, entirely eliminating the risk of torch-induced zinc vaporization on the brass fitting.
Step-by-Step Execution Protocol
Follow this precise sequence to ensure a metallurgically sound brass-to-copper joint.
- Mechanical Preparation: Abrade both the copper OD and brass ID with 120-grit silicon carbide sandpaper or a dedicated fitting brush. Do not use steel wool; embedded iron particles will cause localized galvanic corrosion.
- Chemical Cleaning: Wipe both surfaces with anhydrous isopropyl alcohol or a dedicated VOC-compliant degreaser to remove machining oils from the brass.
- Flux Application: Apply a thin, even coat of your selected flux. For silver brazing, the flux should look like a smooth paste, not a clumpy mess.
- Assembly & Support: Mate the parts. Ensure a uniform capillary gap of 0.002" to 0.005" for silver brazing, or up to 0.010" for soft soldering. Use ceramic or high-temp fiberglass clamps to hold the assembly; avoid steel clamps that will act as massive heat sinks.
- Heat & Flow: Apply heat to the copper. Keep the flame moving in a circular pattern. Once the flux turns clear and glassy (indicating the activation temperature is reached), introduce the filler metal at the opposite side of the flame.
- Quenching: Allow the joint to cool naturally until the filler metal solidifies (loses its cherry glow). Then, quench with a damp rag to shatter the glassy fluoride slag, making post-cleanup easier.
Failure Mode Analysis & Troubleshooting
Even with the right materials, environmental and execution variables can cause joint failure. Use this diagnostic guide to identify issues.
1. The Joint 'Balls Up' and Refuses to Wet
Root Cause: Inadequate fluxing or zinc oxide interference. The brass surface oxidized before the flux could activate, or the wrong flux (e.g., standard borax) was used on brass.
Correction: Disassemble, mechanically clean, and switch to a potassium-fluoride white flux. Ensure you are heating the copper to draw heat into the brass, rather than torching the brass directly.
2. White, Spongy Residue Inside the Joint
Root Cause: Zinc vaporization (dezincification). The brass was overheated, boiling the zinc out of the alloy and leaving microscopic voids that filled with oxidized filler metal.
Correction: The fitting is ruined and must be cut out and replaced. Reduce your heat input time by using a higher BTU torch (Oxy-Acetylene) or pre-heating the copper more aggressively before moving to the joint interface.
3. Joint Fractures Under Minor Vibration
Root Cause: Use of a phosphorus-bearing filler (Phos-Copper) on brass, resulting in brittle zinc phosphide inclusions.
Correction: Never use BCuP alloys on brass. Switch to a silver-bearing, phosphorus-free alloy (e.g., BAg-5 or BAg-7) and use white flux.
Summary
Soldering brass to copper is entirely predictable when you respect the metallurgy. By avoiding phosphorus-bearing fillers, utilizing fluoride-based fluxes for high-temperature joints, and leveraging the asymmetric heating technique to protect the brass from zinc vaporization, you will achieve joints that meet or exceed industry brazing standards. Whether you are assembling a custom marine cooling loop or repairing a residential water main, applying this decision framework ensures structural integrity and long-term reliability. For further reading on copper alloy properties and joining limitations, consult the Copper Development Association's plumbing guidelines and the Harris Products Group technical resources on brazing metallurgy.