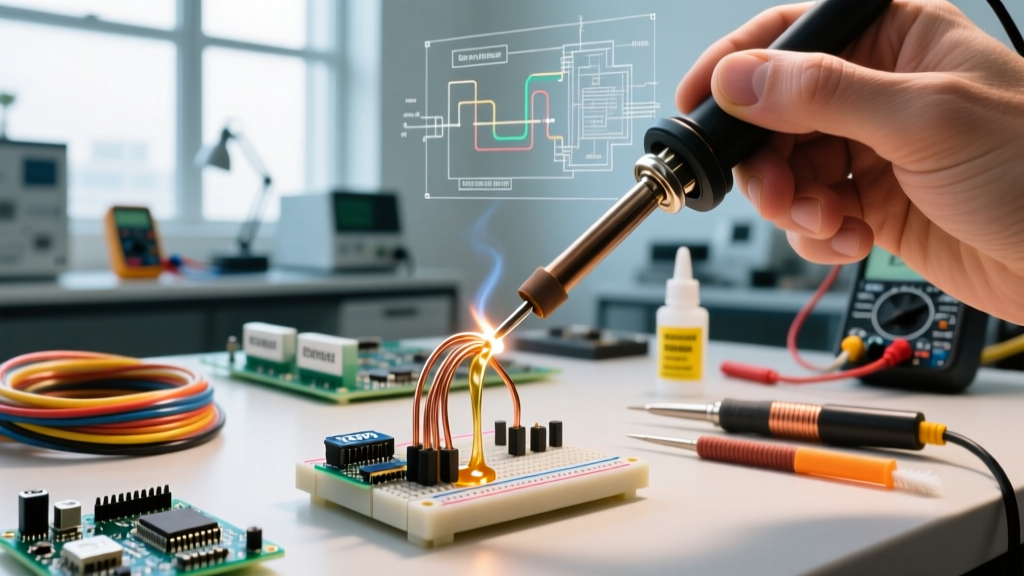

The Reality of PCB Compliance: Why IPC Soldering Standards Matter
Transitioning from casual DIY electronics to professional or high-reliability PCB assembly requires a fundamental shift in how you approach soldering. The Association Connecting Electronics Industries (IPC) publishes the globally recognized benchmarks for electronic assembly. However, blindly attempting to apply every IPC rule to a weekend Arduino project is a waste of time and capital, just as ignoring them on a medical device prototype is a massive liability.
This decision framework is designed to help engineers, makers, and procurement managers navigate IPC soldering standards in 2026. We will break down how to classify your project, select the exact tooling required to meet those classifications, and determine if formal certification yields a positive ROI for your specific workflow.
The Core Trinity: Decoding the Standards
Before applying the framework, you must understand the three pillars of IPC compliance. They serve different phases of the manufacturing and inspection lifecycle.
- IPC J-STD-001 (Requirements for Soldered Electrical and Electronic Assemblies): This is the process standard. It dictates the how—covering materials (like requiring ROL0 or ROL1 flux classifications for high-reliability boards), soldering methods, and cleanliness requirements. You can review the scope of IPC J-STD-001 directly via the official IPC portal.
- IPC-A-610 (Acceptability of Electronic Assemblies): The visual inspection bible. It provides photographic evidence of Target, Acceptable, and Defect conditions for every conceivable joint type, from through-hole to micro-BGA. The IPC-A-610 standard is what quality assurance (QA) teams use on the production floor.
- IPC-7711/7721 (Rework, Modification, and Repair): The guide for fixing mistakes. It details exact thermal profiles and mechanical steps for removing components, lifting pads, and routing replacement traces without destroying the PCB substrate.
Decision Matrix: Mapping Your Project to IPC Classes
IPC standards categorize electronic products into three distinct classes based on their end-use environment and criticality. Use this matrix to decide which level of rigor your project demands.
| IPC Class | Definition & End-Use | Typical Applications | Required Tooling Tier | Inspection Rigor |
|---|---|---|---|---|
| Class 1 | General Electronic Products. Function is the primary concern; cosmetic defects are acceptable if they don't break the circuit. | Consumer toys, basic IoT prototypes, hobbyist drones, disposable electronics. | Tier 1 (Entry-level stations, basic temperature control) | Visual check for basic continuity and short circuits. |
| Class 2 | Dedicated Service Products. High performance and extended life required. Uninterrupted operation is desired but not life-critical. | Commercial drones, automotive infotainment, industrial controllers, telecommunications. | Tier 2 (Active thermal recovery, ESD-safe, precise tip geometries) | Strict adherence to wetting angles, fillet sizes, and cleanliness. |
| Class 3 | High-Performance Electronic Products. Equipment that must perform on demand. No downtime is acceptable; life support or critical systems. | Medical pacemakers, aerospace flight controllers, military radar, automotive braking systems. | Tier 3 (Advanced cartridge systems, micro-soldering, strict thermal profiling) | X-ray inspection for BGAs, 100% optical inspection, ionic cleanliness testing. |
Tooling Selection Framework: Buying for Compliance
You cannot reliably achieve Class 2 or Class 3 results with a $40 unregulated soldering iron. IPC J-STD-001 requires that thermal energy be applied efficiently to prevent thermal damage to the PCB laminate (delamination) and components. Here is the 2026 buyer's guide for matching your station to your target IPC class.
Tier 1: Class 1 & Entry-Level Prototyping
Recommended Station: Hakko FX-888D (~$115 USD)
Why it fits: It provides basic digital temperature control and reasonable thermal mass. It is perfectly adequate for standard 0.1-inch through-hole headers and large 0805 SMD passives. However, it struggles with heavy ground planes, often leading to cold joints if the operator lingers too long—a direct violation of IPC-A-610 acceptable conditions.
Tier 2: Commercial Class 2 Production
Recommended Station: Hakko FX-951 (~$340 USD) or Weller WEP90 (~$160 USD)
Why it fits: These stations utilize composite tips where the heating element is embedded directly inside the tip. This drops the thermal recovery time to under 4 seconds. When dragging soldering tight-pitch SOIC chips, the station maintains the 350°C setpoint, ensuring proper flux activation and reliable wetting without dwelling long enough to scorch the FR4 substrate.
Tier 3: High-Reliability Class 3 & Micro-Soldering
Recommended Station: JBC CD-2SHE (~$595 USD) or Weller WXR3 (~$650 USD)
Why it fits: JBC’s exclusive cartridge system integrates the tip, heater, and sensor into a single unit, achieving a 2-second thermal recovery. For Class 3 aerospace boards requiring 0201 metric components or 0.4mm pitch BGAs, the JBC C245 or C115 tip series delivers pinpoint thermal transfer. The WXR3 offers a 3-channel setup, allowing simultaneous use of a micro-pencil, a hot-air rework module, and a desoldering iron, which is mandatory for complex IPC-7721 rework procedures.
Expert Insight: In Class 3 environments, the soldering station is only half the battle. You must pair it with a high-quality fume extraction system (like the Metcal MX-EVAC) and ESD-safe mats. IPC audits will flag a facility for electrostatic discharge vulnerabilities just as quickly as a bad solder fillet.
The ROI of Formal IPC Training and Certification
Should you or your team pursue formal IPC Certification? In 2026, a standard 4-day Certified IPC Specialist (CIS) course for J-STD-001 and A-610 costs between $1,800 and $2,400 per operator, excluding travel and lost production time.
When to Invest in Certification:
- You are a Contract Manufacturer (CM): If you are bidding on defense, medical, or automotive contracts, CIS certification is almost always a mandatory prerequisite in the RFP.
- You are scaling a startup: If your hardware startup is moving from prototype to a 10,000-unit production run, having at least one Certified IPC Trainer (CIT) on staff to enforce A-610 visual standards on the assembly line will reduce field failure rates by an estimated 15-20%.
When to Skip Formal Certification:
- Solo Makers & Hobbyists: The cost is prohibitive. Instead, purchase the digital PDF of IPC-A-610 (approx. $150) and use it as a visual reference guide on your workbench.
- Software-Focused Engineering Teams: If your team only solders debug headers or occasional prototype revisions, rely on the CM’s certified technicians for the final production builds.
Troubleshooting Common IPC Defects in the Wild
Even with Tier 3 equipment, process errors occur. Here is how to identify and fix the most common defects that fail IPC-A-610 inspection.
1. Disturbed Joints (Frosted or Grainy Appearance)
The Cause: The component or wire moved while the solder was transitioning through the plastic (semi-solid) phase between the liquidus and solidus temperatures. This creates microscopic fractures in the crystalline structure.
The Fix: Do not just add more solder. Apply a high-tack, no-clean flux gel (such as Amtech NC-559 or MG Chemicals 8341). Reheat the joint evenly until the solder fully reflows, hold the component dead still for 3 seconds, and let it cool naturally. Inspect under a 10x loupe to ensure a smooth, shiny fillet.
2. Solder Balling and Splatter
The Cause: Often seen in reflow or hand soldering with moisture-contaminated solder paste or aggressive flux boiling too rapidly.
The Fix: For hand soldering, lower your iron temperature by 15°C to prevent violent flux outgassing. For SMT paste, ensure your PCBs and components are pre-baked at 125°C for 4 hours prior to assembly to eliminate trapped moisture in the IC packaging and FR4 vias.
3. Insufficient Wetting (High Contact Angle)
The Cause: The solder forms a bead with a contact angle greater than 90 degrees, failing to alloy with the pad. Usually caused by oxidation on the PCB pad or insufficient thermal energy.
The Fix: Clean the pad with 99% isopropyl alcohol and a fiberglass scratch pen. Apply fresh ROL0 flux. Use a chisel tip rather than a conical tip to maximize surface area contact and thermal transfer to the pad before introducing the solder wire.
Final Verdict: Aligning Standards with Reality
Mastering IPC soldering standards is not about memorizing every clause; it is about applying the right level of rigor to the right project. By utilizing this decision framework, you can avoid the trap of over-investing in Class 3 tooling for Class 1 prototypes, while ensuring you have the exact thermal profiling capabilities required when human lives or mission-critical infrastructure are on the line. Evaluate your end-use environment, select your tooling tier accordingly, and let the IPC visual guides dictate your quality control baseline.