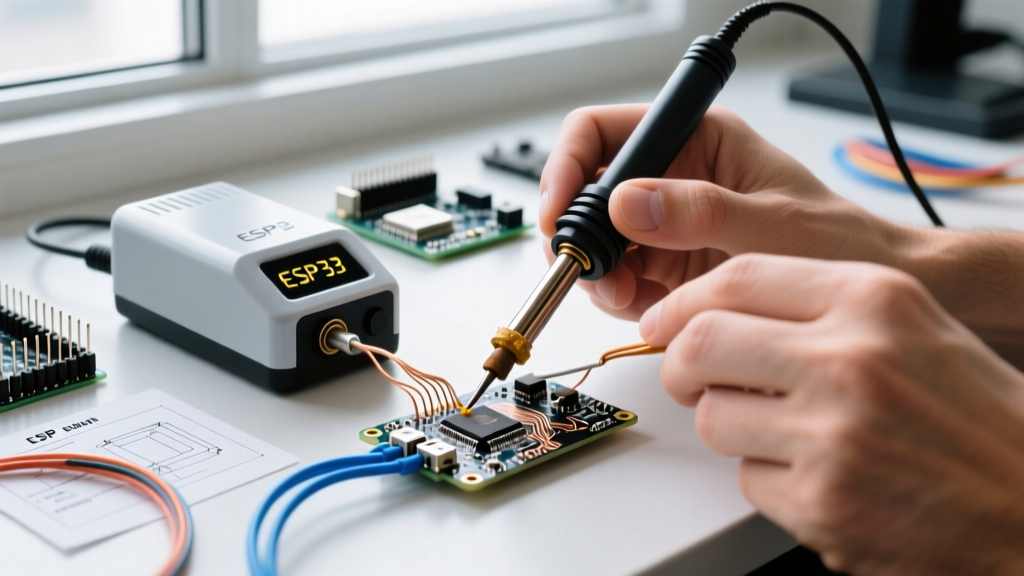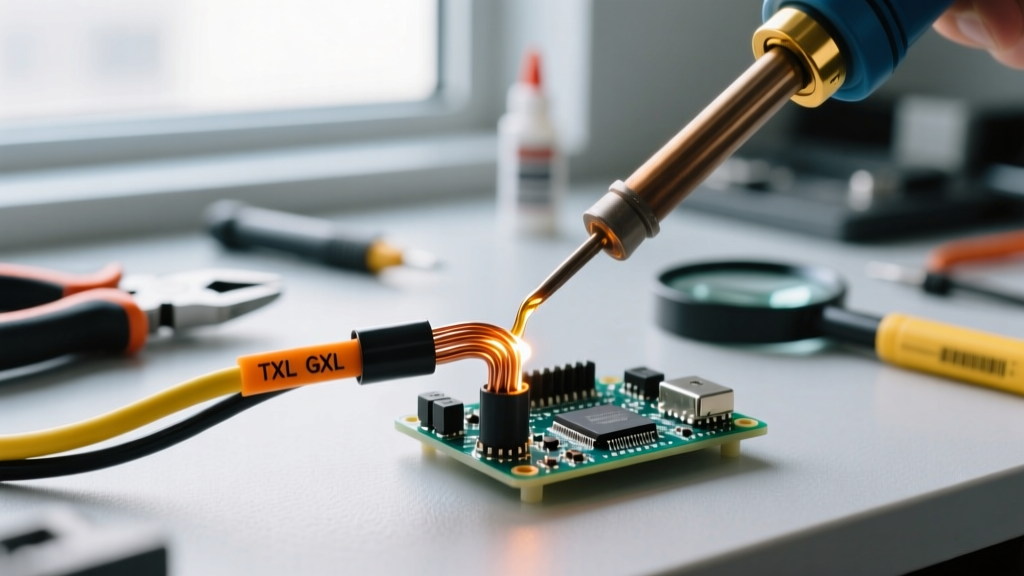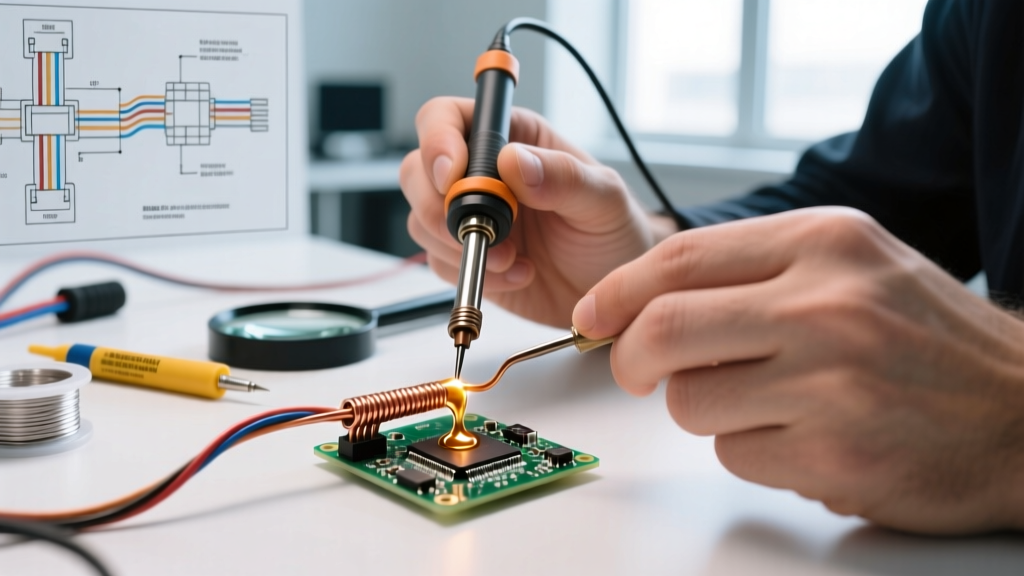

The Anatomy of a Failed Solder Splice
Creating reliable soldering splices is a foundational skill in electronics repair, automotive wiring, and DIY electrical projects. However, a poorly executed splice can lead to high resistance, voltage drops, intermittent signal loss, or even thermal runaway. According to the IPC J-STD-001 standard for soldered electrical assemblies, a solder joint must exhibit proper wetting, a smooth fillet, and no evidence of movement during the cooling phase. When these criteria are not met, the splice becomes a point of failure.
This comprehensive FAQ and troubleshooting guide addresses the most common metallurgical and mechanical failures encountered when soldering wire splices, providing actionable solutions based on industry best practices and 2026 soldering technologies.
Troubleshooting Matrix: Symptom vs. Root Cause
Before reaching for your desoldering wick, diagnose the failure. Use this matrix to identify why your soldering splices are failing.
| Visual Symptom | Physical Characteristic | Root Cause | Corrective Action |
|---|---|---|---|
| Dull, grainy, or frosty surface | Bulbous shape, poor wetting | Cold joint (insufficient heat or movement during cooling) | Reflow with fresh RMA flux and higher iron temperature (350°C+) |
| Solder beads up into a ball | Refuses to adhere to copper | Severe oxidation or wrong flux type | Clean wire with fiberglass pen, apply Kester 186 RMA liquid flux |
| Dark, burnt residue on wire | Insulation melted back, brittle copper | Excessive dwell time or iron temp >420°C | Strip wire back, use a high-thermal-mass tip (e.g., Hakko T18-D24) |
| Splice pulls apart easily | Solder cracked down the center | Mechanical strain before soldering | Ensure wires are mechanically locked (Western Union) before applying heat |
Top 5 FAQ on Soldering Splices
1. Western Union vs. Pigtail: Which Splice Holds Up Best?
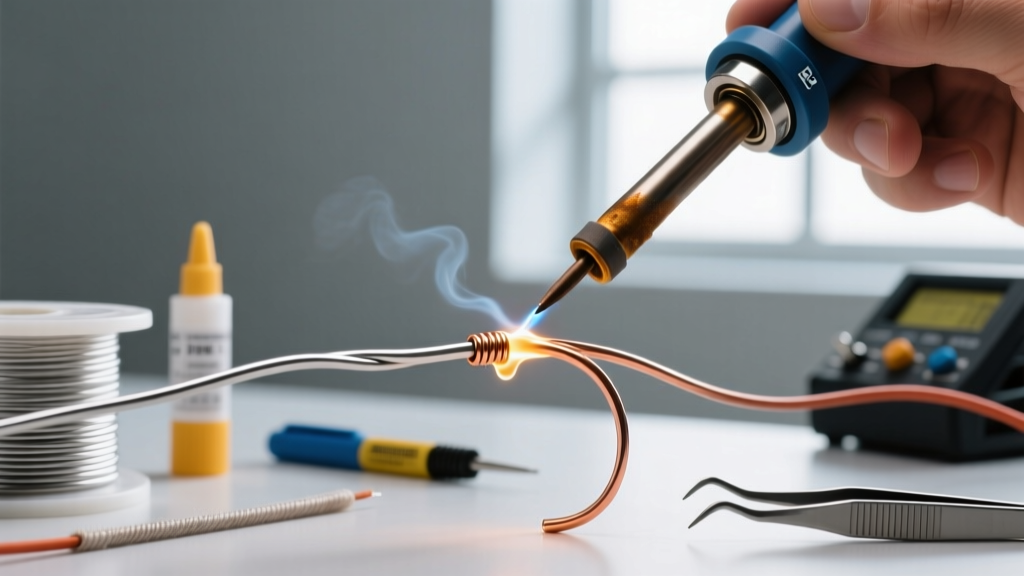
The choice of mechanical splice dictates the tensile strength of the joint before solder is even applied. The Western Union (Lineman's) splice is the gold standard for solid-core and thick stranded wire (12 AWG to 18 AWG). By twisting the wires tightly around each other in a helical pattern, you create a mechanical bond that can withstand significant pulling force. The National Electrical Code (NEC) emphasizes that solder alone cannot bear mechanical strain; the wires must be physically secured first.
For finer stranded wire (22 AWG to 30 AWG) or when joining multiple wires to a single point, the Pigtail splice (twisting the stripped ends together parallelly) is preferred. It minimizes the physical bulk of the joint, making it easier to slide adhesive-lined heat shrink over the connection.
2. Why Does My Solder Bead Up and Refuse to Flow?
Solder beading is a classic symptom of surface tension fighting against copper oxide. When copper is exposed to air and heat, it oxidizes rapidly, creating a microscopic barrier that molten solder cannot penetrate. If your solder forms a perfect sphere and rolls off the wire, you are dealing with oxidation.
The Fix: Stop applying heat immediately. Let the wire cool. Use a brass wire brush or a fiberglass scratch pen to remove the oxidized layer until the copper shines. Next, apply a high-quality Rosin Mildly Activated (RMA) flux paste. The mild acids in the RMA flux will dissolve the remaining micro-oxides the moment the iron touches the wire, allowing the solder to 'wet' the copper and flow via capillary action.
3. Should I Use Heat Shrink Before or After Soldering?
Always slide your heat shrink tubing onto the wire before you begin stripping, twisting, and soldering. Forgetting this step is a universal rite of passage, but it forces you to either wrap the joint in electrical tape (which degrades and leaves sticky residue over time) or desolder the joint to thread the tubing on.
For professional-grade soldering splices, use adhesive-lined dual-wall heat shrink (such as 3M MDT or FP-301 series). When heated, the outer polyolefin wall shrinks (typically a 3:1 or 4:1 ratio), while the inner thermoplastic adhesive melts, sealing the splice against moisture, corrosion, and vibration. Apply heat from the center outward to push air bubbles out the ends.
4. Is Acid Flux Ever Acceptable for Electrical Splices?
Absolutely not. Acid fluxes (typically zinc chloride or ammonium chloride-based) are designed for plumbing and heavy sheet metal. While they are incredibly aggressive and will make dirty copper shine instantly, the corrosive residues remain active long after the joint cools. In an electrical splice, this residue will cause galvanic corrosion, eating through the copper strands over a period of months. Furthermore, the ionic residue can create conductive paths (dendrites) between adjacent wires, leading to short circuits. Always stick to Rosin (R), Rosin Mildly Activated (RMA), or No-Clean fluxes for electrical work.
5. How Do I Desolder a Bad Splice Without Fraying the Wire?
Removing a failed solder splice without destroying the delicate strands of the wire requires patience and the right tools. Do not simply pull the wires apart while the solder is molten; this will stretch the copper and weaken the strands.
- Add Fresh Solder: Counterintuitively, add a small amount of fresh, flux-cored solder to the bad joint. The fresh flux will reactivate the old, oxidized solder, and the new alloy will lower the overall melting point of the joint.
- Use a Desoldering Pump: Heat the joint evenly until the solder flows freely. Quickly remove the iron and place the nozzle of a high-quality pump (like the Engineer SS-02 Solder Sucker) directly over the joint. Trigger the pump to vacuum away the bulk of the solder.
- Clean with Wick: For the remaining residue, press a wide copper desoldering braid (e.g., Goot Wick CP-2060) over the joint and apply the iron on top of the braid. The capillary action of the braided copper will wick away the last bits of solder, leaving the wires clean and ready for a fresh splice.
2026 Buyer’s Checklist for Flawless Splicing Gear
To achieve consistent, IPC-compliant soldering splices, your tooling must deliver stable thermal recovery. Here is what professionals are using in 2026:
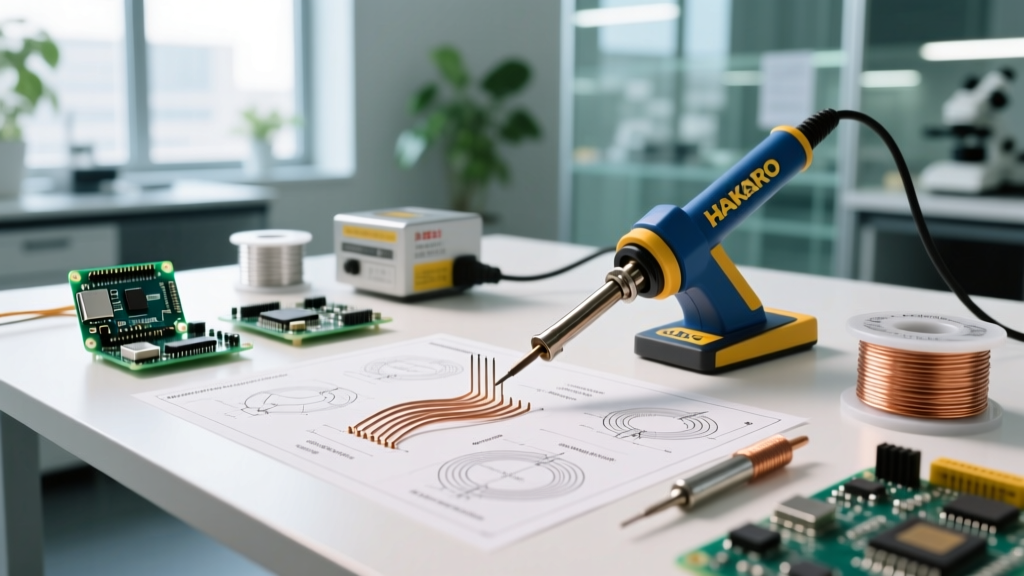
- Soldering Station: The Hakko FX-888D (approx. $115) remains the undisputed workhorse for DIYers and pros alike. Its digital temperature control and T18 tip series provide the thermal mass needed to heat thick 14 AWG wire splices without stalling.
- Solder Alloy: For general electronics and automotive splices, Kester 44 (60/40 Sn/Pb) with a rosin core is still preferred for its low melting point (183°C) and superior wetting. For RoHS-compliant or high-temp environments, Kester 245 SAC305 No-Clean (melts at 217°C) is the industry standard.
- Flux: MG Chemicals 8341 No-Clean Flux Paste in a syringe allows for precise application directly into the wire strands before twisting.
- Heat Shrink: 3M FP-301 3:1 ratio adhesive-lined tubing ensures a watertight seal for outdoor or automotive splices.
Expert Insight: When soldering large gauge wires (10 AWG or thicker), a standard pencil iron will fail to transfer enough heat, resulting in a cold joint. Upgrade to a high-wattage station (70W+) or use a dedicated butane-powered soldering torch with a catalytic heating tip to ensure the copper core reaches the necessary 200°C+ threshold for proper solder flow.
For more foundational techniques, reviewing Digi-Key's comprehensive soldering guide can help refine your iron handling and tip maintenance routines, ensuring your splices remain robust for decades.