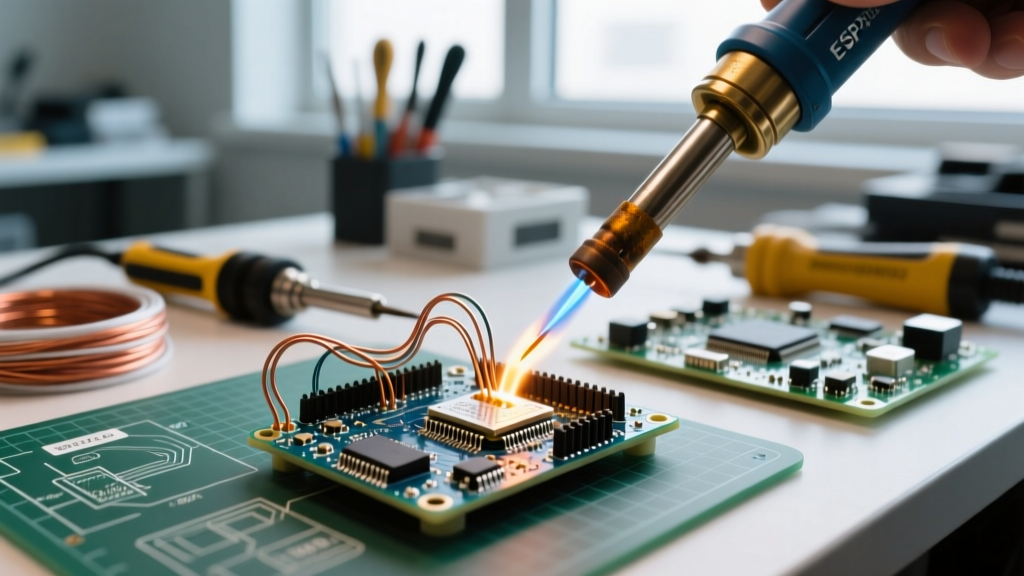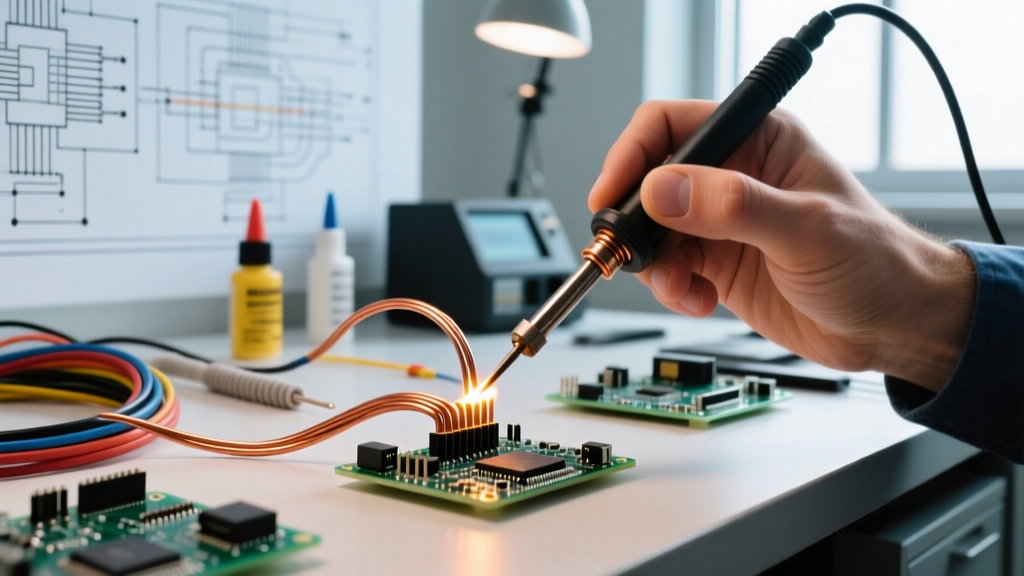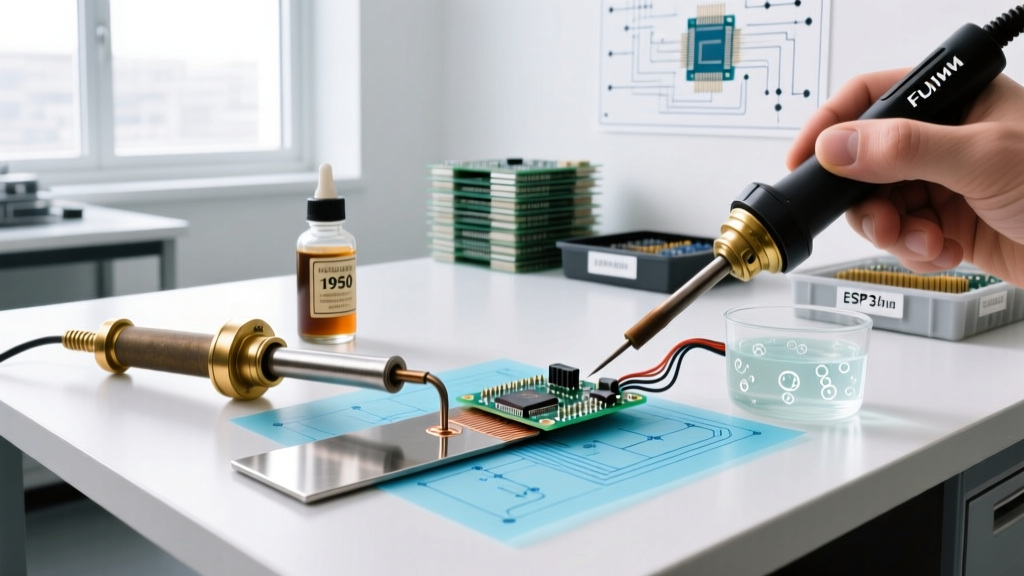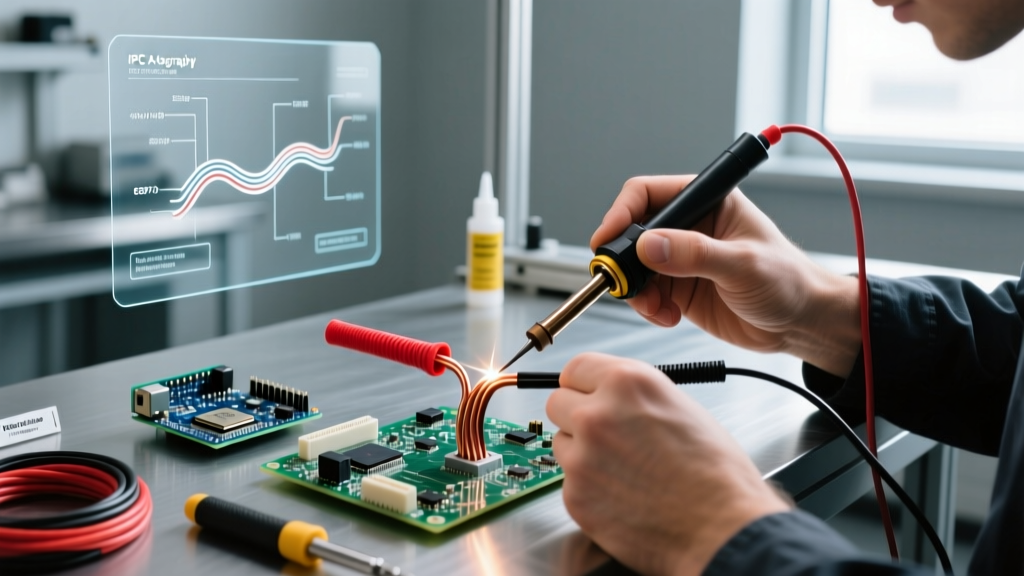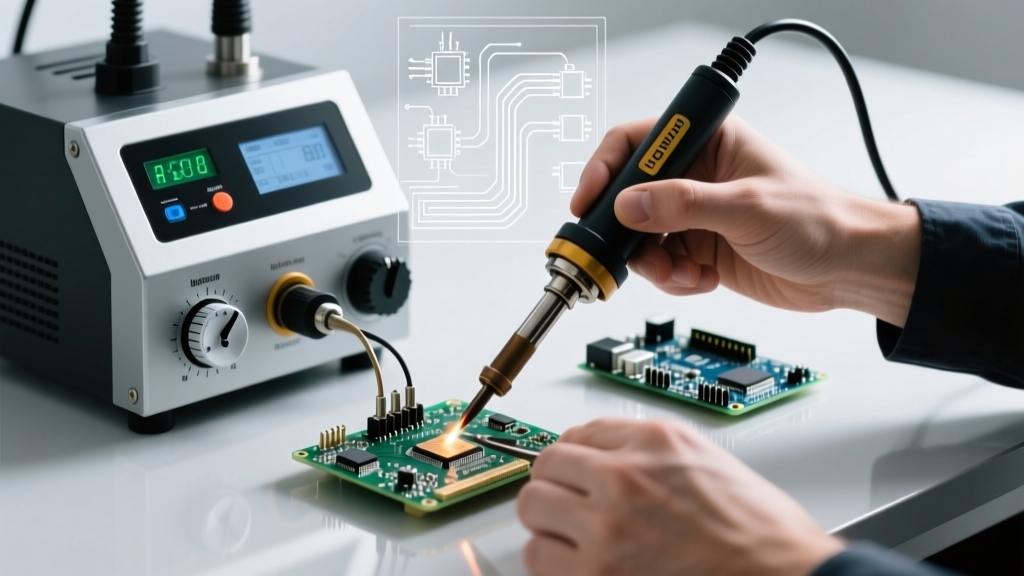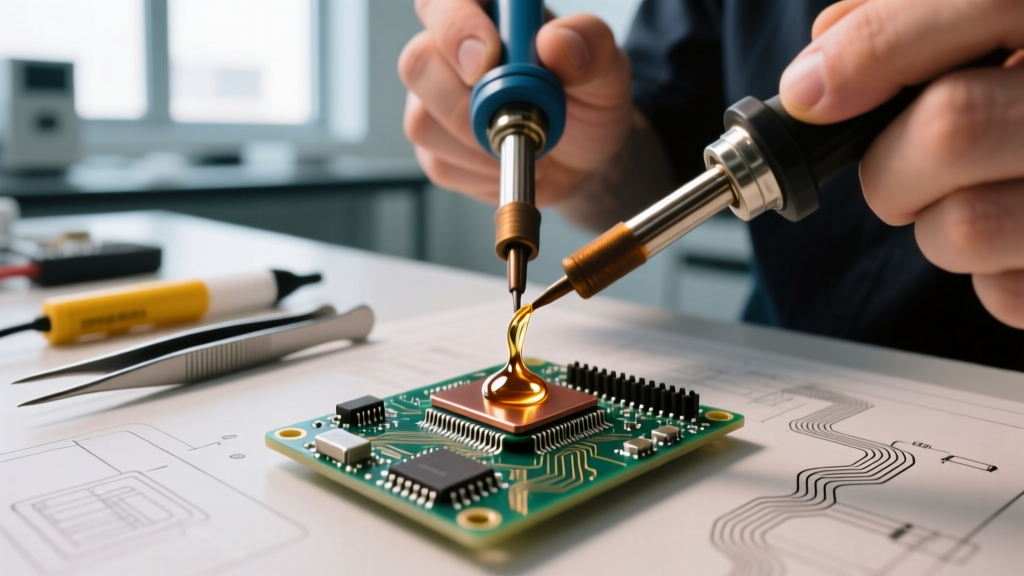

The Core Definition: What Is Tinning Soldering?
When electronics hobbyists and professionals ask, "what is tinning soldering," they are referring to the foundational process of pre-coating a surface with a thin layer of solder before making the final electrical joint. Tinning applies to two distinct areas in electronics assembly: tip tinning (coating the copper core of your soldering iron tip with solder to prevent oxidation) and wire/component tinning (applying solder to stripped wires or PCB pads prior to joining them).
While often taught purely as a technique for achieving shiny, reliable joints, tinning is fundamentally a safety-critical procedure. In 2026, with the widespread adoption of high-temperature lead-free alloys like SAC305 (Tin-Silver-Copper), skipping the tinning process doesn't just result in ugly solder joints—it introduces severe thermal, respiratory, and electrical fire hazards into your workspace.
The Hidden Safety Risks of Skipping the Tinning Process
Failing to properly tin your iron tip or your wires forces you to compensate with excessive heat and prolonged contact times. This creates a cascade of safety hazards:
1. Thermal Runaway and Severe Burn Risks
An untinned soldering iron tip rapidly develops a layer of copper oxide (CuO). Copper oxide is a thermal insulator. When you press an oxidized, untinned tip against a wire, heat transfer drops by up to 85%. To compensate, technicians often crank their station from a safe 320°C to a dangerous 400°C+. This extreme temperature increases the severity of accidental skin contact burns and can easily melt the PVC insulation on 22 AWG wires, exposing live conductors and creating shock hazards.
2. Respiratory Hazards from Flux Pyrolysis
Solder wire contains a flux core (usually rosin/colophony or synthetic organic acids) designed to activate at specific temperatures. When an untinned joint requires you to hold the iron in place for 5 to 10 seconds (instead of the recommended 1.5 seconds), the flux overheats and pyrolyzes. According to the UK Health and Safety Executive (HSE), overheating rosin flux releases toxic volatile organic compounds (VOCs) and aliphatic aldehydes that are known triggers for occupational asthma and severe respiratory sensitization.
3. Electrical Fires from Cold Solder Joints
Untinned wires repel molten solder, leading to "cold joints"—mechanically fragile connections with high electrical resistance. In high-current applications (like drone ESCs or solar charge controllers), a high-resistance cold joint generates localized heat (I²R losses). Over time, this heat degrades the surrounding insulation, leading to short circuits and potential electrical fires.
Step-by-Step Safe Tinning Procedures
Proper technique minimizes your exposure to heat and fumes. Below is the safety-optimized workflow for both tip and wire tinning.
Safe Tip Tinning Protocol
- Preparation: Set your station (e.g., Hakko FX-888D or Weller WE1010NA) to 300°C for 63/37 leaded solder, or 350°C for SAC305 lead-free solder.
- Cleaning: Once at temperature, wipe the tip on a damp cellulose sponge or brass wire wool for exactly 2 seconds to remove old, carbonized flux.
- Application: Immediately apply a generous amount of rosin-core solder (like Kester 44) to all working surfaces of the tip. The flux will bubble and clean the microscopic pores of the iron plating.
- Storage: Before turning off the station, apply a thick "sacrificial" blob of solder to the tip. This layer will oxidize instead of the tip's iron plating while the tool cools.
Safe Wire Tinning Protocol
- Strip and Inspect: Strip exactly 1/4 inch (6mm) of insulation. Ensure no copper strands are nicked.
- Mechanical Twist: Twist 7-strand or 19-strand wires clockwise at a 45-degree angle to bind the strands tightly. This reduces the surface area exposed to oxygen.
- Heat Transfer: Place the tinned iron tip on top of the wire. Wait 1.0 to 1.5 seconds for the copper to reach the solder's melting point.
- Feed Solder: Apply solder to the wire, not the iron tip. Capillary action will draw the molten solder through the strands. Remove heat the moment the solder wicks to the insulation edge.
Tinning Safety Matrix: Hazard vs. Prevention
| Hazard Scenario | Root Cause (Tinning Failure) | Safety Consequence | Preventative Action |
|---|---|---|---|
| PVC Insulation Melting | Oxidized tip requiring 400°C+ heat | Exposed live wire, shock risk, toxic PVC fumes | Maintain tip tinning; limit iron temp to 350°C max |
| Occupational Asthma | Prolonged heating (5+ seconds) to force a joint | Inhalation of colophony smoke and aldehydes | Pre-tin wires; use localized fume extraction |
| Component Pad Liftoff | Untinned PCB pads repelling solder | Delamination of FR4 fiberglass, releasing glass particulates | Apply liquid flux and pre-tin pads before component placement |
| High-Current Fire | Cold joint due to untinned wire strands | Localized I²R heating, insulation ignition | Verify solder wicking through 100% of wire strands |
Essential Safety Gear for Tinning Operations
Understanding what is tinning soldering is only half the battle; equipping your bench to handle the byproducts of the process is mandatory for long-term health. Based on current 2026 Cornell University Environmental Health and Safety (EHS) guidelines, the following gear is required:
- Source Capture Fume Extractor: A basic desk fan is insufficient. Use a unit with a HEPA and activated carbon filter, such as the Hakko FA-400 (~$65) for light DIY work, or the BOFA AD Oracle iQ (~$1,200) for professional daily use. Position the intake nozzle exactly 6 inches from the solder joint.
- Respiratory Protection: If local exhaust ventilation is unavailable, a half-mask respirator like the 3M 6200 (~$35) equipped with P100 and Organic Vapor cartridges (3M 60921) is necessary to filter out sub-micron rosin particulates.
- Silicone Soldering Mat: Tinning wires often results in molten solder drips. A fiberglass mat will scorch and release toxic binders. Use a high-temperature silicone mat (e.g., Q-MING 500°C Mat, ~$18) to safely catch errant solder drops without off-gassing.
Expert Troubleshooting: Tinning Failure Modes
Failure Mode: Solder Balls Up and Rolls Off the Tip
Diagnosis: The iron plating has suffered from "black tip" syndrome (severe oxidation and flux carbonization). The tip is no longer thermally coupled to the heater.
Safety Fix: Do NOT scrape the tip with a file or sandpaper—this destroys the microscopic iron plating and exposes the copper core, which will rapidly dissolve into the solder and create a severe burn hazard. Use a specialized tip tinner compound (like Hakko B3358 Tip Tinner, ~$12) at 350°C to chemically reduce the oxidation.
Failure Mode: Wire Tinning Looks Frosty and Grainy
Diagnosis: A disturbed cold joint. The wire was moved while the SAC305 or 63/37 solder was transitioning through its plastic (semi-solid) phase.
Safety Fix: Re-apply liquid flux (e.g., MG Chemicals 8341 No-Clean Flux, ~$14), reheat the joint fully until the solder flows like liquid, and hold the wire completely still using a silicone-tipped helping-hands tool until the solder solidifies (approx. 2 seconds).
FAQ: Tinning and Soldering Safety
Is tinning required for all electrical connections?
According to the IPC J-STD-001 standard for soldered electrical assemblies, tinning (or pre-wetting) is highly recommended for stranded wires to ensure proper capillary action and prevent stray strands from causing short circuits. However, for solid-core wires inserted into PCB plated-through holes, pre-tinning is generally not required and can sometimes cause poor wetting in the barrel.
Can I use plumbing solder to tin electronics wires?
Absolutely not. Plumbing solder uses highly corrosive acid flux (zinc chloride) designed to eat through copper oxide on pipes. If used on electronics, the acid flux will rapidly corrode the copper wire, leading to high-resistance joints, electrical arcing, and potential fires. Always use electronics-grade rosin-core (RMA) or no-clean flux solder.
How often should I re-tin my soldering iron tip during a session?
For optimal safety and thermal transfer, you should re-tin your tip every 3 to 5 minutes of active use, and immediately after completing a joint. Never leave a bare, shiny tip exposed to the air while the iron is hot, as oxidation begins within seconds at temperatures above 300°C.