
The Metallurgical Challenge: Why Stainless and Copper Clash
Soldering stainless steel to copper is widely considered one of the most demanding dissimilar metal joints in electronics, HVAC instrumentation, and custom fabrication. The difficulty does not stem from the copper—which is highly receptive to standard soldering techniques—but rather from the passive chromium oxide layer that naturally forms on stainless steel (particularly common 304 and 316 grades). This microscopic oxide layer is chemically inert to standard rosin-based fluxes, preventing the molten solder from wetting the surface.
Furthermore, you are fighting a severe thermal imbalance. Copper has a thermal conductivity of approximately 398 W/m·K, while 304 stainless steel sits at a mere 16 W/m·K. In practical terms, copper is nearly 25 times more thermally conductive than stainless steel. If you apply your soldering iron directly to the stainless component, the copper will act as a massive heatsink, rapidly drawing thermal energy away from the joint and resulting in a classic 'cold joint' failure on the stainless side.
Essential Consumables: Flux and Filler Alloys for 2026
Standard RMA (Rosin Mildly Activated) or no-clean fluxes will fail instantly on stainless steel. You must use an inorganic acid flux—typically zinc chloride or ammonium chloride-based—to chemically reduce the chromium oxide at soldering temperatures (250°C–350°C). Additionally, due to the differing coefficients of thermal expansion (CTE), incorporating silver into your solder alloy is highly recommended to increase shear strength and prevent tin leaching.
| Consumable Type | Specific Product / Alloy | Use Case | Est. 2026 Price |
|---|---|---|---|
| Aggressive Acid Flux | Superior Flux #30 or Harris Stay-Clean | Breaking down Cr-Oxide on 304/316 SS | $15 - $28 / 8oz |
| Leaded Silver Alloy | Sn62Pb36Ag2 (Kester 245) | High-reliability, non-RoHS industrial | $65 - $85 / lb |
| Lead-Free Alloy | SAC305 (Sn96.5Ag3.0Cu0.5) | RoHS compliant consumer electronics | $75 - $95 / lb |
| Neutralizing Agent | 5% Sodium Bicarbonate Solution | Post-solder acid flux cleanup | < $5 / batch |
Thermal Management and Tool Selection
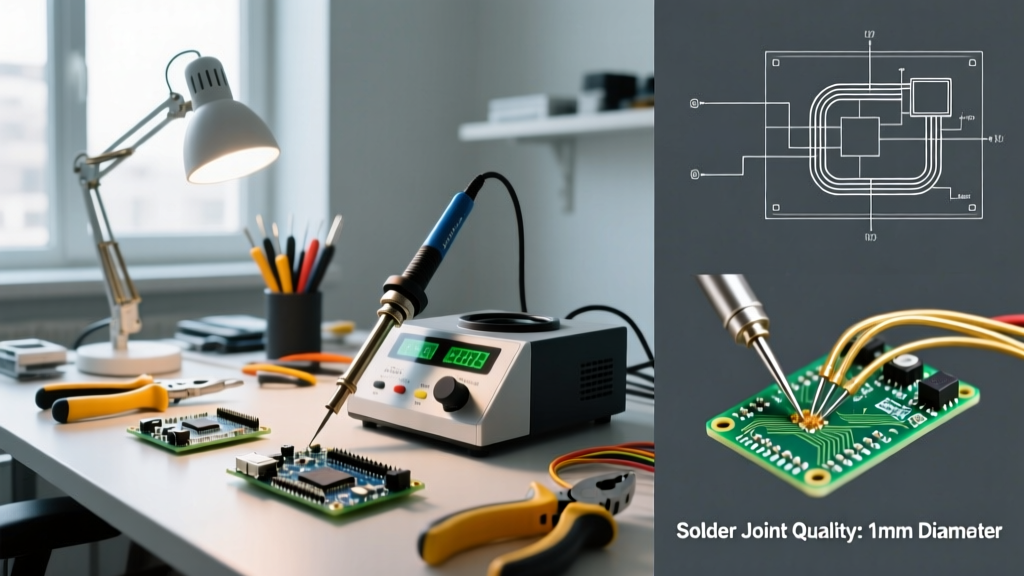
Because of the thermal conductivity mismatch, a standard 40W pencil iron will not suffice for anything beyond microscopic wire tacking. For reliable soldering and brazing joints between these dissimilar metals, you need high thermal mass and rapid heat recovery.
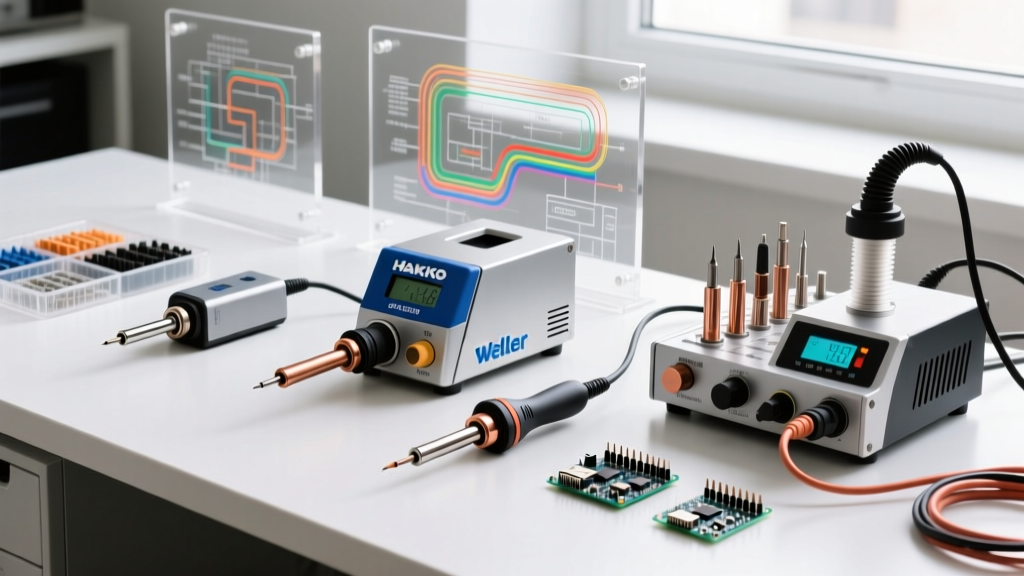
- For PCB and Small Instrumentation (Under 14 AWG): Use a high-wattage digital station like the Hakko FX-951 or Weller WE1010 (80W-100W). Equip it with a heavy chisel tip (e.g., Hakko T18-D24 or Weller ETA) to maximize surface contact area.
- For Plumbing, HVAC, or Heavy Gauge (12 AWG+): Abandon the soldering iron. Use a propane or MAP-Pro torch with a flame spreader nozzle to evenly pre-heat the copper mass without localized overheating.
Step-by-Step Procedure for a Bulletproof Joint
Follow this exact sequence to ensure metallurgical bonding and avoid the dreaded 'balling' effect where the solder refuses to wet the stainless steel.
- Mechanical Abrasion (The Scratch Method): Use 400-grit sandpaper or a Scotch-Brite pad to aggressively scuff the stainless steel joint area. Do this immediately before applying flux. The goal is to physically break the chromium oxide layer.
- Immediate Flux Application: Apply your zinc-chloride acid flux to the abraded stainless steel instantly. The flux will prevent atmospheric oxygen from reforming the oxide layer while you prep the copper.
- Pre-Tinning the Stainless: This is the most critical step. Apply your iron (set to 350°C for leaded, 380°C for SAC305) to the fluxed stainless steel. Feed a small amount of solder directly into the joint. If the solder balls up, use the tip of your iron to physically 'scratch' the stainless surface through the molten flux pool. This breaks the oxide in an oxygen-free environment, allowing the solder to instantly wet and tin the steel.
- Pre-Tinning the Copper: Clean and tin the copper component using standard rosin flux. This should be trivial compared to the stainless side.
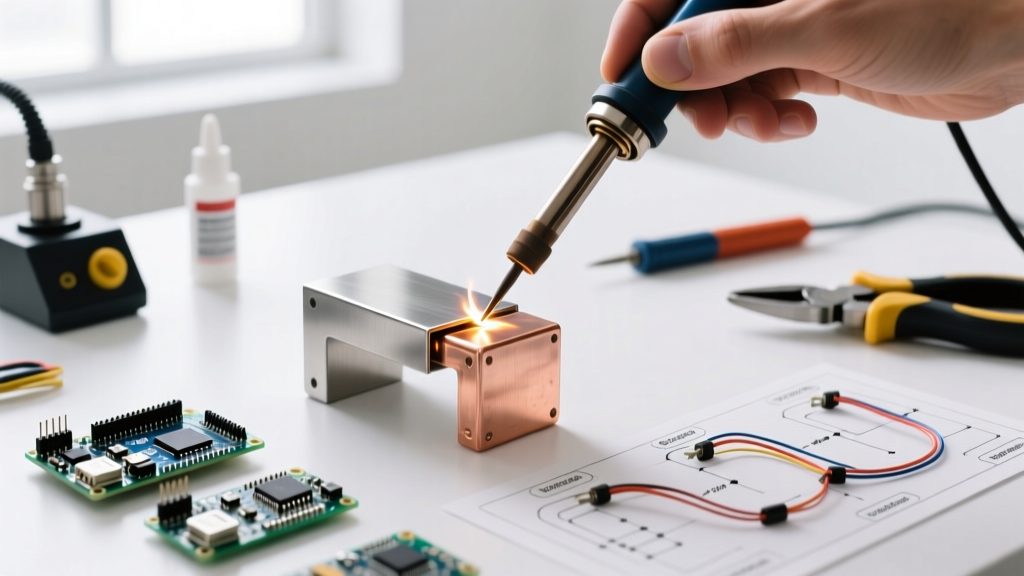
- Final Sweat Soldering: Mate the two pre-tinned surfaces. Apply your heat source primarily to the copper side. The copper will rapidly conduct the heat into the stainless steel interface, melting both tinning layers simultaneously and creating a unified capillary bond. Feed additional silver-bearing solder into the joint edge until a smooth fillet forms.
- Mandatory Neutralization: Inorganic acid fluxes will destroy your joint over time if left active. Once the joint cools below 50°C, scrub it with a stiff brush and a 5% baking soda/water solution to neutralize the zinc chloride. Rinse with distilled water, then displace the moisture with 99% Isopropyl Alcohol (IPA).
Troubleshooting Common Failure Modes
Even with the right materials, dissimilar metal joints can fail if process parameters drift. Consult this matrix to diagnose issues on the fly.
- Failure Mode: Solder 'Balls Up' on Stainless.
Root Cause: Incomplete removal of the chromium oxide layer or flux exhaustion.
Correction: Remove the joint, re-abrade with 400-grit, apply fresh acid flux, and use the 'scratch-through' technique with the iron tip. - Failure Mode: Dull, Grainy, or Cracked Fillet.
Root Cause: Thermal shock during cooling, or using a standard Sn60Pb40 alloy without silver, leading to brittle intermetallic compounds at the dissimilar boundary.
Correction: Switch to an Ag-bearing alloy (Sn62 or SAC305) and allow the joint to cool naturally. Never use compressed air or wet sponges to quench a stainless-to-copper joint. - Failure Mode: Green/White Crust Forming Weeks Later.
Root Cause: Incomplete neutralization of the acid flux, leading to ongoing chemical etching of the copper.
Correction: Implement a strict two-step cleaning protocol (Baking Soda neutralization followed by IPA rinse) for all inorganic flux applications, as mandated by IPC cleaning standards.
'The secret to soldering stainless isn't more heat; it's better chemistry. If your flux can't reduce chromium oxide, no amount of wattage will save the joint.'
— Advanced Metallurgy Fabrication Guidelines, 2025 Edition
Final Thoughts on Material Compatibility
Soldering stainless steel to copper is entirely viable for mechanical anchoring, sensor fabrication, and shielded enclosures, provided you respect the metallurgical boundaries. By utilizing aggressive inorganic acid fluxes, silver-bearing filler metals, and strategic thermal management, you can achieve joints that rival the tensile strength of the base metals. Always remember to evaluate the galvanic risks of your specific operating environment before committing to a soldered dissimilar metal assembly.