
The Metallurgical Nightmare: Why SS-to-Cu is Historically Difficult
Joining dissimilar metals is a foundational challenge in electrical and mechanical fabrication, but soldering stainless steel to copper represents a unique metallurgical headache. You are attempting to bond a highly conductive, easily oxidized base metal (copper) to a thermally insulating, passivated alloy (stainless steel).
Stainless steel owes its corrosion resistance to a microscopic, self-healing layer of chromium oxide (Cr2O3). This passive layer is virtually impervious to standard rosin-based (RMA) or mild organic (OR) fluxes used in everyday electronics soldering. Copper, while easier to solder, acts as a massive thermal heatsink, drawing heat away from the joint. Historically, overcoming these dual barriers required destructive chemicals and extreme temperatures. In 2026, however, the evolution of active filler metals and specialized flux chemistries has transformed this process from a hazardous industrial chore into a manageable precision task.
The Dark Ages: Acid Fluxes and Silver Brazing (Pre-2010s)
Before the widespread commercialization of active solders and advanced fluoroaluminate fluxes, technicians and plumbers relied on brute-force chemistry and high-heat metallurgy to join these metals.
The Zinc Chloride and Phosphoric Acid Era
Throughout the late 20th century, the standard approach to soldering stainless steel involved highly corrosive inorganic acid fluxes—primarily zinc chloride (ZnCl2) and phosphoric acid (H3PO4). These aggressive acids successfully etched away the chromium oxide layer, allowing standard tin-lead (Sn63/Pb37) solder to wet the surface.
- The Failure Mode: If the corrosive residue was not perfectly neutralized and cleaned (which was nearly impossible in complex geometries), it would rapidly eat through the joint. Furthermore, the introduction of an acidic electrolyte between copper and stainless steel created a catastrophic galvanic cell, leading to rapid localized pitting and joint failure.
Silver Brazing: The High-Temperature Bypass
When acid fluxes failed or were deemed too dangerous for aerospace and medical applications, fabricators turned to silver brazing (using alloys like BAg-7 or BAg-24). Operating at temperatures between 1,200°F and 1,450°F (650°C–790°C), brazing bypassed the need for low-temperature solder wetting.
"While silver brazing creates a structurally sound bond, the extreme heat inevitably anneals work-hardened copper, destroying its temper and mechanical strength, while simultaneously warping thin-gauge stainless steel components." — Historical guidelines from the American Welding Society (AWS).
The Modern Evolution: Active Solders and Ultrasonic Wetting
The paradigm shifted in the 2010s with the introduction of active solders—alloys doped with reactive elements like Titanium (Ti) or Indium (In). By 2026, these technologies have filtered down from aerospace manufacturing to advanced DIY and prototyping labs.
How Titanium-Activated Solders Work
Active solders contain trace amounts of titanium. When the solder reaches its liquidus temperature, the titanium reacts directly with the oxygen in the stainless steel's chromium oxide layer, forming titanium oxide and exposing the bare, reactive steel beneath. This allows the tin-silver (Sn-Ag) matrix to form a true intermetallic bond without the need for external, corrosive chemical fluxes.
2026 Buyer’s Matrix: Modern Solutions for SS-to-Cu Joints
Selecting the right method depends on your thermal budget, joint geometry, and environmental exposure. Below is a comparison of the top three modern approaches available to fabricators today.
| Method / Technology | 2026 Product Example | Operating Temp | Est. Cost (USD) | Best Application |
|---|---|---|---|---|
| Active Solder (Ti-doped) | Indalloy® 256 (Sn95Ag5) or S-Bond 220M | 220°C - 250°C | $85 - $120 / oz | Vacuum chambers, hermetic seals, flux-free requirements. |
| Specialized SS Flux + Sn-Ag-Cu | Superior Flux 3367 + Kester Sn96.5Ag3.0Cu0.5 | 230°C - 260°C | $25 (Flux) + $45/lb (Wire) | General fabrication, HVAC sensors, heavy-gauge wire lugs. |
| Ultrasonic Soldering | Sunbonder UST-200 / TITE-Joint Ultrasonic Iron | 200°C - 300°C | $1,200 - $2,500 (Tool) | Glass-to-metal seals, delicate electronics, zero-chemical environments. |
Thermal Dynamics: Managing the Heatsink vs. Insulator Paradox
The most overlooked aspect of soldering stainless steel to copper is the radical difference in thermal conductivity. Copper boasts a thermal conductivity of roughly 385 W/m·K, while 304 stainless steel sits at a mere 16 W/m·K.
If you apply a standard 60W soldering iron to the center of the joint, the copper will instantly wick the heat away, while the stainless steel will remain stubbornly cool, preventing the flux from activating and the solder from wetting.
The 2026 Thermal Profiling Strategy
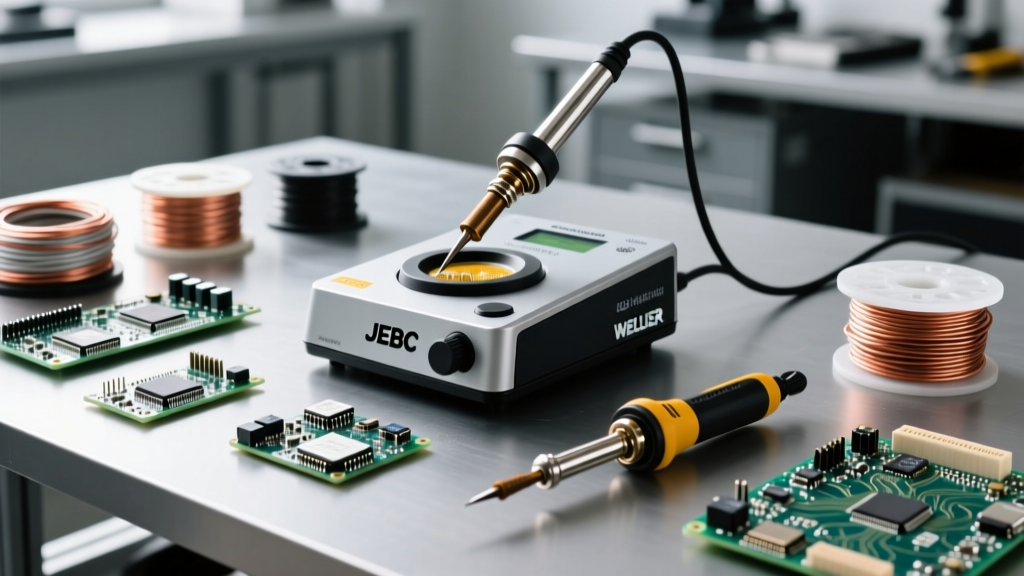
- Use High-Recovery Equipment: Ditch entry-level irons. Use a high-thermal-recovery station like the Hakko FX-951 or Weller WE1010NA equipped with a heavy-duty chisel tip (e.g., Hakko T18-D24).
- Pre-Heat the Copper: Apply heat to the copper side first to saturate it with thermal energy. Use a silicone heating mat or a secondary hot air gun set to 150°C to elevate the baseline temperature of the entire assembly.
- Tin the Stainless Steel First: Apply your specialized flux (like Superior 3367) and tin the stainless steel component independently. Once the SS is pre-tinned, the thermal dynamics normalize, allowing you to mate it to the copper using standard reflow techniques.
Step-by-Step: Executing the Superior Flux 3367 Method
For 90% of DIY and industrial prototyping applications, using a highly active, water-soluble organic acid flux designed specifically for stainless steel is the most cost-effective route. Here is the exact procedure:
- Step 1: Mechanical Abrasion. Use 400-grit silicon carbide (SiC) sandpaper to scuff the stainless steel mating surface. This breaks the macro-layer of the chromium oxide and increases surface area. Do not use steel wool, as embedded iron particles will cause rust.
- Step 2: Solvent Clean. Wipe both the copper and stainless steel with 99% Isopropyl Alcohol (IPA) to remove machining oils and abrasive dust.
- Step 3: Flux Application. Apply a liberal coat of Superior Flux 3367 to the stainless steel. This flux contains specialized amine hydrochlorides capable of penetrating the passive SS layer at 250°C.
- Step 4: Pre-Tinning. Set your iron to 360°C (680°F). Touch the tip to the fluxed stainless steel and feed Sn96.5Ag3.0Cu0.5 (SAC305) wire. Scrub gently with the iron tip to encourage wetting. Once a shiny, mirror-like coat of solder covers the SS, remove the heat.
- Step 5: Mating to Copper. Apply standard RMA flux to the copper. Bring the pre-tinned SS and the copper together. Apply heat to the copper side until the SAC305 pre-tin reflows and wicks into the copper grain structure.
- Step 6: Mandatory Cleaning. Superior 3367 is water-soluble but highly active. You must scrub the joint with a stiff brush and hot distilled water immediately after cooling to halt the chemical reaction and prevent long-term corrosion.
The Silent Killer: Galvanic Corrosion in Dissimilar Joints
Even with a perfect metallurgical bond, soldering stainless steel to copper introduces a severe galvanic risk. According to the galvanic series in seawater, copper is anodic (less noble) to stainless steel, which is highly cathodic.
If moisture acts as an electrolyte, the copper will sacrificially corrode to protect the stainless steel, eventually destroying the copper wire or trace adjacent to the solder joint. The Copper Development Association (CDA) heavily advises against direct, unsealed exposure of Cu-to-SS joints in humid or marine environments.
Mitigation Strategies for 2026
- Conformal Coating: After cleaning the joint, encapsulate it entirely in a silicone or acrylic conformal coating (e.g., MG Chemicals 419D) to block atmospheric moisture and electrolytes.
- Heat-Shrink with Adhesive Lining: Use dual-wall, adhesive-lined polyolefin heat shrink tubing. The inner meltable adhesive layer creates a hermetic environmental seal over the dissimilar metals.
- Design Geometry: Ensure the joint geometry does not create a "cup" or crevice where water can pool. Always orient the joint so gravity sheds water away from the Cu-SS interface.
Final Thoughts on Sourcing and Quality
The evolution of soldering stainless steel to copper has moved the industry away from dangerous, uncontrolled acid baths toward precision chemistry and active metallurgy. When sourcing materials, avoid unbranded "stainless steel soldering paste" found on budget e-commerce sites; these are often just standard Sn-Pb mixed with highly corrosive zinc chloride that will destroy your project within months.
Stick to reputable metallurgical suppliers. Companies like Indium Corporation and Superior Flux & Tin Co. provide verified technical data sheets (TDS) and safety data sheets (SDS) that guarantee the chemical composition required to safely and permanently bridge the gap between these two vastly different metals.