
The Thermal Threshold: Why LEDs Fail During Soldering
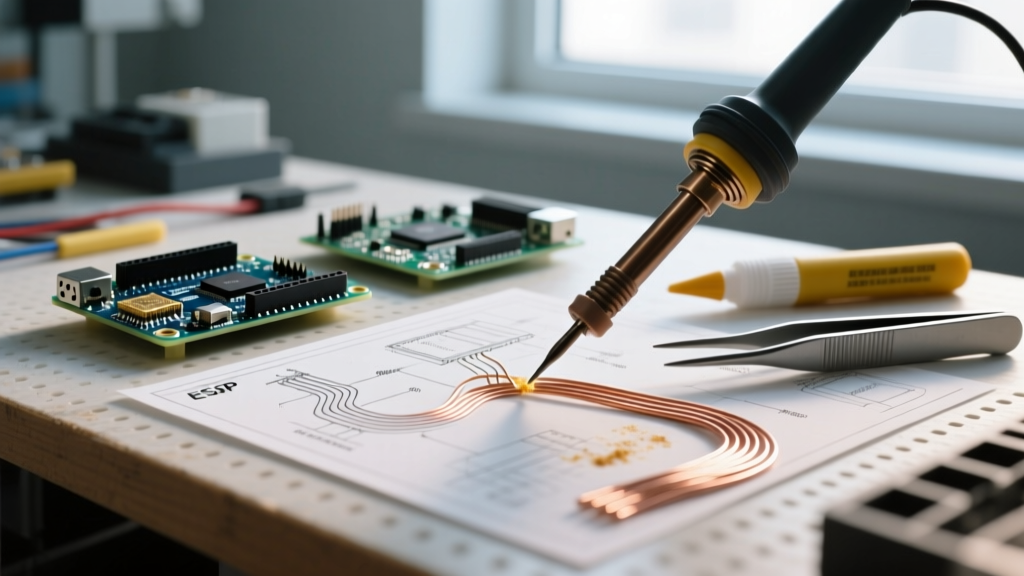
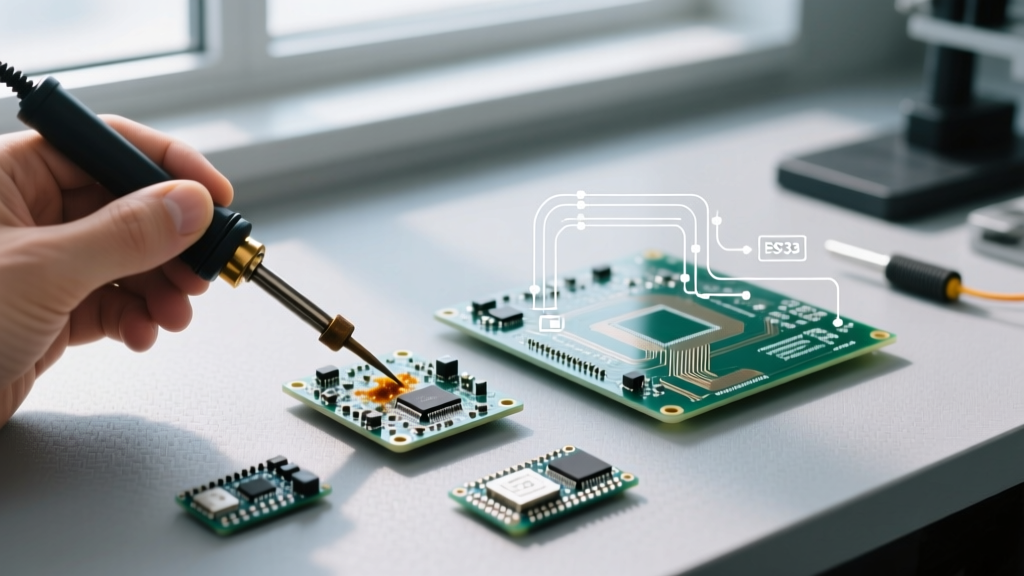
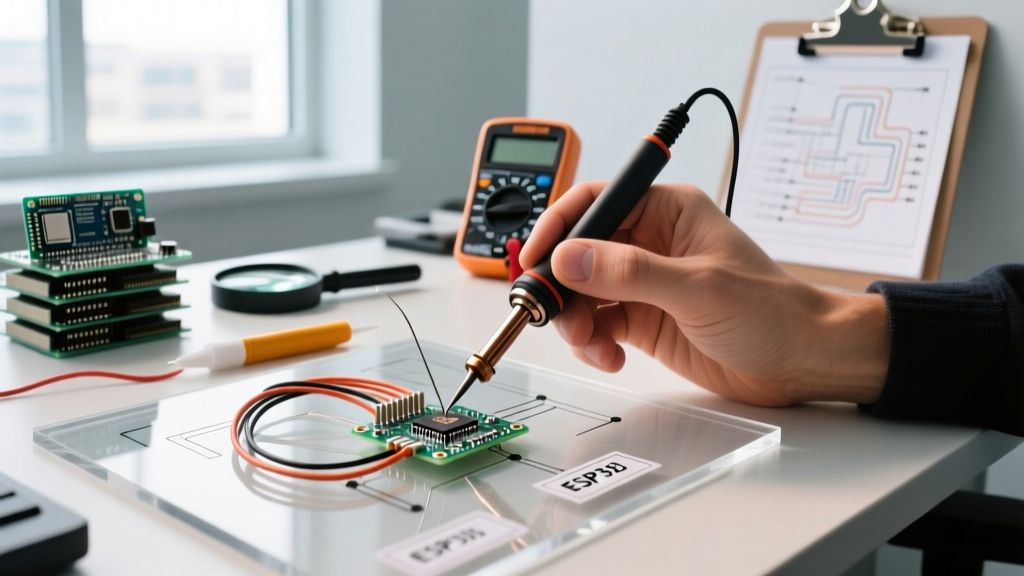
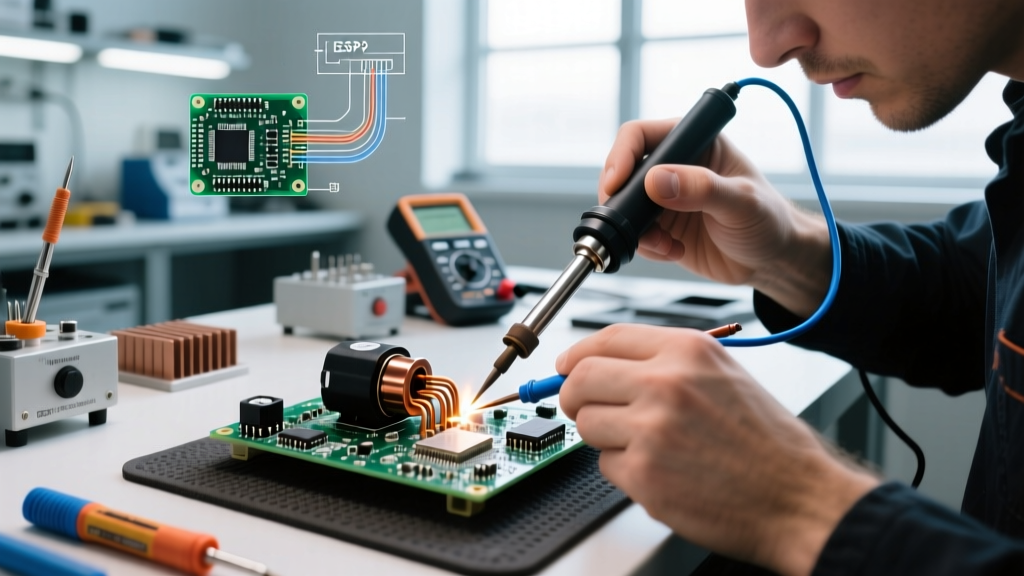
Soldering LED lights is fundamentally an exercise in thermal management. Unlike passive resistors, LEDs are complex semiconductor devices encased in epoxy or silicone resins. According to the IPC/JEDEC J-STD-020 standard for moisture and reflow sensitivity, most standard surface-mount LEDs have an absolute maximum peak temperature of 260°C (500°F) for no more than 3 seconds. Exceeding this threshold causes catastrophic failure modes: the internal gold wire bonds can detach, the phosphor layer can degrade (causing a permanent blue-shift in color temperature), or the flexible printed circuit board (FPCB) copper traces can delaminate.
Essential Tools for Soldering LED Lights in 2026
To maintain strict thermal control, you need equipment with high thermal mass and rapid recovery times. Here is the optimal 2026 loadout for both hobbyists and professionals:
- Soldering Station: The Pine64 Pinecil V2 ($26) or Hakko FX-951 ($250). The Pinecil uses a RISC-V chip and PD (Power Delivery) to recover heat in milliseconds, preventing cold joints on large copper pours.
- Solder Wire: For LED strips and SMDs, use 63/37 Leaded Eutectic Solder (melts at 183°C) in a 0.5mm diameter. Kester 245 or MG Chemicals 4880 are industry benchmarks. Avoid lead-free (SAC305) unless legally required, as its higher melting point (217°C) forces you to apply more heat, risking LED damage.
- Flux: Chip Quik SMD291AX tacky flux ($18 per 10g syringe). This no-clean, rosin-based flux lowers surface tension, allowing solder to flow instantly and reducing the required dwell time on the pad.
- Wire: 22AWG or 24AWG Silicone Stranded Wire. Silicone insulation won't melt or shrink back when the iron accidentally touches it.
Choosing the Right Soldering Iron Tip for LED Work
The physical geometry of your soldering iron tip dictates thermal transfer efficiency. For soldering LED lights, the standard chisel tip is often too broad, risking accidental contact with adjacent components or the LED's epoxy dome. Instead, utilize a micro-pencil tip (such as the Hakko T18-IL or Pine64's PTS-I) for SMD and strip work. These tips feature a 0.2mm to 0.5mm needle point, allowing you to place heat exactly on the copper pad without bridging adjacent data lines on dense WS2812B strips. For larger COB (Chip-on-Board) strips with massive thermal mass copper pours, switch to a bevel tip (T18-C2). The concave face holds a small reservoir of molten solder, maximizing surface area contact and reducing the dwell time required to bring the pad to reflow temperature.
Matrix Comparison: Soldering Different LED Types
Different LED architectures require distinct approaches. Use this matrix to set up your workstation before beginning.
| LED Type | Pad Size / Pitch | Ideal Iron Temp | Solder Wire Dia. | Max Dwell Time |
|---|---|---|---|---|
| Through-Hole (5mm) | Large (2.5mm holes) | 320°C (608°F) | 0.8mm - 1.0mm | 3 - 4 seconds |
| SMD (0805 / 1206) | 1.2mm x 2.0mm | 300°C (572°F) | 0.5mm | 1.5 - 2 seconds |
| WS2812B Strips | 1.5mm x 1.5mm pads | 310°C (590°F) | 0.5mm | 2 seconds |
| COB LED Strips | Continuous copper pour | 340°C (644°F) | 0.8mm | 3 seconds |
Step-by-Step: Soldering Flexible LED Strips (WS2812B & COB)
Flexible LED strips are notoriously difficult because the copper pads are glued to a polyimide or flexible FR4 base. Excessive heat will melt the adhesive, causing the pad to lift. Follow this exact sequence for bulletproof connections, a method widely endorsed by experts at Adafruit's NeoPixel soldering guide:
- Prep the Wire: Strip 3mm of insulation from your 22AWG silicone wire. Twist the strands tightly.
- Tin the Wire: Apply a small amount of flux to the bare wire, then touch the iron and feed solder until the wire is fully coated. It should look shiny and uniform.
- Tin the Pads: Apply a microscopic dot of tacky flux to the LED strip's copper pads. Touch the tinned iron tip to the pad for exactly 1 second to deposit a small solder dome. Do not add extra solder wire here.
- The Marriage: Hold the tinned wire flat against the tinned pad. Apply the iron to the top of the wire. The solder on both surfaces will reflow and merge in about 1.5 seconds. Remove the iron immediately.
- Hold Still: The solder will solidify in 2 seconds. Moving the wire during this cooling phase creates a "cold joint" characterized by a dull, grainy appearance and high electrical resistance.
Advanced Techniques: Soldering Micro SMDs (0402 and 0603)
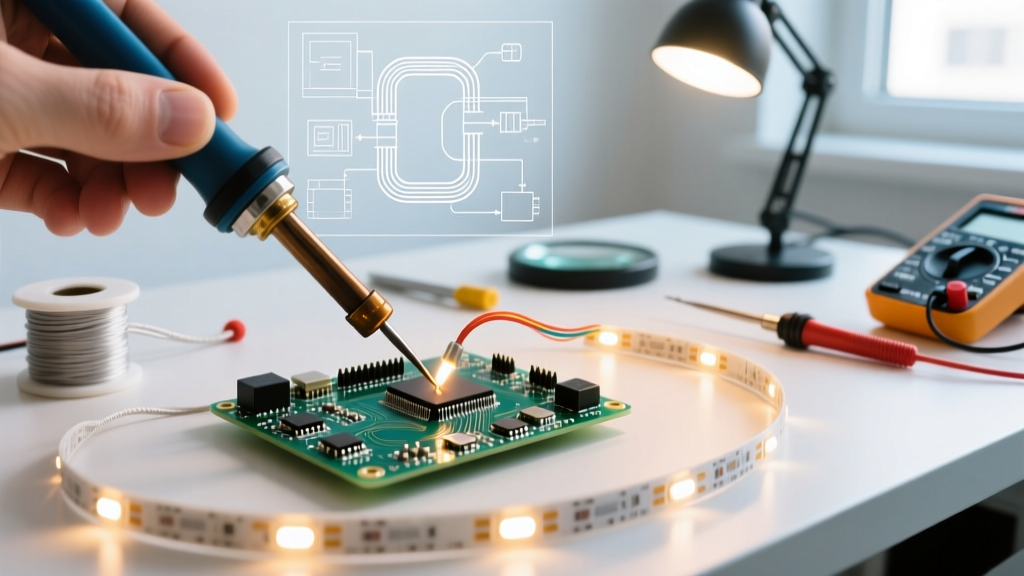
When repairing LED driver boards or custom PCBs, you will encounter 0402 (1.0mm x 0.5mm) and 0603 SMD LEDs. Soldering these requires a departure from standard through-hole techniques. As detailed in SparkFun's SMD soldering tutorial, the "tweezer method" is superior to using a third-hand tool.
Place a small dab of tacky flux on the PCB pads. Using fine-point ESD-safe tweezers, pick up the SMD LED. Notice the tiny green or black dot on the LED—this indicates the cathode (negative) side. Align it with the silkscreen on the PCB. Touch a pre-tinned iron tip to one pad to create a temporary tack. Once aligned, apply flux to both pads and use a drag-soldering technique or simply touch the iron to each pad for 1 second to finalize the joint. Clean the residue with 99% isopropyl alcohol and a lint-free swab.
Troubleshooting Common Soldering LED Lights Failures
1. The LED Emits a Dim, Blue-Shifted Light
Cause: Thermal degradation of the YAG (Yttrium Aluminum Garnet) phosphor coating. White LEDs are actually blue LEDs coated in yellow phosphor. If your iron was too hot or applied for too long, the phosphor burns off, revealing the raw blue light and drastically reducing lumen output.
Fix: The component is permanently damaged. Desolder and replace it. To prevent recurrence, lower your iron temperature by 20°C and use more flux to speed up wetting.
2. Lifted Pads on Flexible Strips
Cause: Applying downward mechanical pressure with the iron tip, or pulling the wire while the solder is still in a semi-solid (plastic) state.
Fix: If the pad is completely detached, you must scrape back the FPCB solder mask with a fiberglass scratch pen to expose the underlying copper trace. Solder a 30AWG bare copper wire directly to the exposed trace and bridge it to your connection wire, securing the repair with a drop of UV-curable solder mask resin or hot glue for strain relief.
3. Solder Balls Up and Refuses to Wet
Cause: Oxidation on the LED strip pads, common in older inventory or strips with cheap ENIG (Electroless Nickel Immersion Gold) finishes that have tarnished.
Fix: Do not scrape the pads with a knife, as this removes the thin gold/nickel layer and exposes raw copper, which oxidizes instantly. Instead, use a high-activity RA (Rosin Activated) flux, let it sit for 30 seconds, and gently touch with a tinned iron. The activated flux will chemically strip the oxidation.
Expert FAQ: Soldering LED Lights
Can I use plumbing solder for LED lights?
Absolutely not. Plumbing solder contains an acid core designed to clean copper pipes. This acid is highly corrosive and will eat through the microscopic traces on an LED PCB within weeks, causing an open circuit. Always use rosin-core (RMA) or no-clean electronics solder.
How do I solder IP65 or IP67 waterproof LED strips?
Waterproof strips are coated in a thick layer of silicone or epoxy. Do not try to melt through it with your soldering iron; the burning silicone will create toxic fumes and ruin your iron tip. Use a sharp hobby scalpel to carefully slice and peel back a 5mm window of the silicone coating directly over the copper pads. Clean the exposed area with isopropyl alcohol before tinning.
What is the best way to provide strain relief for soldered LED strips?
Solder joints on flexible strips are brittle. Any bending will snap the joint. After soldering and verifying the connection, apply a generous bead of 3:1 adhesive-lined heat shrink tubing over the joint. When heated, the inner thermoplastic adhesive melts and fills all voids, creating a waterproof, mechanically rigid seal that absorbs all physical stress.