
The Great Bench Debate: Commercial Units vs. Soldering Fume Extractor DIY Builds
If you have ever spent more than ten minutes soldering rosin-core wire or SMD components, you know the invisible hazard that follows: colophony fumes and volatile organic compounds (VOCs). According to MIT Environmental Health and Safety, repeated exposure to unventilated flux fumes can lead to occupational asthma and severe respiratory sensitization. Yet, when makers and repair technicians look for solutions, they are met with a polarizing market: cheap, ineffective desktop fans or commercial extraction systems costing upwards of $800.
This leaves many electronics enthusiasts asking: Is a high-performance soldering fume extractor DIY build actually viable? To answer this, we assembled a panel of three industry experts—an HVAC airflow engineer, an IPC-certified soldering instructor, and a veteran board-level repair technician—to dissect the physics, filtration chemistry, and ergonomics of DIY extraction.
Expert 1: The Airflow Engineer on Static Pressure vs. CFM
Dr. Aris Thorne, an airflow dynamics engineer, immediately targets the most common mistake in DIY extraction: using standard PC case fans.
"Makers look at a 120mm PC fan and see '70 CFM' on the box, assuming it will suck up fumes. But CFM (Cubic Feet per Minute) is a free-air measurement. The moment you place a dense carbon filter in front of an axial fan, the airflow stalls. You need Static Pressure (SP), not just volume."
Thorne explains that axial fans (standard PC fans) generate very low static pressure (typically under 2.0 mm H2O). When faced with the resistance of a carbon filter bed, their effective airflow drops to near zero. Instead, Thorne recommends centrifugal blowers—specifically the radial '5015' fans commonly used for 3D printer part cooling. These blowers generate immense static pressure (often exceeding 300 Pa), allowing them to forcefully push air through dense filtration media without stalling.
Expert 2: The IPC Instructor on the 'Carbon Foam' Myth
Sarah Jenkins, an IPC J-STD-001 certified instructor, focuses on the chemical filtration side. She warns against the ubiquitous 'black sponge' filters found in budget commercial extractors and naive DIY builds.
"Those thin, carbon-impregnated polyurethane foams contain maybe three to five grams of actual activated carbon. They are designed to trap large particulate matter, not adsorb VOCs. A heavy soldering session will saturate that foam in less than four hours, after which you are just blowing toxic aldehydes back into your face."
Jenkins points to EPA guidelines on indoor VOCs, which note that effective adsorption requires substantial contact time and mass. For a recirculating DIY extractor, Jenkins mandates a minimum of 300 grams of 4mm pelletized, coconut-shell activated carbon. Coconut-shell carbon is highly microporous, making it vastly superior to coal-based carbon for trapping the specific molecular weight of rosin and flux off-gassing.
Expert 3: The Repair Tech on Capture Velocity and Ergonomics
Marcus Vance, a micro-soldering technician who runs a high-volume repair shop, brings the conversation back to the workbench. He references the OSHA eTool for the Electronics Industry, which emphasizes 'local exhaust ventilation' and the concept of capture velocity.
"Capture velocity is the speed of air required at the exact point of fume generation to pull it into the hood. OSHA generally recommends 100 to 150 feet per minute (fpm) for light drafting. If your DIY extractor is sitting 14 inches away from your soldering iron, a 5015 blower won't save you. The fumes will dissipate into the room's ambient thermal draft before they reach the nozzle. A proper DIY build must feature a flexible, articulated arm to keep the intake exactly 4 to 6 inches from the iron tip."
Bench Setup Comparison Matrix
To visualize the data our experts provided, we compiled a comparison of common market solutions versus the optimized DIY approach.
| Setup Type | Fan Mechanism | Carbon Mass | Est. Cost (2026) | Capture Velocity (at 6") | Expert Verdict |
|---|---|---|---|---|---|
| Generic Amazon PC Fan Box | Axial (120mm) | ~3g (Foam) | $45 | < 15 fpm | Dangerous placebo effect. |
| Hakko FA-400 | Axial (Proprietary) | ~15g (Mat) | $65 | 35 fpm | Acceptable for light, occasional hobby use only. |
| Optimized DIY Blower Build | Centrifugal (5015) | 400g (Pellet) | $95 - $120 | 125 fpm | Best performance-to-cost ratio for serious makers. |
| Weller WSA350 | Centrifugal | 350g (Pellet) | $285 | 140 fpm | Excellent, but carries a heavy commercial premium. |
The Ultimate Soldering Fume Extractor DIY Blueprint
Based on the panel's consensus, here is the exact specification for a DIY build that rivals $300 commercial units for under $120.
1. Sourcing the Components
- The Blower: Two 5015 24V Centrifugal Blowers (e.g., Winsinn or GDSTIME brands). Wiring them in parallel on a 24V power supply yields massive static pressure while keeping noise manageable.
- The Carbon: 500g of 4mm Coconut Shell Activated Carbon Pellets (available from aquarium or hydroponic suppliers for ~$15).
- The Pre-Filter: 304 Stainless Steel Wire Mesh (40 grade) to catch stray solder spatter and large flux chunks before they hit the carbon.
- The Post-Filter: A standard cut-to-fit HEPA vacuum filter to catch any fine carbon dust before the air hits your face.
2. Fabricating the Housing
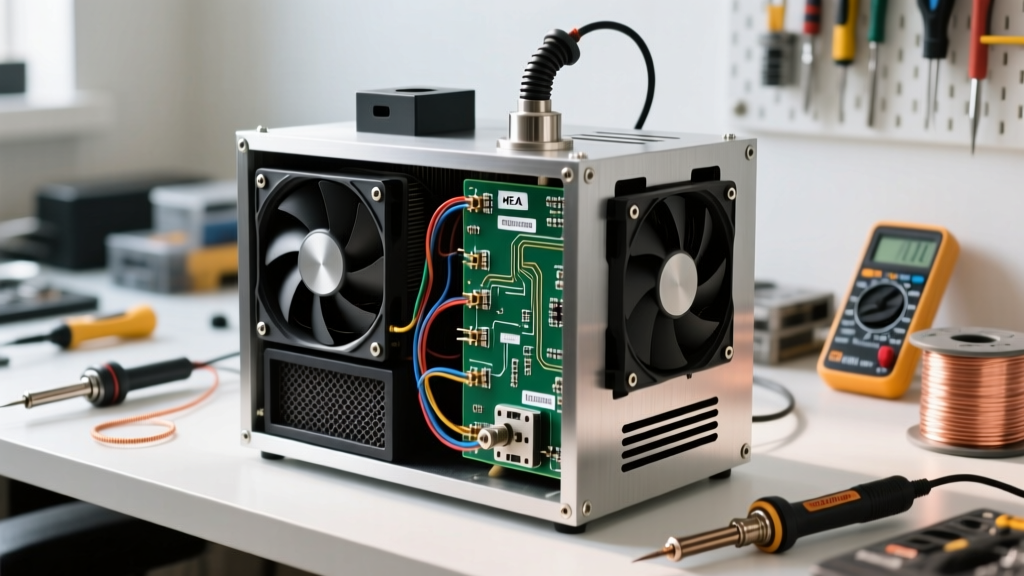
If you have access to a 3D printer, print the housing using PETG or ABS. Do not use PLA; the heat from the blower motors and the proximity to the soldering iron will cause PLA to warp and delaminate over time. Design the housing with a 'V' shaped intake nozzle to accelerate air velocity, leading into a wider plenum chamber where the air slows down, increasing its dwell time inside the carbon bed.
3. The Filter Stack Assembly
- Layer 1 (Intake): Stainless mesh secured with high-temp silicone.
- Layer 2 (Adsorption): A 2-inch deep chamber packed tightly with the 400g+ carbon pellets. Use internal baffles to prevent the pellets from shifting and creating 'air channels' (paths of least resistance where air bypasses the carbon).
- Layer 3 (Particulate): HEPA media placed directly in front of the blower intake to protect the fan bearings from carbon dust.
4. Articulated Arm Integration
Mount the extractor head to a cheap, articulated desk lamp arm (removing the lamp head and wiring). This allows you to position the intake nozzle precisely 5 inches from your workpiece, maintaining the critical 120+ fpm capture velocity mandated by safety experts.
Frequently Asked Questions (FAQ)
Do I need a HEPA filter for soldering fumes?
HEPA filters only trap particulate matter (dust, smoke, spores). They do absolutely nothing to stop VOC gases or rosin vapors. A HEPA filter should only be used as a post-filter in a DIY build to prevent carbon dust from blowing onto your workbench. The chemical heavy lifting must be done by activated carbon.
Is venting outside better than recirculating carbon?
Yes. If your workspace layout permits, venting directly outside via a 4-inch inline duct fan (like an AC Infinity or Vivosun model) is the gold standard. It completely eliminates the need to replace saturated carbon pellets. However, for apartment dwellers or climate-controlled labs, the 5015 blower + pellet bed recirculating method is the safest alternative.
How often should I replace the carbon pellets?
Unlike carbon foam, a 400g pellet bed has a massive surface area. For a hobbyist soldering 10 hours a week, the pellets will last 6 to 9 months. You will know the carbon is saturated when you can faintly smell the sweet, pine-like scent of rosin flux escaping the exhaust. At that point, empty the chamber and refill it with fresh pellets.
Final Verdict
Building a soldering fume extractor DIY is not just a fun weekend project; when engineered with centrifugal blowers and proper carbon mass, it is a necessary safety intervention. By skipping the axial PC fans and thin carbon sponges, makers can achieve commercial-grade air purification at a fraction of the cost, ensuring their lungs stay as clean as their solder joints.