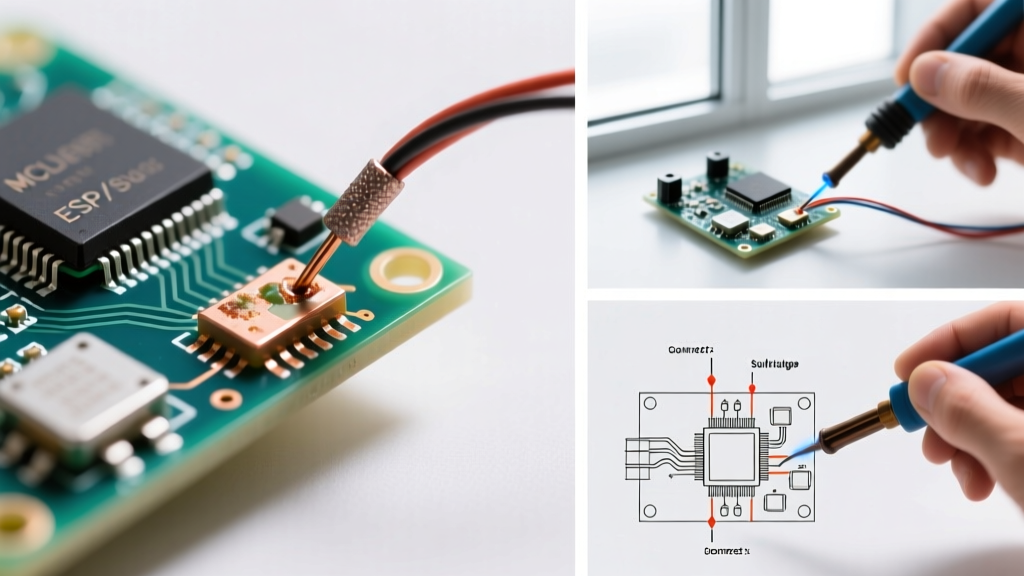

The Fundamental Divide: Electronics vs. Jewelry Soldering
For hobbyists and engineers transitioning from printed circuit boards and copper wiring to precious metals, soldering for jewelry making represents a complete paradigm shift. In electronics, we rely on soft solders (like Sn60/Pb40 or SAC305) that melt below 450°F (232°C) and use rosin-based fluxes to prevent oxidation on copper pads. Jewelry soldering, however, utilizes hard silver solders that melt between 1,300°F and 1,450°F (704°C - 788°C) and requires aggressive, fluoride- or borax-based fluxes to clean sterling silver and gold alloys.
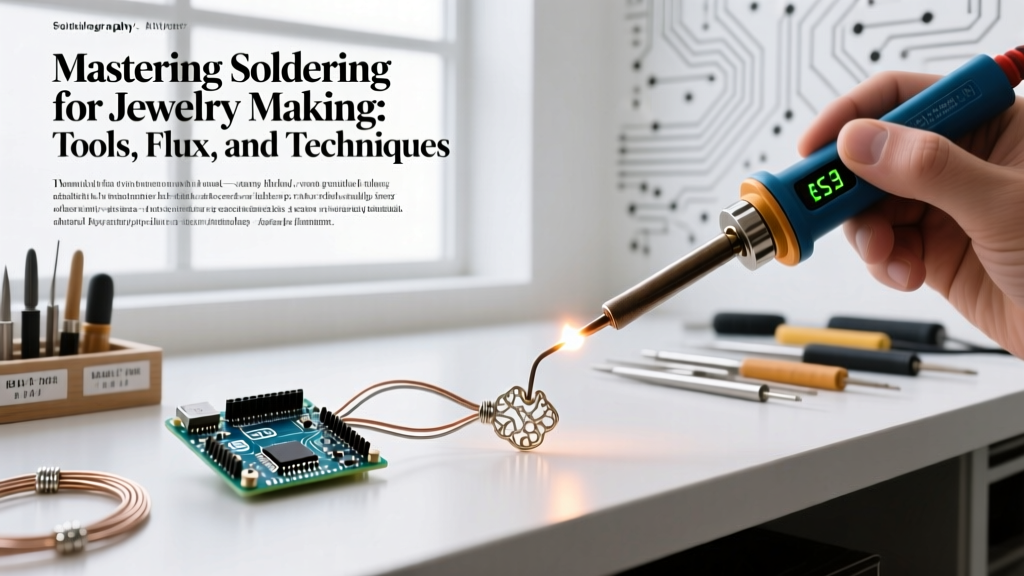
Unlike the capillary action of through-hole electronics components, jewelry soldering often relies on sweat soldering and structural butt joints. The goal is to create a seam that is structurally sound, visually invisible after polishing, and capable of withstanding the mechanical stress of daily wear. This comprehensive guide breaks down the exact metallurgy, tooling, and thermal management techniques required to master the jeweler's bench in 2026.
The Solder Hierarchy: Hard, Medium, and Easy
Jewelry solder is graded by its melting temperature. This tiered system is critical for multi-step fabrication. If you are soldering a ring shank and then later attaching a bezel, you must use a higher-temperature solder for the first joint so it does not re-melt when you apply heat for the second joint.
| Solder Grade | Flow Temperature (°F / °C) | Primary Use Case | Visual Cue |
|---|---|---|---|
| Hard | 1,450°F / 788°C | Initial structural joints, ring sizing, heavy fabrication. | Flashes bright silver, flows rapidly into tight seams. |
| Medium | 1,365°F / 740°C | Secondary joints, attaching bezels, soldering jump rings. | Slightly duller flash, requires precise heat control. |
| Easy | 1,325°F / 718°C | Final repairs, low-temp components, complex multi-joint pieces. | Flows easily but can pit or slump if overheated. |
Expert Note: Always purchase cadmium-free silver solders. While cadmium lowers the melting point and improves flow, it releases highly toxic fumes when heated. Reputable suppliers like Rio Grande strictly enforce cadmium-free standards for bench safety.
Essential Equipment Arsenal
Attempting to use a 60W Weller iron for jewelry will result in failure; the thermal mass of silver and gold acts as a massive heat sink, pulling heat away from the joint faster than an iron can supply it. You need directed, high-BTU combustion.
1. Torches: Butane vs. Oxy-Propane
- Blazer Big Shot GT 8000 (Approx. $85): The undisputed king of entry-level and intermediate jewelry soldering. It produces a focused, 2,500°F butane flame with excellent tip precision. Ideal for silver pieces up to 3 inches in diameter.
- Smith Little Torch Acetylene/Oxygen (Approx. $280+): The professional standard. The interchangeable tips (sizes #00 to #5) allow for microscopic soldering on delicate prongs or massive heat distribution for heavy bangles. Requires gas tanks and flashback arrestors.
2. Flux Chemistry
Flux in jewelry making serves two purposes: it dissolves existing oxides and creates a glassy shield to prevent new oxidation during heating.
- Batterns Self-Pickling Flux: A liquid flux ideal for hard soldering gold and silver. It flows into seams via capillary action and provides excellent oxide protection.
- Stay-Silv White Paste Flux: A thicker, borax-based paste. Best for medium/easy soldering and situations where you need the flux to stay localized on a vertical joint.
3. The Pickle Pot and Copper Tongs
After soldering, the piece will be covered in firescale (dark copper oxides). A pickle pot uses a warm, mild acid solution to strip this scale. Sparex #2 (sodium bisulfate) is the industry standard, mixed at a ratio of 1 cup Sparex to 1 gallon of distilled water, kept at 140°F in a dedicated slow cooker. Crucial Rule: Never use steel tweezers in the pickle; the acid will react with the steel and copper-plate your silver jewelry. Always use wooden or copper tongs.
Step-by-Step: Executing the Perfect Sweat Solder Joint
Sweat soldering involves pre-melting (sweating) solder onto one component, then placing it against the second component and heating until the solder re-flows, joining the two. Here is the exact protocol for attaching a sterling silver bezel to a backplate:
- Surface Preparation (5 mins): Sand both mating surfaces with 400-grit sandpaper until perfectly flat. Clean with pumice powder and water to remove all skin oils. Do not touch the metal with bare fingers afterward.
- Flux and Heat (2 mins): Apply Batterns flux to the bezel wire. Heat the entire bezel evenly with a medium flame until the flux turns from a white paste to a clear, glassy liquid (approx. 1,100°F).
- Sweat the Solder (1 min): Place small pallions (1mm squares) of Hard solder along the inside edge of the bezel. Apply localized heat until the solder flashes and flows flat against the wire. Quench in water.
- Assembly and Final Flow (3 mins): Place the fluxed, solder-bearing bezel onto the backplate. Heat the backplate broadly, not the bezel. Silver is highly conductive; the heat will travel through the backplate, melt the pre-sweated solder, and capillary action will pull it into the seam. Look for the "flash" of solder at the outer edge of the bezel to confirm a complete joint.
Troubleshooting Matrix: Edge Cases and Failures
Even experienced jewelers encounter metallurgical anomalies. Consult this diagnostic matrix when your joints fail.
| Failure Mode | Root Cause | Corrective Action |
|---|---|---|
| Solder Balls Up | The base metal did not reach flow temperature before the flux burned off, causing the solder to oxidize and bead. | Remove the piece, re-pickle, re-sand the joint, apply fresh flux, and use a broader flame to heat the base metal faster. |
| Pitting / Porosity | Overheating the solder, or using a solder containing zinc/cadmium that vaporized under the torch. | Use cadmium-free alloys. Pull the torch away the exact second the solder flashes. Do not "cook" the joint. |
| Melting the Workpiece | Using a flame that is too small and focused, creating a localized hot spot rather than raising the ambient temp of the piece. | Switch to a larger torch tip. Keep the flame moving in a circular pattern to distribute thermal mass evenly. |
| Stubborn Firescale | Copper in the sterling silver oxidized deeply due to prolonged heating in an oxygen-rich environment. | Dip the piece in a saturated Boric Acid and Denatured Alcohol solution, let it dry, and torch it before applying standard flux. This creates a secondary oxide barrier. |
Expert Insights and Safety Protocols
Jewelry soldering generates heavy metal particulates and fluoride fumes. According to occupational safety guidelines detailed by the CDC and NIOSH, chronic inhalation of flux fumes (specifically fluorides and borates) can lead to severe respiratory issues. Your bench must be equipped with a localized exhaust ventilation (LEV) system or a high-CFM fume extractor positioned 6 to 8 inches from the soldering block.
Furthermore, the jewelry community heavily relies on shared metallurgical data. The Ganoksin Project, the world's largest online jewelry-making community, maintains extensive archives on alloy behavior and advanced soldering techniques, such as laser soldering and induction heating, which are becoming more accessible to small studios in 2026.
Pro-Tip for Electronics Hobbyists: If you are used to the instant gratification of a 60W iron melting SAC305 in 1.5 seconds, recalibrate your patience. Jewelry soldering is about thermal momentum. You are heating ounces of silver, not milligrams of copper. Watch the metal's color shift from dull grey to a faint, ghostly cherry red in low light—that is your cue that flow temperature is imminent.
By respecting the thermal properties of precious metals, utilizing the correct flux chemistry, and strictly adhering to the hard-medium-easy solder hierarchy, you can achieve seamless, professional-grade jewelry joints that will last generations.