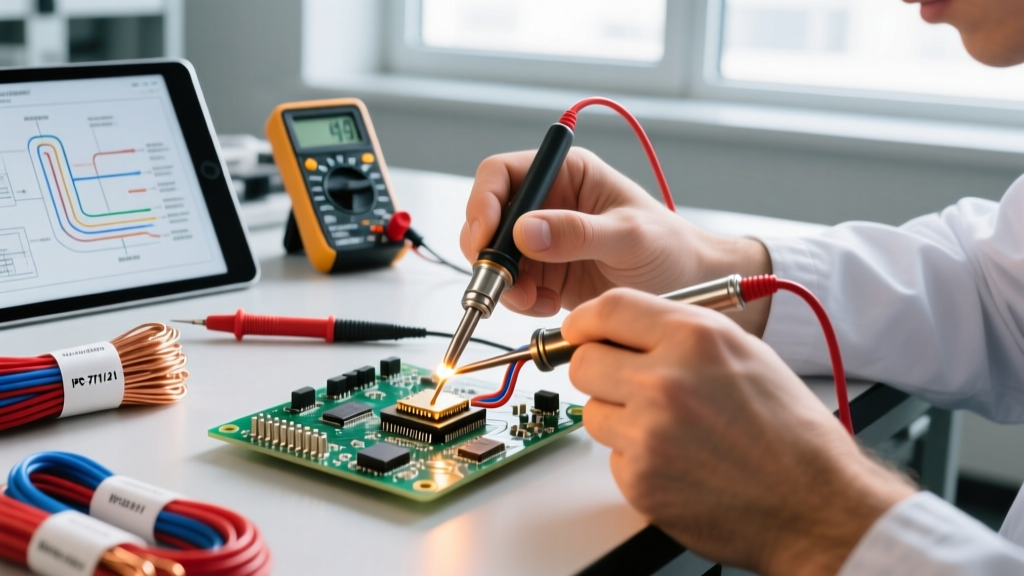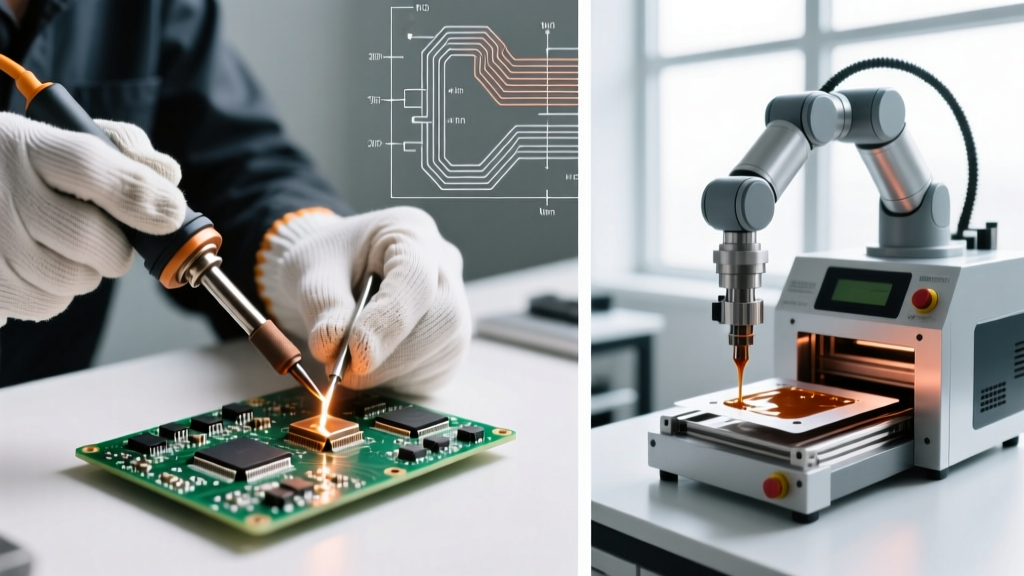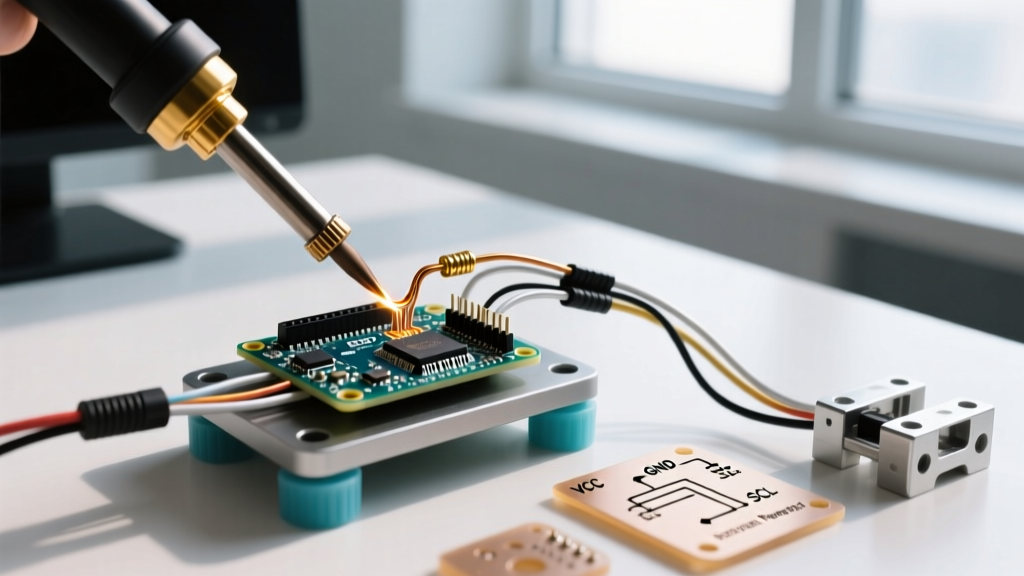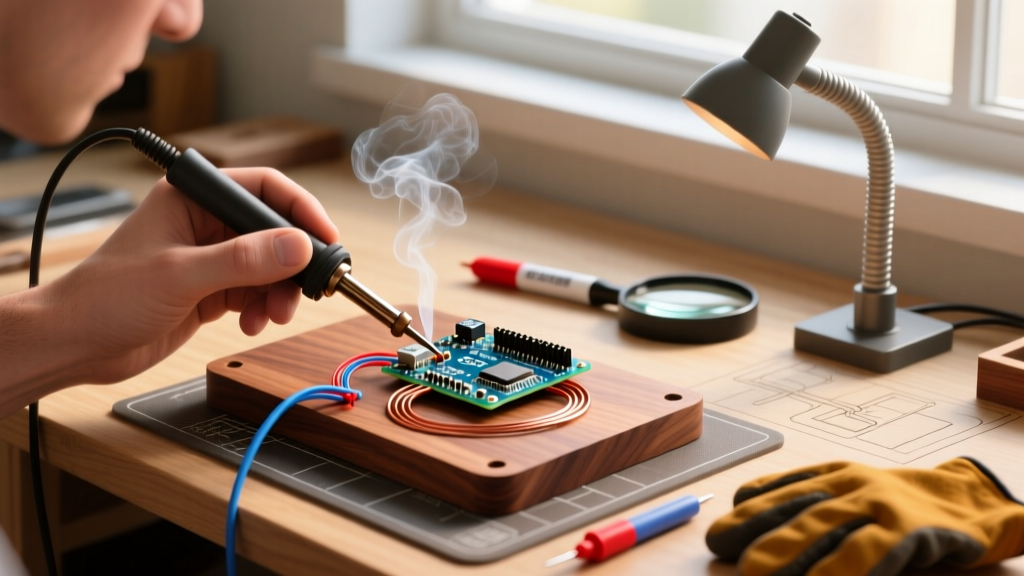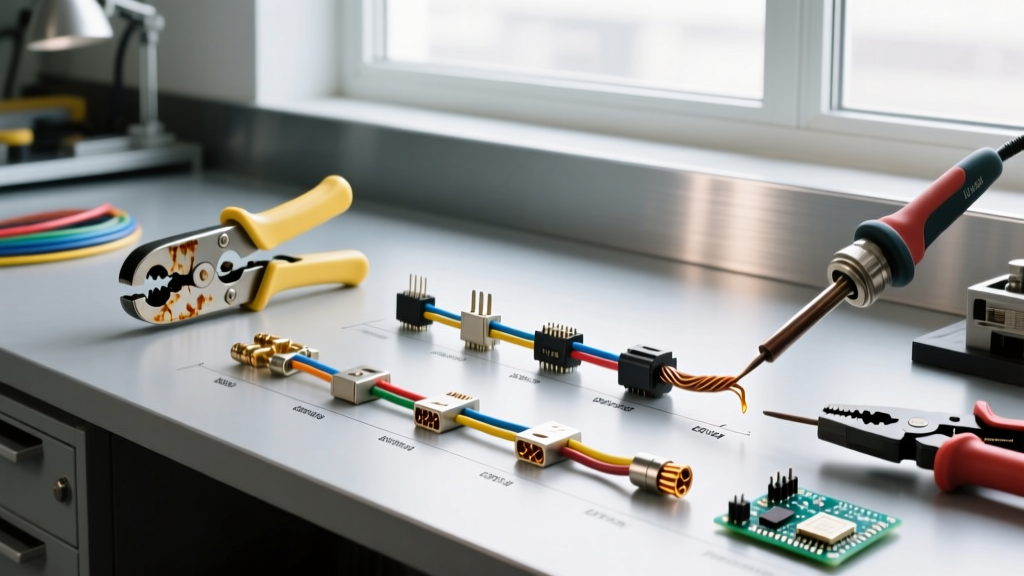

When electrical technicians and engineers discuss soldering crimp terminals, they are usually navigating one of the most debated intersections in wiring history. Are we talking about the controversial practice of adding solder to a standard mechanical crimp? Or are we referring to modern solder-seal heat-shrink terminals that combine both methods? To understand how to buy and use these components in 2026, we must first look at the metallurgical and historical evolution that forced the industry to reconcile these two opposing connection methods.
The Pre-Crimp Era: When Solder Was King (1900s–1940s)
Before the mid-20th century, soldering was the undisputed standard for electrical terminations. Early aviation, telecommunications, and military radios relied heavily on cup terminals, hook terminals, and turret boards. Wire strands were twisted, wrapped, and flooded with molten tin-lead (Sn63/Pb37) solder.
While soldering provided excellent electrical conductivity and a solid physical bond, it introduced severe failure modes in dynamic environments:
- Thermal Fatigue: Repeated heating and cooling cycles caused the solder joints to crack due to differing coefficients of thermal expansion (CTE) between the copper wire and the tin-lead alloy.
- Vibration Fracture: Solder is inherently brittle. In early aircraft, vibration caused rigid solder joints to snap at the exact point where the wire exited the terminal barrel.
- Hidden Cold Joints: Poor wetting or insufficient heat often resulted in high-resistance 'cold joints' that were visually indistinguishable from good connections until they failed under load.
The Crimping Revolution & The Aerospace Ban (1950s–1980s)
The paradigm shifted dramatically in the 1940s and 1950s with the invention of the solderless crimp. Uncas A. Whitaker, founder of AMP Incorporated (now TE Connectivity), pioneered the mechanical crimp, which deforms the terminal barrel around the wire to create a 'cold weld.' This gas-tight bond eliminated the need for heat and flux.
"The mechanical crimp creates an intermetallic bond through extreme localized pressure, displacing oxides and allowing base metals to interact without the thermal stresses introduced by soldering."
The Solder Wicking Problem
As crimping gained traction, some technicians attempted to get the 'best of both worlds' by soldering crimp terminals after the mechanical press. They believed flooding the crimp barrel with solder would add strength and prevent corrosion. However, aerospace engineers quickly discovered a catastrophic failure mode: solder wicking.
Capillary action draws molten solder deep into the wire strands inside the crimp barrel. This creates a harsh transition zone between the flexible, stranded wire and the rigid, solder-impregnated wire. Under vibration, the stress concentrates exactly at this boundary, causing the wire to shear off cleanly. Consequently, military and aerospace standards, including guidelines monitored by NASA's Electronic Parts and Packaging Program (NEPP), explicitly banned the practice of soldering a crimped connection. If a connection required crimping, solder was strictly forbidden.
The Modern Compromise: Solder-Seal Hybrids (1990s–Present)
While aerospace banned soldering crimp terminals, the marine, automotive, and heavy machinery sectors faced a different enemy: moisture ingress. Standard open-barrel crimps allow water and salt air to wick into the wire strands, leading to galvanic corrosion and eventual high-resistance failure.
This necessity birthed the modern solder-seal crimp terminal (often called a solder sleeve or heat-shrink solder connector). Rather than soldering *after* a mechanical crimp, these hybrids use a polyolefin heat-shrink tube lined with a thermoplastic adhesive and a precise ring of low-temperature solder.
How Solder-Seal Terminals Work
When heated, the sequence of events is carefully engineered:
- 120°C (248°F): The outer polyolefin tubing begins to shrink, and the inner thermoplastic adhesive melts, sealing the wire insulation.
- 165°C - 183°C (329°F - 361°F): The internal solder ring (typically Sn60/Pb40 or a lead-free SAC305 alloy) reaches its liquidus state and flows around the stripped wire strands and the terminal base.
- Cooling Phase: The solder forms a gas-tight electrical bond, while the adhesive creates an IP68-rated waterproof environmental seal.
Technical Breakdown: Which Method Should You Use?
To make informed purchasing decisions in 2026, you must match the termination method to the environmental and mechanical demands of your project. The IPC/WHMA-A-620 standard for cable and wire harness assemblies provides rigorous guidelines on these distinctions.
| Connection Method | Tensile Strength | Vibration Resistance | Moisture Sealing | Primary Use Case |
|---|---|---|---|---|
| Mechanical Crimp Only | High (Cold Weld) | Excellent | Poor (unless sealed) | Aerospace, Automotive ECU, Industrial Panels |
| Solder Only | Moderate | Poor (Brittle) | Poor | PCB Assembly, Static Electronics, Hobbyist DIY |
| Soldering Crimp Terminals (Hybrid/Solder-Seal) | High | Good | Excellent (IP68) | Marine, Outdoor Lighting, Heavy Machinery, Submersible Pumps |
Step-by-Step: Installing Modern Solder-Seal Crimp Terminals
Installing hybrid solder crimp terminals requires precise thermal management. If you apply too much heat too quickly, you will burn the polyolefin before the internal solder ring melts. Follow this exact procedure for optimal results:
1. Preparation and Stripping
Strip the wire to the exact length specified by the terminal manufacturer (usually 6mm to 8mm for 12 AWG). Do not twist the strands; keep them parallel to ensure the solder wicks evenly between individual wires.
2. Positioning the Terminal
Slide the solder-seal terminal over the wire. Ensure the bare wire strands are perfectly centered within the internal solder ring. The wire insulation should butt up against the internal adhesive dam.
3. The Two-Stage Heat Application
Use a precision heat gun (not a lighter or open flame). Set the nozzle temperature to roughly 250°C (480°F).
- Stage 1 (The Shrink): Apply heat to the ends of the tubing first. This shrinks the polyolefin and activates the adhesive, trapping the wire and preventing the molten solder from being pushed out by expanding air.
- Stage 2 (The Flow): Move the heat gun directly over the solder ring. Hold it there for 5 to 8 seconds. You will see the tubing become slightly transparent, and a small fillet of shiny solder will extrude from the edges of the ring, indicating complete capillary flow.
4. Cooling and Inspection
Allow the connection to cool naturally for 30 seconds. Do not quench it in water or blow on it, as rapid cooling can cause micro-fractures in the solder crystalline structure. A successful joint will show a visible solder fillet at both ends of the ring and a flush, tight shrink at the wire entry points.
Sourcing & Pricing in 2026: What to Buy
The market for soldering crimp terminals has bifurcated into premium OEM-grade components and high-value aftermarket kits.
Premium OEM: TE Connectivity SolderSleeve
For aerospace, military, and critical marine applications, TE Connectivity's SolderSleeve (e.g., part number SO63-1-55 for 20-18 AWG) remains the gold standard. These utilize radiation-crosslinked polyolefin and precisely formulated flux-cored solder rings.
- Cost: Approximately $45 to $65 for a kit of 50 pieces.
- Best For: Submersible sensors, aviation avionics, and high-reliability automotive harnesses.
Aftermarket Marine: Glarks & Knoweasy Heat Shrink Kits
For general marine wiring, bilge pumps, and off-road vehicle accessories, dual-wall adhesive-lined crimps with internal solder rings from brands like Glarks offer exceptional value.
- Cost: $15 to $22 for a 150-piece assorted kit (12-10 AWG, 16-14 AWG, 22-18 AWG).
- Best For: Boat trailer lights, DIY solar panel outdoor connections, and motorcycle accessory wiring.
Final Verdict: Respect the Metallurgy
The history of soldering crimp terminals is a masterclass in materials science. The industry learned the hard way that blindly combining solder and mechanical crimps creates fatal stress concentrations. However, by engineering specialized hybrid terminals that control exactly where and how the solder flows, modern manufacturers have solved the moisture ingress problem without sacrificing mechanical integrity. When you choose your next batch of terminals, respect the environment they will live in: use pure mechanical crimps for high-vibration engine bays, and reach for solder-seal hybrids when the wires will face the open sea.