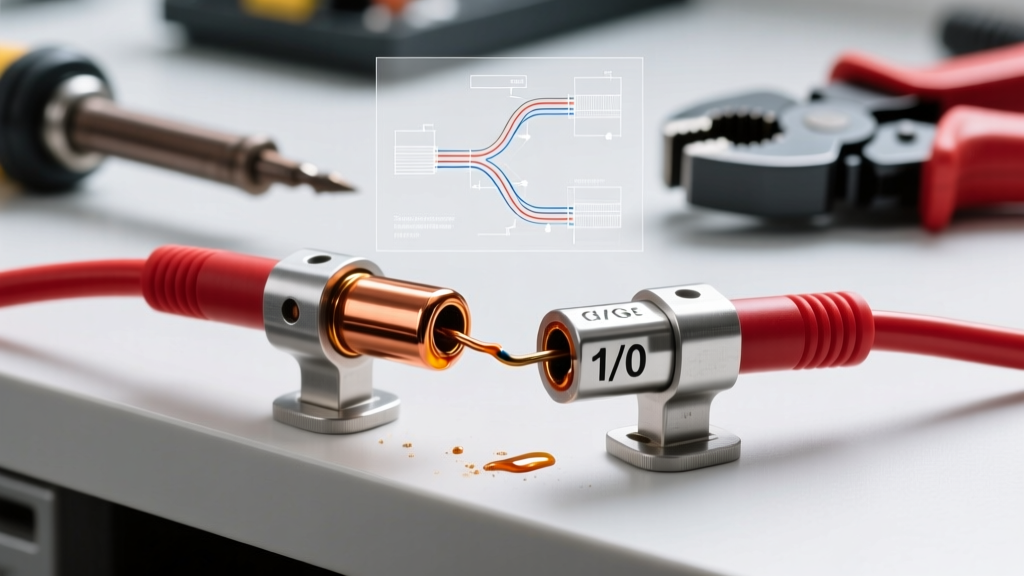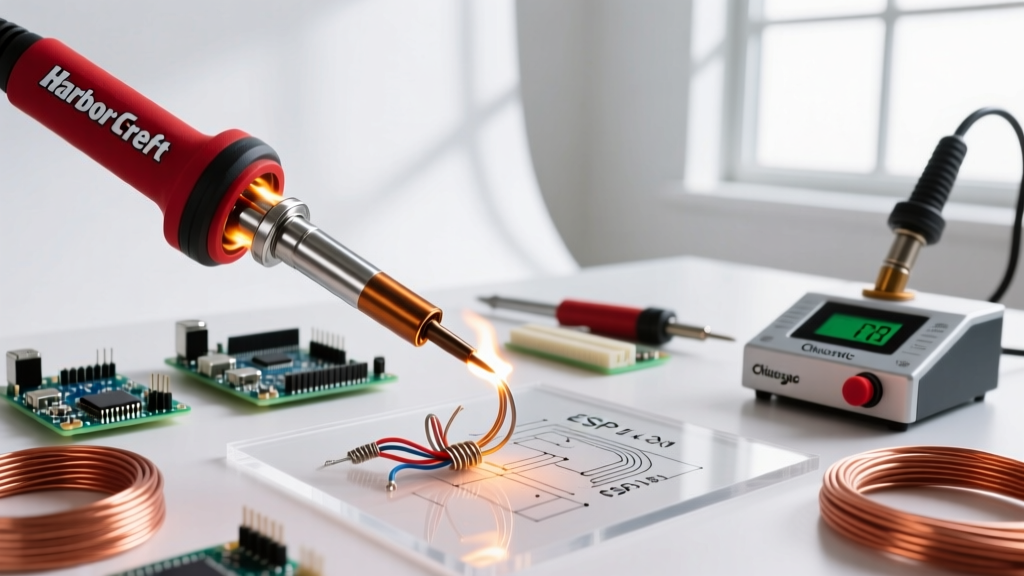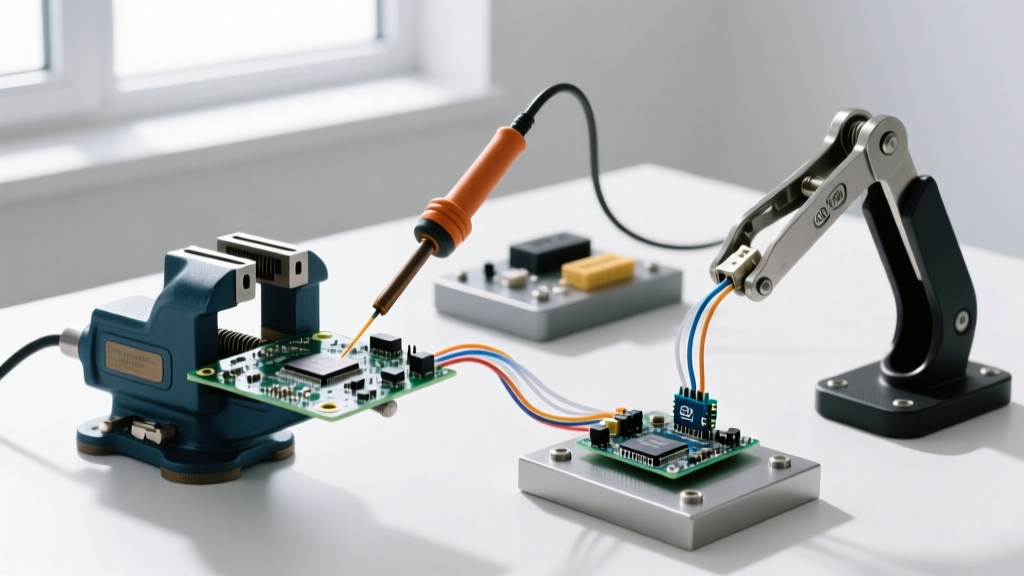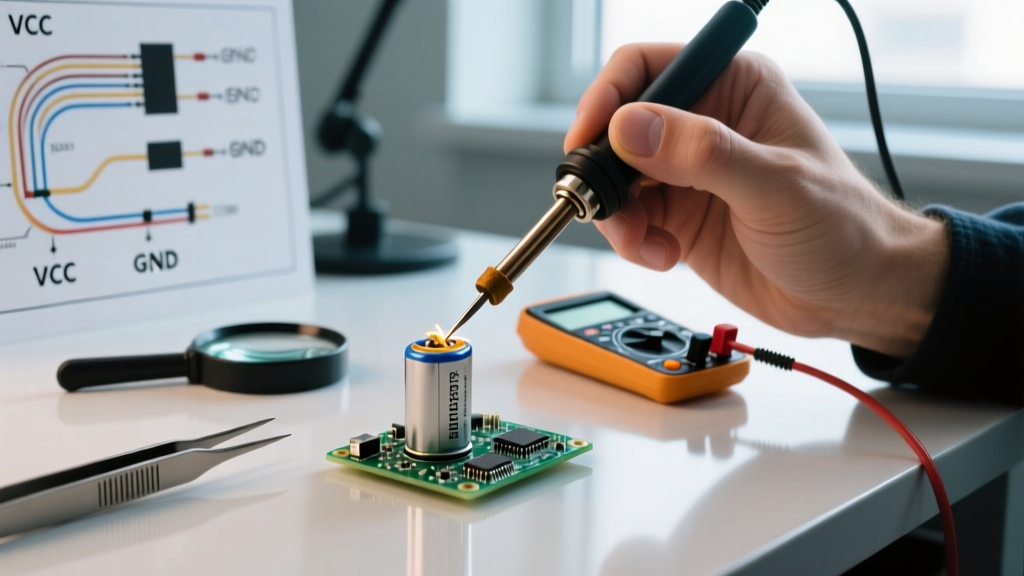

Soldering on battery terminals remains one of the most hotly debated topics in DIY electronics and battery pack building. While manufacturers of lithium-ion cells strictly prohibit hand-soldering directly to the casing, hobbyists, repair technicians, and custom pack builders frequently encounter scenarios where spot welding is unavailable. Whether you are repairing a vintage NiMH cordless drill pack, attaching heavy-gauge silicone wires to a 12V lead-acid SLA battery, or building a custom 18650 Li-ion array, understanding the thermal limits and metallurgical requirements is critical.
This comprehensive FAQ and troubleshooting guide addresses the exact failure modes, material science, and technique adjustments required for soldering on battery terminals safely and effectively in 2026.
Critical Safety Warning: Never apply a soldering iron directly to the positive terminal of an unprotected 18650 or 21700 lithium-ion cell without a thermal management strategy. The internal polyethylene (PE) separator can melt at temperatures as low as 130°C (266°F), leading to an internal short circuit and catastrophic thermal runaway. Always consult NIOSH guidelines on lithium-ion battery safety before attempting high-risk pack assembly.
The Core Dilemma: Thermal Mass vs. Thermal Damage
The fundamental challenge of soldering on battery terminals is the conflict between thermal mass and thermal sensitivity. Battery casings—particularly steel or nickel-plated steel cylinders—act as massive heat sinks. They rapidly pull heat away from the soldering iron tip. To compensate, users often apply the iron for 5 to 10 seconds, which allows conductive heat to penetrate the cell casing and raise the internal temperature past the safety threshold of the CID (Current Interrupt Device) and the chemical separator.
To overcome this, you must maximize the rate of heat transfer (using high wattage and high thermal mass tips) while minimizing the dwell time (keeping the iron on the terminal for under 2 seconds).
FAQ: Soldering on Battery Terminals Answered
Can you solder directly to 18650 and 21700 lithium-ion cells?
Technically yes, but it is highly discouraged by cell manufacturers like Samsung, Molicel, and Panasonic. If you must solder to a bare Li-ion cell, you should only do so on the negative terminal (which is typically connected to the steel can) and use a high-wattage iron (70W+) with a large chisel tip to achieve a sub-2-second joint. The positive terminal is a cap assembly containing delicate safety vents and PTC thermistors that are easily destroyed by conductive heat. For positive terminals, use pre-tabbed cells or spot welding.
What about NiMH and Lead-Acid batteries?
Nickel-Metal Hydride (NiMH) cells are slightly more tolerant of heat than Li-ion, but prolonged soldering can still degrade the internal electrolyte and vent the pressure seal. Lead-acid batteries (SLA/VRLA) feature massive, thick lead terminals that act as extreme heat sinks. Soldering on battery terminals for lead-acid applications is standard practice, but requires a high-wattage soldering gun (100W-250W) or a propane torch to properly melt 60/40 or 63/37 solder into the porous lead surface.
Which solder alloy is best for battery tabs?
For any heat-sensitive battery chemistry, you must use 63/37 Sn/Pb Eutectic Solder. Eutectic solder melts sharply at 183°C (361°F). Avoid SAC305 or other lead-free alternatives, which require tip temperatures exceeding 350°C (662°F) and melt around 217°C (423°F). The higher temperature required for lead-free solder drastically increases the risk of internal battery damage and heat-shrink melting.
Troubleshooting Common Battery Soldering Failures
When soldering on battery terminals, the metallurgy of the terminal surface often causes severe wetting issues. Here is how to troubleshoot the three most common failures.
Failure 1: Solder Beads Up and Rolls Off the Terminal
The Cause: Most Li-ion and NiMH cells feature nickel-plated steel casings. Nickel oxidizes rapidly when heated, creating a barrier that standard rosin-core solder cannot penetrate. Furthermore, factory-applied anti-corrosion coatings or oils from human skin will repel molten solder.
The Fix:
- Mechanical Prep: Lightly scuff the exact soldering area with 400-grit sandpaper or a fiberglass scratch pen. Do not sand through the nickel plating entirely, or you risk rusting the steel can.
- Chemical Prep: Apply an aggressive, no-clean tacky flux like Amtech NC-559-V2-TF or MG Chemicals 8341. Standard liquid rosin flux is insufficient for nickel plating.
- Pre-Tinning: Apply a small amount of flux and pre-tin the battery terminal first, creating a thin solder base layer before attempting to attach the wire.
Failure 2: Dull, Crumbly Cold Joints
The Cause: The battery casing absorbs heat faster than a standard 40W-60W iron can replenish it. The solder cools prematurely before forming a proper intermetallic bond with the nickel or lead, resulting in a high-resistance cold joint that will fail under high-discharge loads.
The Fix: Upgrade your equipment. Use a 70W station like the Hakko FX-888D (approx. $110) or the Weller WE1010NA (approx. $140). Crucially, swap the standard conical tip for a heavy-mass chisel tip, such as the Hakko T18-D24 or Weller ETA. The flat surface area of a chisel tip maximizes thermal transfer to the battery terminal.
Failure 3: Battery PVC Heat Shrink is Melting and Shrinking
The Cause: Conductive heat travels laterally along the metal casing, melting the thin PVC wrapper, which can expose the bare metal can and cause a short circuit against your custom battery holder or adjacent cells.
The Fix: Utilize a thermal barrier. Clip an aluminum heat-sink clip (often sold for TO-220 transistors or glass diodes) onto the battery just below the soldering zone. Alternatively, apply a dab of thermal putty or a wet paper towel wrap around the base of the cell to absorb lateral heat migration.
Tool & Material Matrix: The Battery Soldering Standard
To ensure structural integrity and safety, match your tools to the specific battery chemistry you are working with. The following matrix outlines the 2026 best-practice configurations.
| Battery Chemistry | Recommended Iron / Wattage | Optimal Tip Geometry | Solder Alloy | Max Dwell Time |
|---|---|---|---|---|
| Li-Ion (18650 / 21700) | Hakko FX-951 / 70W+ | Heavy Chisel (T15-D24) | 63/37 Sn/Pb Eutectic | 1.5 - 2.0 Seconds |
| NiMH (AA / C / D Cells) | Weller WE1010 / 70W | Wide Bevel or Chisel | 63/37 Sn/Pb + Tacky Flux | 2.0 - 3.0 Seconds |
| Lead-Acid (SLA / VRLA) | Weller D550 Gun / 260W | Massive Gun Tip / Torch | 60/40 Sn/Pb (Thick Gauge) | 3.0 - 5.0 Seconds |
The 2026 Alternative: When to Abandon the Iron
While mastering the technique of soldering on battery terminals is a valuable troubleshooting skill for repairs, it is not the correct manufacturing method for building high-discharge Li-ion battery packs (such as those for e-bikes, power walls, or drone batteries). The internal resistance added by a hand-soldered joint, combined with the thermal stress on the cell, makes spot welding the undisputed industry standard.
If you are building packs with more than 10 cells, investing in a capacitive-discharge spot welder is mandatory. Entry-level units like the Sunkko 709AD (priced around $75-$90) are sufficient for 0.15mm pure nickel strips on standard 18650 cells. For high-amperage applications requiring 0.20mm or thicker nickel strips, advanced smart welders like the KWeld or Malectrics DIY kit (ranging from $250 to $350) provide the precise microsecond pulse control needed to weld without any heat penetration into the cell.
For further reading on industrial safety standards and thermal runaway prevention during battery assembly, refer to the OSHA guidelines on lithium-ion battery handling and the comprehensive testing protocols outlined by UL Solutions.
Final Troubleshooting Checklist
- Verify Polarity: Always double-check cell orientation with a multimeter before applying flux. A reversed cell in a series-parallel matrix will cause an immediate short when soldered.
- Inspect the Joint: A proper eutectic solder joint on a battery terminal should be shiny and concave. If it looks frosty or convex, re-flux and re-flow with a clean, tinned tip immediately.
- Clean the Residue: Even 'no-clean' fluxes can become slightly conductive in high-humidity environments. Clean the terminals with 99% isopropyl alcohol and a stiff brush before applying Kapton tape or fishpaper insulation.