
The Great Automotive Wiring Debate: Solder vs. Crimp
When working on vehicle electrical systems, the environment is incredibly hostile. Under-hood temperatures can exceed 125°C, while constant engine vibration and exposure to moisture, road salt, and chemical solvents wreak havoc on electrical connections. For decades, DIYers and professionals have debated the most reliable method for joining cables: soldering automotive wires versus mechanical crimping. While soldering creates a continuous metallurgical bond, modern Original Equipment Manufacturers (OEMs) almost exclusively rely on precision crimping. To make the best decision for your 2026 automotive projects—whether you are restoring a classic muscle car or upgrading the lighting harness on a modern truck—you must understand the physics, failure modes, and tooling requirements of both methods.
Method 1: Soldering Automotive Wires (The Traditionalist's Choice)
Soldering involves using a filler metal (solder) with a lower melting point to join two copper conductors. When done correctly, soldering automotive wires provides excellent electrical conductivity and a low-resistance path. However, the metallurgical realities of a solder joint introduce specific vulnerabilities in high-vibration environments.
The Process and Required Gear
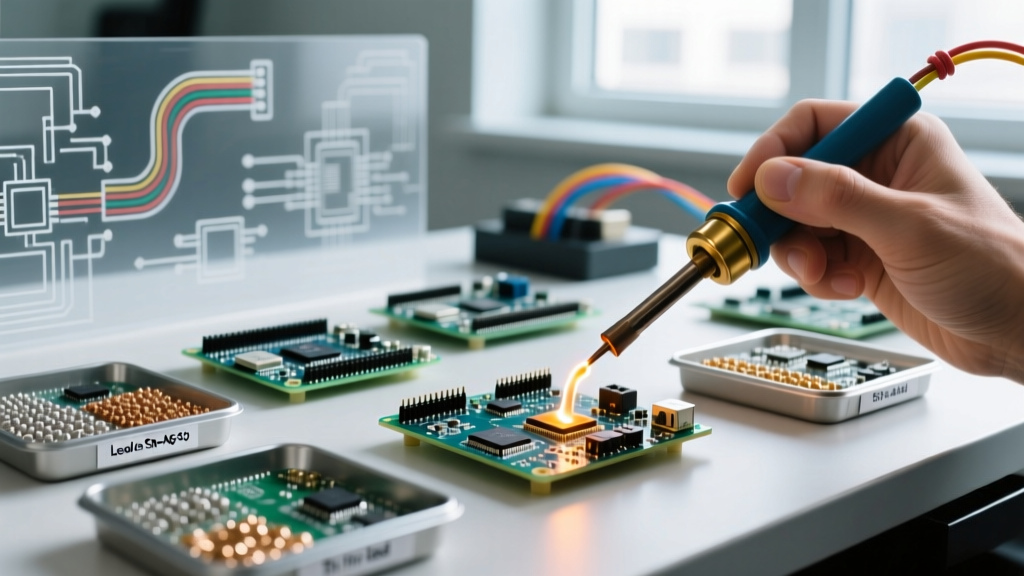
To achieve a reliable solder joint in a vehicle, you must move beyond cheap, plug-in hobby irons. A proper automotive soldering setup requires:
- Soldering Station: A temperature-controlled station like the Weller WLC100 (approx. $65) or a Hakko FX-888D (approx. $110) ensures you can maintain a steady 350°C to 380°C tip temperature, preventing cold joints.
- Solder Alloy: Use 63/37 (Tin/Lead) eutectic rosin-core solder, such as Kester 44 (.031-inch diameter). Eutectic solder transitions from solid to liquid instantly, eliminating the 'plastic phase' where movement causes a fractured, high-resistance grain structure. For RoHS-compliant or modern EV low-voltage systems, SAC305 (Tin/Silver/Copper) is required, though it demands higher tip temperatures (around 400°C).
- Flux: Additional liquid or paste rosin flux (RMA - Rosin Mildly Activated) ensures the copper is stripped of oxides before the solder flows.
- Sealing: Dual-wall adhesive-lined polyolefin heat shrink (e.g., 3M MFP-3/4 inch, approx. $0.60/ft) is absolutely mandatory to prevent moisture ingress.
Failure Modes: Vibration Fracture and 'Green Death'
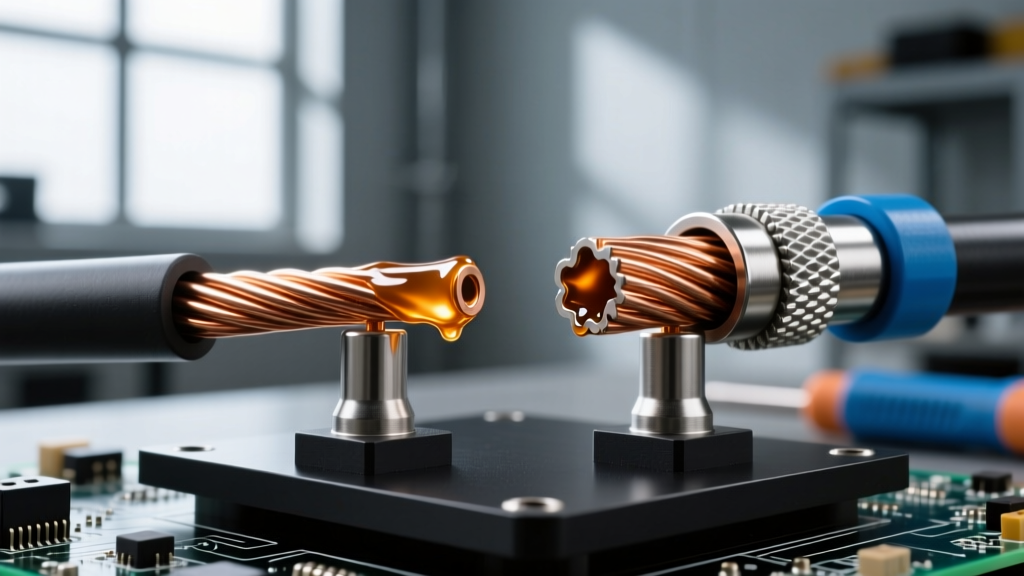
The primary argument against soldering automotive wires is vibration fatigue. When solder wicks into the stranded wire via capillary action, it turns a flexible stranded cable into a rigid, solid conductor. Under constant engine vibration, the wire will eventually snap exactly at the boundary where the flexible wire meets the rigid solder joint. This phenomenon is well-documented in aerospace and automotive engineering. Furthermore, if acidic flux is accidentally used (or if rosin flux is left unsealed in a humid environment), it reacts with copper to form copper chloride—a highly conductive, corrosive green crust known in the industry as 'green death,' which leads to parasitic battery drains and short circuits.
Method 2: Mechanical Crimping (The OEM Standard)
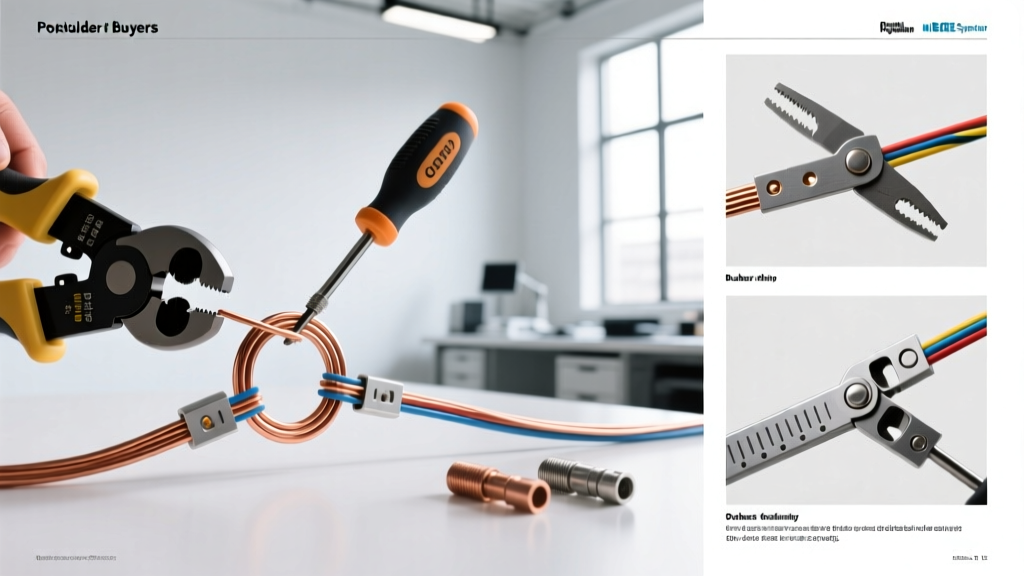
Crimping relies on extreme mechanical pressure to deform a metal terminal around the wire strands, creating a 'gas-tight' cold weld. In a gas-tight crimp, oxygen and moisture are entirely excluded from the copper strands, making corrosion virtually impossible. This is the method mandated by the IPC/WHMA-A-620 Requirements for high-reliability wire harness assemblies.
The Process and Required Gear
Automotive crimping is divided into two main categories: closed-barrel (insulated) and open-barrel (uninsulated) terminals.
- Closed-Barrel Crimping: Used for ring terminals, butt splices, and quick-disconnects. Requires a ratcheting crimper like the Hozan P-706 (approx. $85) or a Titan T44805 (approx. $35). The ratchet mechanism ensures the tool only releases once the exact, factory-calibrated pressure is applied.
- Open-Barrel Crimping: The standard for ECU connectors (using Delphi, Ket, or Sumitomo terminals). Requires a specialized F-crimp tool like the IWISS SN-28B (approx. $25). This tool simultaneously crimps the conductor wings and the insulation wings, providing crucial strain relief.
Failure Modes: Under-crimping and Insulation Crush
Crimping is unforgiving of user error. If you use non-ratcheting pliers, you risk an 'under-crimp,' where the terminal is loose, leading to arcing, extreme heat, and melted wiring harnesses. Conversely, using the wrong die size can crush the wire insulation or cut the copper strands, reducing the current-carrying capacity of the circuit. A proper crimp must pass a pull-test (typically 15-20 lbs of force for 18 AWG wire) without the wire slipping from the terminal.
Method 3: Heat Shrink Solder Sleeves (The Modern Hybrid)
For quick field repairs or joining coaxial cables and shielded wires, heat shrink solder sleeves (e.g., Raychem SolderSleeve, approx. $1.20 each) offer a hybrid approach. These sleeves contain a pre-measured ring of solder and two rings of hot-melt adhesive. When heated with a heat gun to 175°C, the solder melts to join the wires while the adhesive seals the joint. While incredibly fast and waterproof, they are expensive for bulk use and can be difficult to apply in tight engine bay spaces where a heat gun might melt surrounding plastic components.
Head-to-Head Comparison Matrix
| Feature | Soldering | Mechanical Crimping | Solder Sleeves |
|---|---|---|---|
| Vibration Resistance | Moderate (Prone to boundary fatigue) | Excellent (Gas-tight cold weld) | Moderate to High |
| Moisture Resistance | High (Only if dual-wall shrink is used) | Excellent (Inherent to gas-tight seal) | Excellent (Integrated adhesive) |
| Initial Tool Cost | $65 - $150 (Station + Iron) | $25 - $100 (Ratcheting Crimpers) | $15 - $30 (Heat Gun) |
| Skill Curve | High (Requires heat management) | Moderate (Requires correct die selection) | Low (Visual inspection only) |
| Automotive OEM Approval | Rarely Approved | Industry Standard | Approved for specific repairs |
Environmental Factors: Under the Hood vs. The Cabin
When deciding how to join wires, location dictates the rules. According to the SAE J1128 Standard for Low Tension Primary Cable, under-hood wiring must withstand severe thermal and chemical exposure. In the engine bay, mechanical crimping with sealed, weather-pack connectors is the only acceptable method. Solder joints in the engine bay are highly susceptible to thermal cycling fatigue. However, inside the climate-controlled cabin (e.g., for aftermarket stereo installations, GPS trackers, or LED footwell lighting), the vibration and temperature extremes are vastly reduced. In these low-stress interior environments, soldering automotive wires with proper adhesive heat shrink is a highly reliable and perfectly acceptable practice.
Expert Verdict: When to Use Which Method
There is no single 'best' method; the correct choice depends entirely on the application context:
- Use Mechanical Crimping When: You are building or repairing an engine bay harness, connecting to ECU sensors, working with high-current circuits (alternator, starter, EV battery lines), or attempting to replicate OEM factory reliability.
- Use Soldering When: You are splicing wires in the interior cabin, attaching permanent grounds to a cleaned chassis point, or working on delicate circuit board repairs where crimping is physically impossible.
- Use Solder Sleeves When: You need to make a rapid, waterproof splice in the field, or when terminating shielded coaxial cables for backup cameras and RF antennas.
Frequently Asked Questions
Can I use plumbing solder for automotive wires?
Absolutely not. Plumbing solder uses an acid-core flux designed to eat through copper oxidation on pipes. If used on automotive wires, the acid flux will remain active, rapidly corroding the copper strands from the inside out and causing an open circuit within months. Always use rosin-core (RMA) solder designed specifically for electronics.
Why do modern OEMs refuse to solder automotive harnesses?
Beyond the vibration fatigue issues mentioned earlier, soldering is difficult to automate on a mass-production assembly line. Crimping can be performed by automated machines with integrated vision systems and pull-test quality control in a fraction of a second. Furthermore, modern vehicles use capillary-action resistant cross-linked polyethylene (XLPE) wire insulation, which makes the 'twist and solder' method incredibly difficult to execute cleanly.
What is the best heat shrink for soldered automotive splices?
You must use dual-wall, adhesive-lined polyolefin heat shrink with a minimum 3:1 shrink ratio. When heated, the inner wall of EVA (ethylene-vinyl acetate) adhesive melts and flows into the stranded wire, creating a 100% waterproof environmental seal that prevents the 'green death' corrosion. Standard single-wall PVC heat shrink will trap moisture against the solder joint and accelerate failure.