
The Etymology and Early Days of the Bibcock
Before it was known as a sillcock, outdoor faucet, or hose bib, the fixture was universally referred to as a 'bibcock.' The term originates from the 18th and 19th centuries, combining 'bib' (meaning to absorb or a spout shaped like a beak) and 'cock' (the traditional term for a valve). Early outdoor water valves were primarily cast iron or rudimentary brass, utilizing threaded connections to mate with galvanized steel or lead water lines. Soldering, in the context of pressurized residential plumbing, was virtually non-existent during this era. Plumbers relied heavily on threaded joints packed with pipe dope and hemp, which were prone to severe corrosion and eventual failure when exposed to the elements.
The Copper Revolution and the Birth of the Sweat Joint
The evolution of the soldered hose bib is inextricably linked to the mass adoption of copper tubing in the mid-20th century. Following World War II, the plumbing industry experienced a massive shift away from galvanized steel, which suffered from internal scaling and rust. Copper offered superior corrosion resistance, flexibility, and flow rates. However, threading copper was impractical due to its thin walls. This necessity birthed the 'sweat' or capillary solder joint.
By the 1950s, the soldered hose bib became a standard residential fixture. Plumbers would cut a copper stub-out through the exterior framing, slip on a brass hose bib with a solder-cup inlet, and apply a torch. The early solder alloys of this era were predominantly 50/50 (50% lead, 50% tin). While this alloy melted at a convenient 361°F (183°C) and provided excellent capillary action, it introduced severe heavy metal contamination into the drinking water supply.
Metallurgical Milestones: The Shift to Lead-Free Solder
The most critical evolution in the history of the soldered hose bib was not the valve itself, but the metallurgy used to attach it. The passage of the Safe Drinking Water Act (SDWA) amendments in 1986 mandated a transition away from lead-based plumbing materials. This forced the industry to adopt 95/5 (95% tin, 5% antimony) solders. While safer, 95/5 solder required higher application temperatures and was notoriously unforgiving for novice DIYers, often resulting in cold joints and pinhole leaks.
Today, the EPA's Reduction of Lead in Drinking Water Act enforces a strict 'lead-free' definition, requiring plumbing fixtures and solders to contain no more than a weighted average of 0.25% lead. Modern 2026 installations utilize advanced Silver-Bearing or Tin/Copper/Silver (SAC) alloys, such as Oatey Safe Flo or Hercules Bridgit. These lead-free solders flow at approximately 430°F (221°C), mimic the capillary draw of legacy leaded solders, and meet all NSF/ANSI 61 standards for potable water safety.
Evolution Matrix: Hose Bib Materials & Soldering Methods
| Era | Hose Bib Material | Solder Alloy / Joinery | Common Failure Mode |
|---|---|---|---|
| Pre-1940s | Cast Iron / Low-Grade Brass | Threaded / Hemp & Pipe Dope | Galvanic corrosion, thread stripping |
| 1950s - 1980s | Standard Yellow Brass | 50/50 Lead-Tin Solder | Lead leaching, stem packing leaks |
| 1990s - 2010s | Chrome-Plated Brass | 95/5 Tin-Antimony Solder | Cold joints, flux-induced pinholes |
| 2020s - Present | DZR (Dezincification Resistant) Brass | SAC / Silver-Bearing Lead-Free | Thermal shock cracking (rare) |
The Frost-Free Sillcock: A Winter Survival Mechanism
Perhaps the greatest functional evolution of the soldered hose bib is the invention of the frost-free sillcock. Traditional hose bibs placed the shut-off valve mere inches from the exterior wall. In freezing climates, water trapped inside the bib would expand upon freezing, cracking the brass housing and causing catastrophic interior flooding when the valve was opened in spring.
Manufacturers like Woodford Manufacturing pioneered the frost-free design, which utilizes an extended stem (ranging from 4 to 12 inches) that pushes the actual rubber stopper and valve seat deep inside the heated envelope of the home's interior. When the outdoor handle is turned off, the stem retracts, opening a weep hole that allows the water in the exterior barrel to drain out, provided the bib is installed with a slight downward pitch. Sweating a frost-free hose bib requires meticulous heat management, as applying too much torch heat to the copper cup can melt the internal rubber O-rings and plastic check valves located inches away.
2026 Best Practices for Sweating a Modern Hose Bib
Whether you are replacing a legacy 50/50 soldered joint or installing new construction plumbing, achieving a leak-free capillary joint on a modern DZR brass hose bib requires specific techniques. According to industry insights from Plumbing & Mechanical Magazine, improper heat application remains the number one cause of DIY soldering failures.
Step-by-Step Installation Protocol
- Tube Preparation: Cut the 3/4-inch Type L or Type M copper stub-out perfectly square using a tubing cutter. Remove the internal burr with a reamer. Polish the outside of the pipe and the inside of the bib's solder cup with 120-grit emery cloth until it shines like a new penny. Never use sandpaper, as the silica embeds in the copper and ruins the joint.
- Flux Application: Apply a thin, even layer of water-soluble, lead-free flux (such as Oatey No. 95) to both the pipe and the cup. The flux chemically cleans the metal during heating and draws the molten solder into the joint via capillary action.
- Heat Sinking: Wrap a wet rag or apply commercial heat-sink putty around the brass body of the hose bib, keeping it at least 2 inches away from the solder cup. This protects the internal stem packing and rubber seals from thermal degradation.
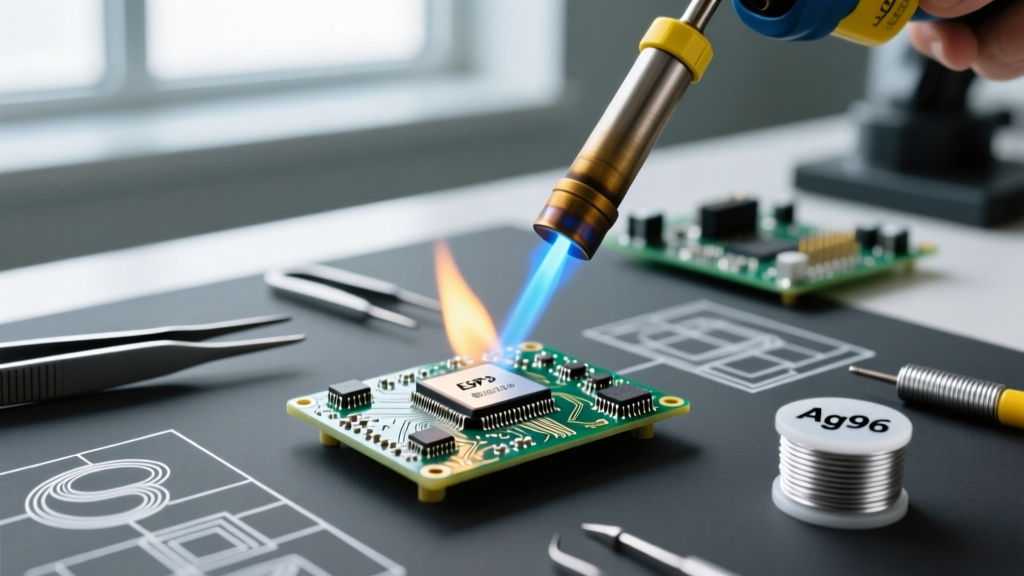
- Thermal Transfer: Ignite your MAP-Pro torch (propane lacks the BTU output for thick brass fittings in cold weather). Apply the blue cone of the flame to the brass fitting, not the copper pipe. Brass has a higher thermal mass and requires more energy to reach the 430°F flow point of modern lead-free solder.
- Capillary Draw: Touch the silver-bearing solder wire to the seam where the pipe meets the fitting. If the fitting is hot enough, the flux will bubble, and the solder will instantly wick into the joint. Feed exactly 3/4 inch of solder for a 3/4-inch fitting.
- Quenching and Cleaning: Remove the heat and wipe the joint with a damp rag to remove residual flux. Leaving acidic flux on the exterior will cause green copper carbonate corrosion and eventual pinhole leaks within 24 months.
Expert Warning: Never solder a hose bib while the copper line is under water pressure. Even a microscopic drip from an upstream valve will absorb the heat from the torch, preventing the solder from reaching its melting point and resulting in a guaranteed 'blowout' leak when the system is pressurized. Always drain the line completely and open a downstream faucet to relieve vacuum lock.
Troubleshooting Legacy Soldered Hose Bibs
Homeowners maintaining older properties frequently encounter specific failure modes unique to the evolution of these fixtures:
- Dezincification: Older, non-DZR brass hose bibs exposed to high-chloride or acidic municipal water supplies suffer from dezincification. The zinc leaches out of the brass alloy, leaving a porous, copper-rich matrix that appears pink or reddish. This brittle metal cannot be re-soldered; the entire bib must be cut out and replaced.
- Galvanic Corrosion: If a previous installer transitioned from a galvanized steel pipe to a copper hose bib without a dielectric union, galvanic corrosion will rapidly eat away at the steel threads. Modern codes require brass-to-copper transitions to utilize appropriate dielectric isolation or specialized transition fittings.
- Flux-Induced Pinholes: A tiny, green-crusted pinhole leak near the base of the solder cup is almost always the result of a plumber failing to wipe away aggressive, acid-core flux after sweating the joint in the 1980s or 90s. The joint must be drained, cleaned with a wire brush, and repaired using a specialized epoxy putty or by cutting out the fitting and re-sweating.
Frequently Asked Questions
Can I solder a hose bib to PEX piping?
No. PEX (cross-linked polyethylene) cannot be soldered. To connect a modern hose bib to a PEX plumbing system, you must use a PEX-to-copper drop-ear elbow, crimp or clamp the PEX to the elbow, and then sweat the hose bib onto the copper stub-out of the ear elbow.
Why is my frost-free soldered hose bib leaking inside the wall?
If a frost-free sillcock leaks inside the home, it is rarely a failure of the soldered joint. It is usually caused by a homeowner leaving a garden hose attached during the winter. The attached hose prevents the barrel from draining via the weep hole, causing the water inside the extended stem to freeze, expand, and split the internal copper tubing or brass housing.
Is it better to use a threaded or soldered hose bib?
For copper plumbing systems, a soldered hose bib is vastly superior. Threaded adapters on copper introduce multiple points of failure, require Teflon tape or pipe dope, and are highly susceptible to vibration loosening and thermal expansion leaks. A properly sweated capillary joint becomes a single, monolithic piece of metal that will easily outlast the 50-year lifespan of the copper piping itself.