
The Hidden Dangers of Soldered Battery Terminals
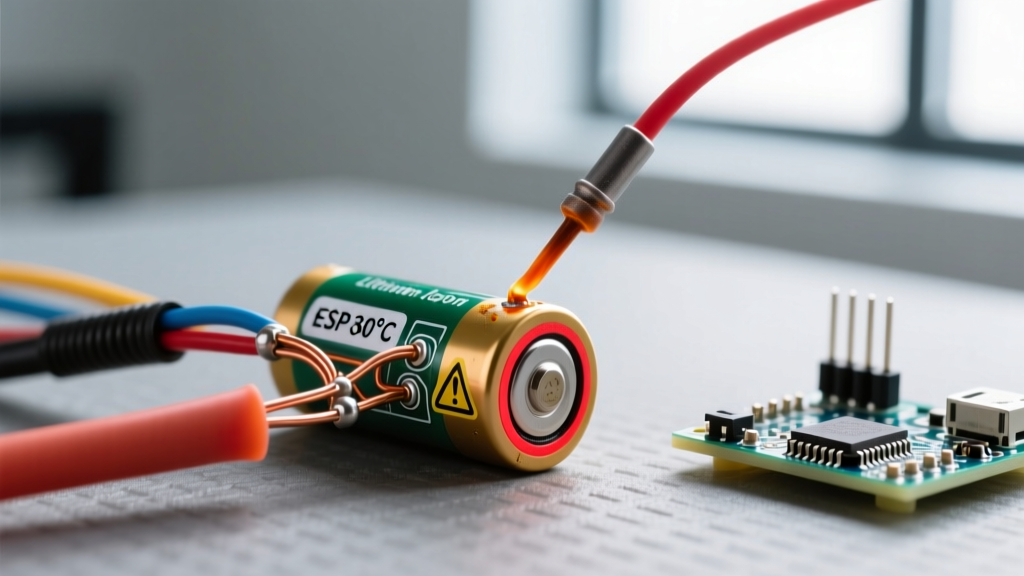
In the DIY electronics and custom battery pack community, the debate over connection methods is ongoing. While spot welding and crimping are the industry standards, many hobbyists still resort to creating soldered battery terminals due to the low barrier to entry. However, applying a 380°C (716°F) soldering iron tip directly to a lithium-ion 18650 or 21700 cell casing introduces severe safety hazards that are often misunderstood until a catastrophic failure occurs.
The primary danger lies in thermal transfer. Modern lithium-ion cells utilize a micro-porous polymer separator—typically made of polyethylene (PE) or polypropylene (PP)—to keep the anode and cathode from touching. These separators have a melting point between 130°C and 160°C (266°F to 320°F). When you solder directly to the positive or negative terminal, the heat conducts rapidly through the thin metal can. If the internal temperature breaches the separator's melting threshold, the barrier collapses, causing an internal short circuit. This triggers thermal runaway, a violent exothermic reaction that vents toxic, highly flammable electrolyte gases and frequently results in an uncontainable fire.
Manufacturer Warnings vs. DIY Reality
Every major battery manufacturer, including Panasonic, Samsung SDI, and Molicel, explicitly forbids direct soldering to their bare cylindrical cells in their official datasheets. The warranty is immediately voided the moment a soldering iron touches the casing. According to safety guidelines published by the Occupational Safety and Health Administration (OSHA), improper handling and modification of lithium-ion batteries are leading causes of workplace and residential battery fires.
Engineering Note: Even if the cell does not immediately vent during the soldering process, sub-lethal heat exposure can degrade the electrolyte and warp the separator micro-structure. This latent damage can cause the cell to fail weeks or months later under high discharge loads, making soldered battery terminals a ticking time bomb in high-draw applications like e-bikes and drones.
Safety Protocols If You MUST Solder (Mitigation Strategies)
While spot welding is always the correct choice for bare lithium cells, there are niche scenarios where soldering is unavoidable—such as repairing legacy NiMH packs, attaching wires to pre-tabbed cells, or working with specialized coin cells. If you must create soldered battery terminals, strict thermal management protocols are non-negotiable.
1. Tool Selection and Preparation
Counterintuitively, using a low-wattage soldering iron is more dangerous than using a high-wattage one. A 30W iron will struggle to melt the solder, forcing you to hold the tip against the battery terminal for 10+ seconds, allowing heat to soak into the cell. Instead, use a temperature-controlled station like the Hakko FX-888D or Weller WE1010NA (priced between $70 and $110 in 2026) set to 380°C. The high thermal mass will melt the solder instantly, reducing contact time to under three seconds.
- Solder Alloy: Use 63/37 (Tin/Lead) eutectic rosin-core solder, such as Kester 44. It melts at a lower temperature (183°C) and transitions from solid to liquid instantly, unlike lead-free SAC305 which requires higher heat and has a plastic phase.
- Flux: Use only mildly activated rosin (RMA) flux. Never use acid-core plumbing flux, which will corrode the battery casing and create high-resistance joints.
2. The Aluminum Heat Sink Method
Before applying heat, wrap the body of the battery cell in 2-inch wide aluminum foil tape (commonly used for HVAC ductwork), leaving only the terminal exposed. Aluminum is an exceptional thermal conductor and will absorb and dissipate the bulk of the stray heat, protecting the internal chemistry. Additionally, clamping a heavy copper alligator clip to the wire between the solder joint and the cell body acts as a secondary thermal path, drawing heat away from the terminal.
3. The Three-Second Rule
- Pre-tin the wire and the battery terminal separately using a generous amount of flux.
- Apply the iron to the terminal for exactly 1.5 seconds to melt the pre-tinned solder.
- Press the pre-tinned wire into the molten pool, remove the iron, and hold the wire perfectly still for 3 seconds while the joint solidifies.
- Immediately apply a drop of isopropyl alcohol (IPA) to the joint to rapidly quench the residual heat.
The Superior Alternative: Spot Welding & Crimping
To eliminate the risks associated with soldered battery terminals entirely, DIYers should invest in modern, affordable spot welding technology. According to research on battery manufacturing safety by the CDC National Institute for Occupational Safety and Health (NIOSH), resistance welding is the only method that guarantees zero thermal damage to the cell interior.
| Connection Method | Equipment Cost (2026) | Thermal Risk to Cell | Joint Reliability | Best Use Case |
|---|---|---|---|---|
| Direct Soldering | $50 - $120 | Extreme (High failure rate) | Low (Prone to cold joints) | NiMH repairs, pre-tabbed cells only |
| Capacitive Spot Welding | $150 - $400 | Zero (Microsecond pulse) | Excellent | 18650/21700 custom Li-ion packs |
| Transformer Spot Welding | $300 - $800+ | Zero | Industrial Grade | Thick nickel strips, high-current EV packs |
| Mechanical Crimping | $40 - $90 | Zero | Moderate to High | Battery holders, terminal tabs |
For hobbyists building custom 18650 or 21700 packs, a capacitive discharge spot welder like the Malectrics DIY Spot Welder or the advanced KWeld system (utilizing 0.15mm pure nickel strips) delivers professional-grade welds without transmitting heat past the 0.1mm outer steel casing of the battery.
Real-World Failure Analysis: The Cold Joint Hazard
When attempting soldered battery terminals, the most common technical failure is the "cold solder joint." Because the battery casing acts as a massive heat sink, it rapidly pulls heat away from the soldering iron tip. If the iron lacks the thermal recovery speed to maintain 380°C, the solder will form a dull, grainy, high-resistance connection rather than a shiny, metallurgical bond.
In a high-discharge scenario—such as a drone drawing 40A from a 4S pack—a high-resistance cold joint will generate localized heat according to Joule's Law (P = I²R). This localized heating can melt the solder joint mid-flight, causing a sudden voltage drop, or worse, ignite the surrounding heat-shrink tubing and cell wrapper. Battery University emphasizes that high-impedance connections are a leading cause of secondary thermal events in poorly assembled aftermarket battery packs.
Frequently Asked Questions (FAQ)
Can I solder to a battery that already has spot-welded tabs?
Yes. If the manufacturer has already spot-welded a nickel or copper tab to the cell, it is perfectly safe to solder your wires to that tab. The tab acts as a thermal buffer, and the heat from your soldering iron will not reach the internal cell chemistry. Ensure you use a high-wattage iron to complete the joint in under four seconds.
Is it safe to solder to LiPo (Lithium Polymer) pouch cells?
Absolutely not. LiPo pouch cells have extremely thin aluminum and copper foil current collectors that are laminated directly to the polymer casing. Applying a soldering iron will instantly melt the outer polymer seal, exposing the highly reactive lithium cobalt oxide to atmospheric moisture, which causes immediate swelling, venting, and ignition. Always use specialized low-temperature conductive adhesives or purchase LiPos with pre-attached JST connectors.
What wire gauge should I use for battery terminals?
Wire gauge must be matched to the continuous discharge rating (CDR) of the cell and the total amperage draw. For a single 18650 cell rated at 20A, 14 AWG silicone-jacketed wire is the minimum safe standard. Using undersized wire (like 22 AWG) will cause the wire insulation to melt under load, regardless of how perfectly the terminal was soldered or welded.