
The Engineering and Economic Reality of Copper Pipe Joining
In modern plumbing and HVAC systems, the act of soldering a copper pipe joint (often referred to as "sweating") competes directly with mechanical press-fit systems and push-to-connect fittings. While press-fit technologies like Viega ProPress have captured significant market share in commercial applications due to speed, soldering remains the undisputed champion for specific high-stress, tight-clearance, and high-temperature environments. This decision framework is designed for contractors, advanced DIYers, and engineers to objectively evaluate when soldering is the superior choice, how to select the correct metallurgical consumables, and how to avoid catastrophic failure modes.
The Golden Rule of Capillary Action: A properly soldered copper joint relies on a precise annular clearance of 0.001 to 0.005 inches between the tube OD and the fitting ID. If the gap is too large, capillary draw fails; if it is too small, flux and solder cannot penetrate the joint depth.
Phase 1: The Go/No-Go Decision Matrix
Before striking an arc or lighting a torch, you must evaluate the physical and environmental constraints of the installation. Soldering is not universally the best method. Use this matrix to determine if sweating the joint is viable.
When to Mandate Soldering
- Extreme Spatial Constraints: ProPress jaws require a specific rotational clearance and physical footprint. In tight joist bays, against stud walls, or inside bundled manifold runs where a mechanical jaw cannot physically close, a compact torch head (like the Bernzomatic TS8000) is the only viable option.
- High-Temperature and High-Pressure Lines: Soldered joints utilizing silver-bearing solder can withstand continuous operating temperatures up to 250°F and pressures exceeding 1,000 PSI, making them mandatory for high-pressure steam, medical gas, and certain HVAC refrigerant lines where elastomeric O-rings (used in push-fittings) would degrade.
- Subterranean or Encased Applications: While some press fittings are rated for direct burial, many local municipal codes still mandate soldered or brazed joints for copper lines encased in concrete or buried underground to eliminate the risk of O-ring degradation over decades.
When to Reject Soldering (Choose Alternatives)
- Active Lines That Cannot Be Fully Drained: Even a few drops of water trapped in a vertical riser will absorb the thermal energy from your torch, preventing the copper from reaching the 450°F+ required to melt solder. While dissolvable plugs exist, press-fittings are vastly superior for retrofits on active, un-drainable systems.
- Fire-Risk Proximity: Soldering within 12 inches of combustible framing without extensive thermal shielding (e.g., Mini Jet heat shields or wet rags) is a severe fire hazard. Push-to-connect fittings eliminate this risk entirely.
Phase 2: Tooling and Consumable Cost Analysis (2026 Data)
Understanding the economic breakpoint between soldering, pressing, and push-to-connect is critical for bidding and material planning. The table below outlines the real-world costs and performance metrics for joining standard 1/2-inch Type L copper pipe.
| Method | Upfront Tooling Cost | Per-Joint Material Cost (1/2") | Max Temp Rating | Installation Time per Joint |
|---|---|---|---|---|
| Soldering (Sweating) | $75 - $120 (Torch, Gas, Emery) | $0.85 - $1.10 (Fitting + Solder + Flux) | 250°F (Silver-bearing) | 3 - 5 Minutes |
| ProPress (Mechanical) | $1,200 - $2,500+ (Tool + Jaws) | $3.50 - $5.50 (Press Fitting) | 250°F (EPDM O-Ring) | 15 - 30 Seconds |
| Push-to-Connect | $15 - $30 (Cutter, Deburr Tool) | $8.00 - $12.00 (e.g., SharkBite Max) | 180°F (O-Ring Limit) | 30 - 45 Seconds |
As demonstrated, soldering demands the highest labor time but offers the lowest per-joint material cost. For a 50-joint residential rough-in, soldering saves roughly $250 to $400 in material costs compared to press or push systems, easily justifying the extra labor time for a solo operator or small crew.
Phase 3: Metallurgical Realities and Material Selection
Not all solder is created equal. The EPA's Safe Drinking Water Act mandates that all plumbing components and solders conveying potable water must be "lead-free" (containing less than 0.2% lead). However, choosing the right lead-free alloy dictates the joint's structural integrity.
95/5 Tin/Antimony (Standard Potable Water)
The industry standard for residential potable water is 95% Tin and 5% Antimony (e.g., Oatey Safe Flo). It melts at approximately 452°F (234°C). This alloy provides excellent capillary flow and is highly forgiving for DIYers. It is strictly for water lines and should never be used on high-vibration or high-pressure gas/refrigerant lines.
Silver-Bearing Solder (High Stress & HVAC)
Alloys containing 2% to 5% silver (e.g., Harris Stay-Brite 8) melt at slightly higher temperatures (around 535°F) but offer vastly superior tensile strength and vibration resistance. The silver content bridges micro-gaps more effectively and is mandatory for refrigerant lines, compressed air systems, and high-pressure steam.
The Critical Role of Flux
Flux (such as Oatey No. 95 Tinning Flux) is a chemical cleaning agent that dissolves copper oxide at high temperatures, preventing oxidation while the metal is hot and reducing the surface tension of the molten solder. Warning: Do not over-apply flux. Excess flux gets trapped inside the pipe, leading to acidic pitting and pinhole leaks months after installation. Furthermore, according to the Copper Development Association, properly cleaned and fluxed joints are essential to prevent capillary rejection.
Phase 4: Execution Framework and Edge Cases
When the decision framework dictates soldering, execution must follow a strict thermal and mechanical protocol.
- Mechanical Preparation: Cut the pipe square using a wheel cutter. Ream the inside edge completely. A left-over internal burr creates turbulence, leading to erosive corrosion (pinholing) just downstream of the joint. Clean the outside of the pipe and the inside of the fitting with 120-grit emery cloth until it shines brightly. Do not touch the cleaned metal with bare hands; skin oils inhibit solder adhesion.
- Flux Application: Apply a thin, even coat of paste flux to the tube OD using a flux brush. Insert the tube into the fitting with a slight twisting motion to distribute the flux evenly across the entire annular space.
- Thermal Management: Use a MAP-Pro gas torch (burning at 3,730°F) rather than standard propane (3,600°F) for pipes 3/4-inch and larger. MAP-Pro delivers BTUs faster, reducing the time the surrounding area is exposed to radiant heat. Apply the flame to the fitting, not the pipe. The fitting has more mass and requires more energy to reach the solder's melting point.
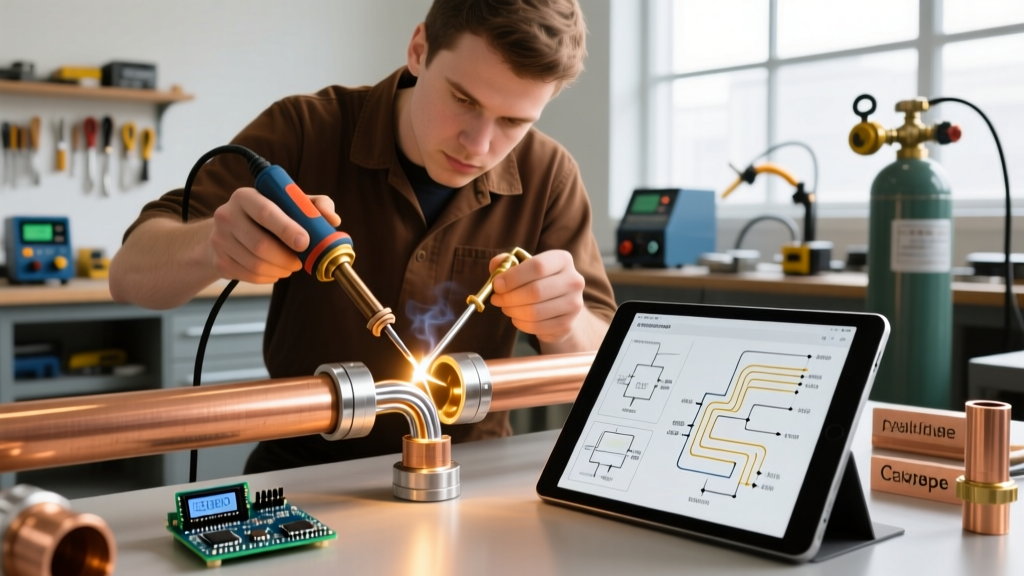
- The Capillary Draw: Remove the flame and touch the solder wire to the opposite joint seam. If the copper has reached the correct temperature (indicated by the flux bubbling and turning clear, and the pipe taking on a dull, oxidized cherry hue), the solder will instantly melt and be drawn into the joint via capillary action. Feed solder until a continuous, shiny silver ring appears completely around the seam.
Edge Case: The "Water in the Line" Problem
If you are sweating a valve onto an active line that refuses to drain completely, gravity will pull water down to your joint, acting as an infinite heat sink. Your torch will never get the copper hot enough to melt solder. Solution: Use a specialized water-soluble dissolvable pipe plug (e.g., Hercules Block or Oatey Great Stuff). Insert it upstream of the joint. It blocks the water during soldering and safely dissolves into a harmless, non-clogging gel once the water is turned back on.
Phase 5: Failure Mode Analysis
Understanding why soldered joints fail allows you to preemptively eliminate risks during installation.
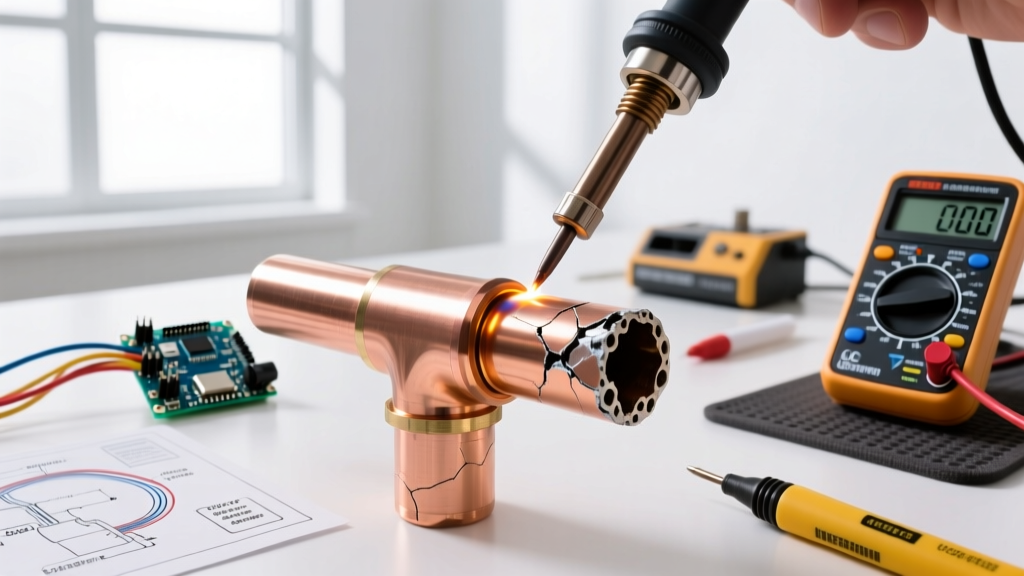
- Burnt Flux (Acidic Corrosion): If you overheat the joint (exceeding 600°F), the flux burns off, turning into a hard, black, acidic crust. This crust eats through the copper from the inside out, causing pinhole leaks 6 to 18 months post-installation. Always use a damp rag to wipe the joint clean immediately after the solder solidifies.
- Cold Joints (Incomplete Draw): If the solder melts on the torch tip and is "painted" onto the outside of the joint rather than drawn in via capillary action, the joint is structurally compromised. It will hold pressure during the initial hydrostatic test but will fail under thermal expansion and contraction cycles.
- Thermal Shock Cracking: Quenching a freshly soldered joint with a wet rag while the solder is still in a semi-solid state can cause micro-fractures in the solder matrix. Allow the joint to cool naturally to a dull gray before wiping it down.
Final Decision Summary
Soldering a copper pipe joint remains a highly reliable, cost-effective, and code-compliant method when applied to the correct scenarios. By leveraging this decision framework—evaluating spatial constraints, calculating per-joint economics, selecting the appropriate silver-bearing or 95/5 alloy, and strictly managing thermal inputs—you ensure a plumbing or HVAC system that will outlast the building it resides in.