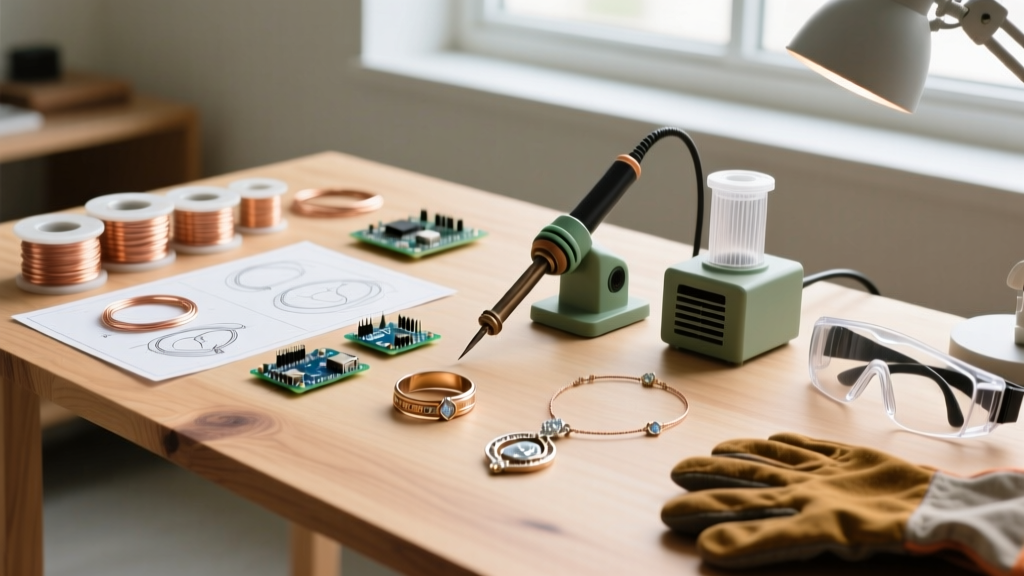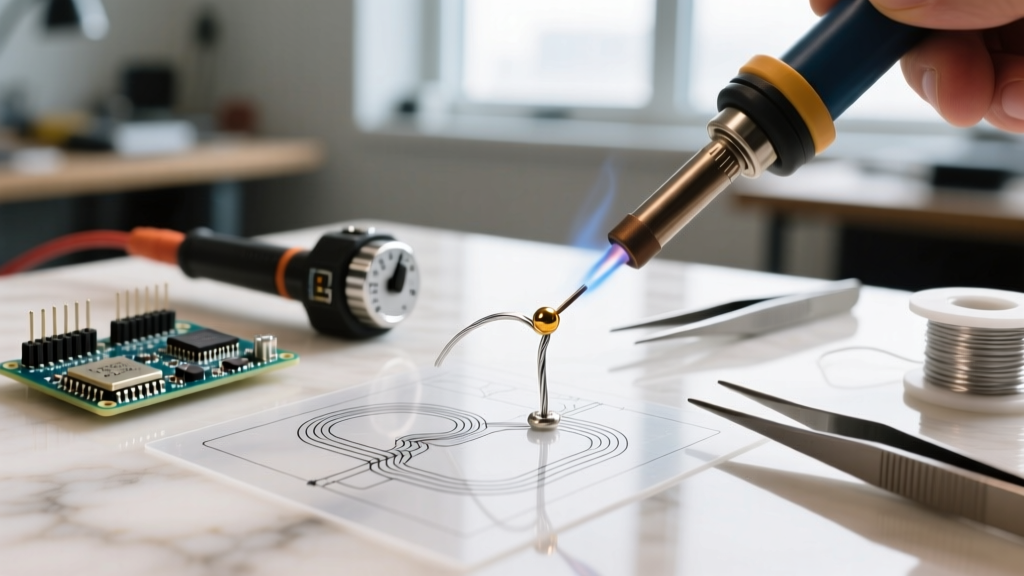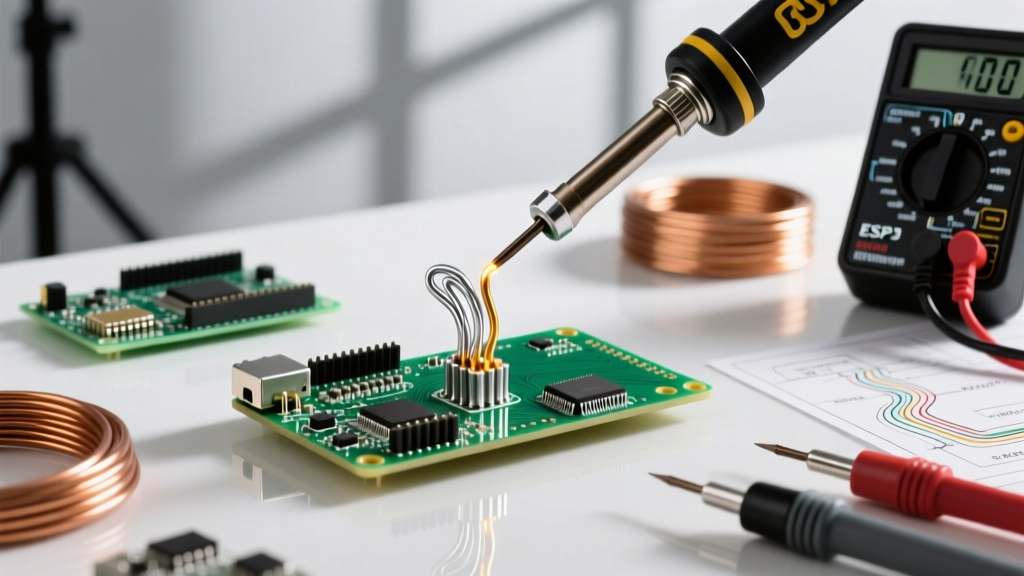

When you search for the silver soldered meaning, you are likely to encounter a maze of conflicting information. A jewelry maker, an HVAC technician, and a PCB electronics engineer will all give you three completely different answers. This confusion stems from a fundamental clash between formal metallurgical standards and decades of entrenched trade slang.
As a DIYer or professional fabricator, misunderstanding this terminology can lead to catastrophic joint failures, toxic fume exposure, or ruined workpieces. This comprehensive decision framework will decode the true meaning of silver soldering across different disciplines and provide a rigorous, data-driven method for selecting the correct alloy for your specific application in 2026.
The Great Terminology Divide: AWS Standards vs. Trade Slang
To understand the silver soldered meaning, you must first understand the Terminology Trap. According to the American Welding Society (AWS) and international ISO standards, the dividing line between soldering and brazing is strictly thermal:
- Soldering: Joining metals using a filler metal that melts below 840°F (450°C).
- Brazing: Joining metals using a filler metal that melts above 840°F (450°C).
Therefore, in strict metallurgical terms, 'silver soldering' is an oxymoron when applied to HVAC or jewelry, because silver-bearing hard solders melt well above 1100°F. However, as detailed in Lucas-Milhaupt's brazing fundamentals, the trades universally use the term 'silver soldering' to describe what is technically silver brazing. Conversely, in electronics, 'silver solder' refers to lead-free SAC (Tin-Silver-Copper) alloys that melt below 840°F, making them true solders.
The Golden Rule of Terminology: If you are working on pipes, frames, or jewelry, 'silver solder' means a high-temperature silver-copper-zinc brazing alloy. If you are working on circuit boards, it means a low-temperature tin-silver-copper soft solder.
Metallurgical Breakdown: What is Actually in the Alloy?
The 'silver' in silver solder is not merely a plating; it is a core alloying element that fundamentally alters the grain structure, capillary flow, and tensile strength of the joint. Silver (Ag) lowers the melting point of copper-zinc mixtures while simultaneously increasing ductility and fatigue resistance.
In high-temperature trade alloys, silver content typically ranges from 5% to 56%. The higher the silver content, the lower the melting temperature and the narrower the plastic range (the temperature gap between solidus and liquidus). A narrow plastic range is critical for tight-fitting joints because the alloy flows instantly via capillary action rather than turning into a slushy paste.
The Silver Solder Decision Matrix
Use this matrix to determine which category of 'silver solder' your project actually requires based on your base metals and operating environment.
| Process Category | Typical Alloy (Model) | Ag Content | Melt Temp (Solidus/Liquidus) | Tensile Strength | Primary Application |
|---|---|---|---|---|---|
| Electronics (True Solder) | Kester 275 SAC305 | 3.0% | 423°F / 441°F | ~5,800 PSI | PCBs, microcontrollers, SMD |
| Phos-Copper (Low Silver) | Harris Stay-Silv 5 | 5.0% | 1195°F / 1475°F | ~55,000 PSI | Copper-to-Copper HVAC lines |
| Standard Silver Braze | Harris Stay-Silv 15 | 15.0% | 1110°F / 1305°F | ~70,000 PSI | Copper-to-Brass, refrigeration |
| High-Flow Silver Braze | Lucas-Milhaupt Easy-Flo 45 | 45.0% | 1225°F / 1370°F | ~65,000 PSI | Steel, stainless, jewelry, tight tolerances |
The 4-Point Decision Framework for Joint Selection
When deciding whether to use a silver-bearing alloy over standard soft solder (like 60/40 Sn/Pb) or alternative joining methods like TIG welding, run your project through this four-point framework.
1. Mechanical Stress and Vibration Fatigue
Standard soft solders are brittle and prone to work-hardening and cracking under continuous vibration. If your assembly is mounted on a motor, a vehicle chassis, or an HVAC compressor, you must use a high-temperature silver braze (15% Ag or higher). The silver creates a ductile grain matrix that absorbs vibrational energy without micro-fracturing. Decision: If dynamic load is present, mandate minimum 15% Ag alloy.
2. Thermal Cycling and Operating Environment
Soft solders lose up to 50% of their shear strength when operating temperatures exceed 200°F (93°C). If your joint will be exposed to hot refrigerant gases, engine bay heat, or exhaust proximity, silver soldering is mandatory. Alloys like Stay-Silv 15 maintain structural integrity up to 400°F continuous service.
3. Electrical Conductivity vs. Joint Resistance
For high-amperage busbars or battery pack interconnects, silver is highly desirable. Silver possesses the highest electrical conductivity of any metal. While a SAC305 electronics solder is sufficient for low-current PCB traces, high-current DC joints benefit from silver-bearing brazing alloys which minimize voltage drop and resistive heating across the joint interface.
4. Capillary Fit and Machining Tolerances
Silver soldering relies entirely on capillary action, not gravity or puddling. For the alloy to draw into the joint, the clearance between the mating parts must be exact. The optimal radial clearance for most silver-bearing alloys is between 0.001 and 0.005 inches (0.025mm - 0.127mm) at room temperature. If your parts are loosely fitted with gaps larger than 0.010 inches, silver solder will fail to bridge the gap; you must switch to a bronze braze or a structural adhesive.
Real-World Alloy Selection and 2026 Pricing
Budgeting for silver alloys requires understanding that you are paying for precious metal content. Prices fluctuate with the commodities market, but as of early 2026, expect the following retail ranges for standard 1-ounce tubes or coils:
- Harris Stay-Silv 15 (15% Ag): ~$45 - $55 per ounce. The undisputed workhorse for commercial refrigeration and copper-to-brass transitions. Requires a white flux.
- Lucas-Milhaupt Easy-Flo 3 (50% Ag): ~$130 - $150 per ounce. Used for extremely tight tolerances and stainless steel. Flows like water but carries a premium price tag.
- Phos-Copper (0% - 5% Ag): ~$15 - $25 per ounce. Contains phosphorus, which acts as a built-in flux when joining copper-to-copper. Never use on brass or steel, as it forms brittle phosphide compounds at the interface.
Critical Edge Cases and Failure Modes to Avoid
Even experienced fabricators fall victim to specific failure modes unique to silver soldering. Avoid these critical errors:
The Cadmium Toxicity Trap
Historically, cadmium was added to silver solders (like Easy-Flo 50) to lower the melting point and improve flow on steel. However, cadmium fumes are highly toxic and can cause fatal pulmonary edema. According to the CDC NIOSH guidelines on cadmium, there is no safe level of exposure. In 2026, cadmium-bearing alloys are heavily restricted and banned in plumbing and consumer goods. Always verify your alloy is Cadmium-Free (Cd-Free) before applying a torch.
Flux Burnout and Dry Joints
Silver soldering requires an active chemical flux (like Harris Stay-Silv White Flux) to dissolve copper oxides. This flux has an active temperature range of 1050°F to 1600°F. If you heat the base metal too slowly, or use an overly aggressive oxidizing flame, the flux will burn out and turn into a hard, black glassy scale. Once this happens, the silver alloy will ball up and refuse to flow. Fix: Maintain a soft, neutral flame and apply heat rapidly to pass through the flux burnout zone.
Silica Contamination from Sandpaper
Never clean your base metals with standard sandpaper before silver soldering. Sandpaper sheds silica grit, which embeds into the soft copper or brass. Silica acts as a refractory barrier that completely blocks capillary flow. Always use a clean stainless steel wire brush, a brass bristle brush, or synthetic scouring pads.
Step-by-Step Execution Protocol
Follow this precise sequence to guarantee a structurally sound, leak-tight silver soldered joint:
- Mechanical Prep: Abrade the mating surfaces with a stainless steel brush to bright metal. Wipe with isopropyl alcohol to remove skin oils.
- Flux Application: Paint a thin, even layer of white flux over both the male and female parts. The flux should cover the entire area that will be heated, plus a small margin.
- Assembly & Support: Mate the parts. Ensure they are supported so they do not shift when the metal expands under heat.
- Pre-Heating: Use an oxy-acetylene or oxy-propane torch. Play a soft, neutral flame over the base metal, not the joint. Heat the heavier/thicker part first to equalize temperatures.
- Flux Activation: Watch the flux. It will bubble (water boiling off), turn milky, and finally become a clear, glassy liquid. This indicates the base metal has reached ~1100°F.
- Alloy Introduction: Remove the flame momentarily and touch the silver solder rod to the joint edge. If the base metal is hot enough, the rod will instantly melt and be violently sucked into the joint via capillary action. Do not melt the rod with the torch flame; let the base metal melt it.
- Quenching: Allow the joint to cool until the red glow fades, then quench in water to pop off the residual glassy flux scale. (Note: Do not quench high-carbon steel or thick cast iron, as thermal shock will crack the base metal).
For further reading on electronics-specific silver soldering standards (SAC alloys), refer to the IPC J-STD-006 standards which govern the precise metallurgical requirements for modern lead-free PCB assembly.
Final Verdict
The silver soldered meaning is entirely context-dependent. By recognizing whether your project demands the low-thermal SAC alloys of the electronics bench or the high-tensile silver-brazing rods of the fabrication floor, you can eliminate joint failures. Use the 4-point framework above to match your alloy's silver content to your specific mechanical, thermal, and tolerance requirements, ensuring professional-grade results every time you strike an arc or light a torch.