
The Equipment Matrix: Choosing Your First Soldering Station
When you set out to learn soldering, the sheer volume of available tools can be paralyzing. The most critical mistake beginners make is purchasing a cheap, unregulated 40W plug-in iron. These devices lack thermal feedback, leading to oxidized tips, burned flux, and destroyed printed circuit board (PCB) pads. To build reliable electronic assemblies, you need a temperature-controlled station that can recover heat rapidly when it touches a copper ground plane.
Below is a comparison of the three most reliable entry-to-mid-level stations dominating the workbenches of hardware engineers and makers in 2026.
| Model | Power Output | Temp Control | Price Range | Best Application |
|---|---|---|---|---|
| Pine64 Pinecil V2 | 65W (via USB-C PD) | RISC-V Digital PID | $26 - $35 | Portable labs, SMD, budget-conscious beginners |
| Hakko FX-888D | 70W | Digital Sensor | $105 - $120 | General through-hole, heavy daily use, education |
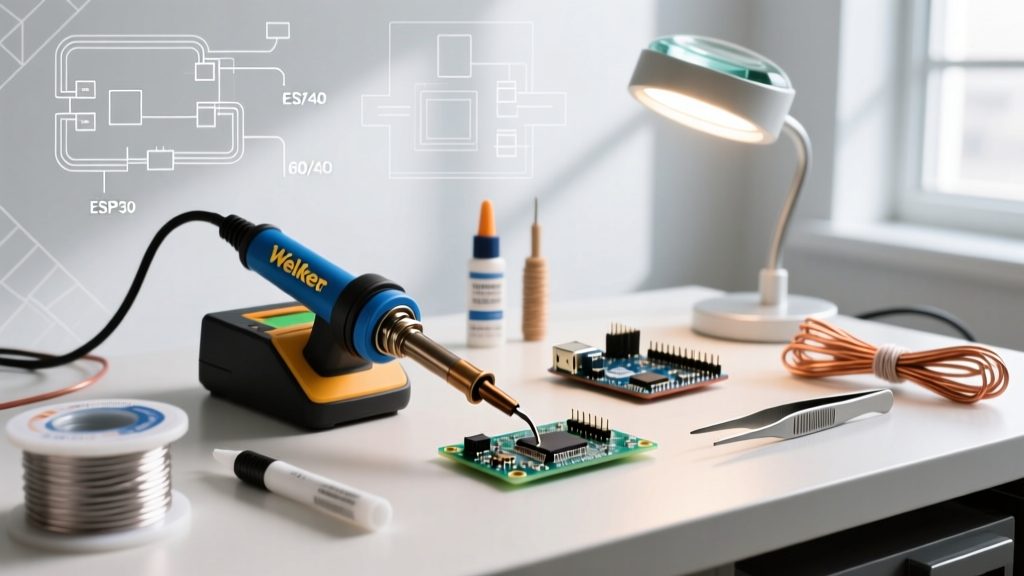
| Weller WE1010NA | 70W | Digital Sensor | $155 - $170 | High-reliability prototyping, ESD-safe environments |
Pro Tip: If you choose the Pinecil V2, ensure you pair it with a 65W (or higher) USB-C Power Delivery (PD) power brick. Using a standard 5V/2A phone charger will limit the iron to 10W, rendering it useless for anything thicker than 24 AWG wire.
Tip Geometry: Why Conical Tips Fail Beginners
Most cheap irons ship with a conical (B-shape) tip. While it looks precise, the surface area touching the component lead is microscopic, resulting in terrible thermal transfer. When learning, always swap to a Chisel (D-shape) tip (e.g., Hakko T18-D24 or Weller ETL). The flat edge maximizes contact area, allowing heat to flow into the joint in under two seconds rather than ten.
Metallurgy Matters: Selecting Solder Wire and Flux
Solder is not just metal; it is a chemical delivery system. The flux core inside the wire is what cleans the oxidation off the copper, allowing the molten alloy to wet the surface. Understanding alloy compositions is mandatory for consistent results.
Leaded vs. Lead-Free Alloys
- Sn63/Pb37 (Eutectic Leaded): Melts at exactly 183°C (361°F). Because it is eutectic, it transitions instantly from solid to liquid with no plastic (semi-solid) phase. This makes it the absolute best choice for beginners to learn soldering, as it minimizes the risk of "disturbed joints" caused by micro-movements during cooling. Recommended: Kester 44 (0.031" diameter).
- SAC305 (Lead-Free): Composed of 96.5% Tin, 3% Silver, and 0.5% Copper. Melts at 217°C (423°F). It requires higher iron temperatures (typically 350°C+) and wets slower than leaded solder. While mandated in commercial manufacturing by RoHS directives, its higher thermal demands make it frustrating for novices. Recommended: Kester 275 No-Clean.
Flux Chemistry: ROL0 vs. RA
Flux is categorized by activity level. Rosin-Activated (RA) fluxes, like the classic Kester 44, contain mild acids that aggressively clean heavily oxidized pads but leave a conductive, corrosive residue that must be cleaned with 99% isopropyl alcohol (IPA). For modern PCBs, a No-Clean flux (classified as ROL0 under IPC standards) is preferred. It leaves a clear, non-conductive residue that is safe to leave on the board, though it struggles to clean heavily tarnished vintage components.
The 5-Second Thermal Transfer Method
According to the Adafruit Guide to Excellent Soldering, the most common beginner error is "feeding the iron"—melting solder directly onto the tip and attempting to carry it to the joint. This burns the flux before it reaches the pad, resulting in a cold, spherical blob. Instead, follow the strict thermal transfer sequence:
- Clean & Tin (0.5s): Wipe the iron tip on a damp cellulose sponge or brass wool, then apply a microscopic amount of fresh solder to the tip. This creates a liquid thermal bridge.
- Heat the Mass (1.5s): Press the flat of the chisel tip simultaneously against the PCB pad and the component lead. Let the copper absorb the heat.
- Feed the Joint (1.5s): Touch the solder wire to the opposite side of the component lead (not the iron tip). If the pad is hot enough, the solder will instantly melt and wick down into the plated through-hole via capillary action.
- Remove & Inspect (1.5s): Pull the solder wire away first, then slide the iron tip away. Hold the component perfectly still for 2 seconds while the joint solidifies.
A proper through-hole joint should resemble a smooth, concave volcano. According to NASA-STD-8739.3 workmanship requirements, the solder must wet the surfaces with a contact angle of less than 90 degrees, forming a visible fillet around the entire circumference of the lead.
Defect Troubleshooting & Failure Mode Analysis
When you learn soldering, you will inevitably create defects. Recognizing them is the first step to correcting your technique.
| Defect Name | Visual Cue | Root Cause | Correction Protocol |
|---|---|---|---|
| Cold Joint | Dull, grainy, convex (ball-like) surface | Insufficient heat applied to the pad; flux burned off prematurely | Apply fresh liquid flux, reheat with a clean chisel tip for 3 seconds |
| Disturbed Joint | Frosty appearance, visible crystalline fractures | Component moved while the SAC305 or Sn63 alloy was in its plastic phase | Reflow with flux and hold component rigidly with tweezers until cool |
| Solder Bridging | Short circuit between adjacent IC pins | Too much solder applied; tip too large for the pitch | Apply no-clean flux, use a copper desoldering wick to pull excess away |
| Lifted Pad | Copper trace peeling away from the FR4 fiberglass substrate | Iron temperature too high (>400°C); dwell time exceeded 5 seconds | Reduce station temp to 320°C; use PCB epoxy to re-adhere lifted pads |
Environmental Controls & Fume Extraction
Soldering fumes do not come from the metal alloy; they come from the vaporized flux core. Rosin-based fluxes contain colophony, a known respiratory sensitizer. The National Institute for Occupational Safety and Health (NIOSH) explicitly warns that chronic exposure to unventilated rosin flux fumes can lead to occupational asthma and contact dermatitis.
Actionable Safety Setup:
- Never rely on a simple desk fan to blow fumes around the room; this merely redistributes particulates.
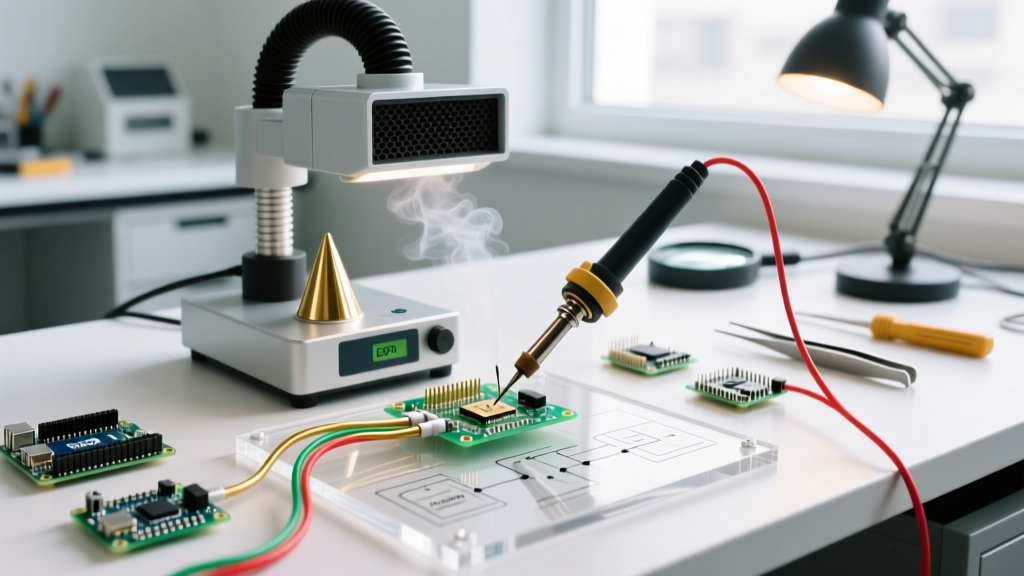
- Invest in a localized fume extractor with a HEPA and activated carbon filter (e.g., Hakko FA-400 or a DIY PC-fan carbon filter box).
- Position the extractor intake exactly 2 to 4 inches away from the soldering zone to capture the thermal plume before it rises into your breathing zone.
- Always wash hands with soap after handling leaded solder (Sn63/Pb37). Lead cannot be absorbed through intact skin, but hand-to-mouth transfer is a documented hazard.
Frequently Asked Questions (FAQ)
How do I know if my soldering iron tip is dead?
If your iron is heated to 320°C but fresh solder wire beads up and rolls off the tip like water on a hot skillet, the tip is oxidized. The iron plating has burned, exposing the underlying copper which rapidly degrades. You can sometimes rescue mildly oxidized tips using a tip-tinner compound (a mix of aggressive flux and solder powder), but severely pitted tips must be discarded and replaced.
What wire gauge solder should I buy for Arduino and Raspberry Pi projects?
For general through-hole components (resistors, capacitors, DIP ICs) and soldering header pins on microcontrollers, 0.031" (0.8mm) diameter wire is the universal standard. For fine-pitch surface mount device (SMD) soldering, drop down to 0.015" (0.4mm) to prevent accidental bridging.
Is liquid flux necessary if my solder wire already has a flux core?
For basic through-hole work, the internal core is sufficient. However, when learning to solder SMD components, drag-soldering ICs, or reworking a cold joint, adding external liquid or tacky flux (like Amtech NC-559-V2-TF) is non-negotiable. External flux lowers the surface tension of the molten solder, forcing it to adhere strictly to the copper pads and away from the plastic component bodies.