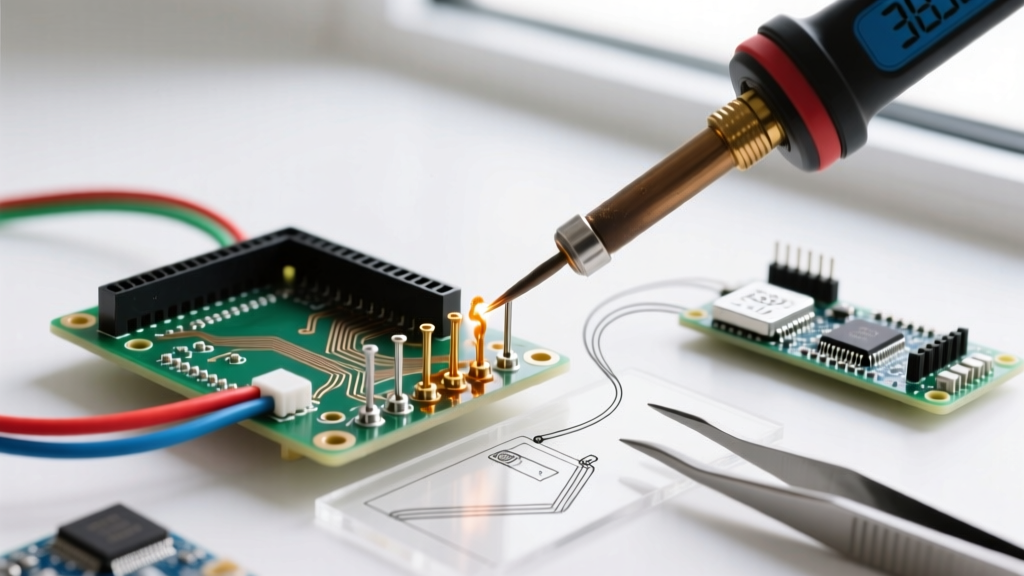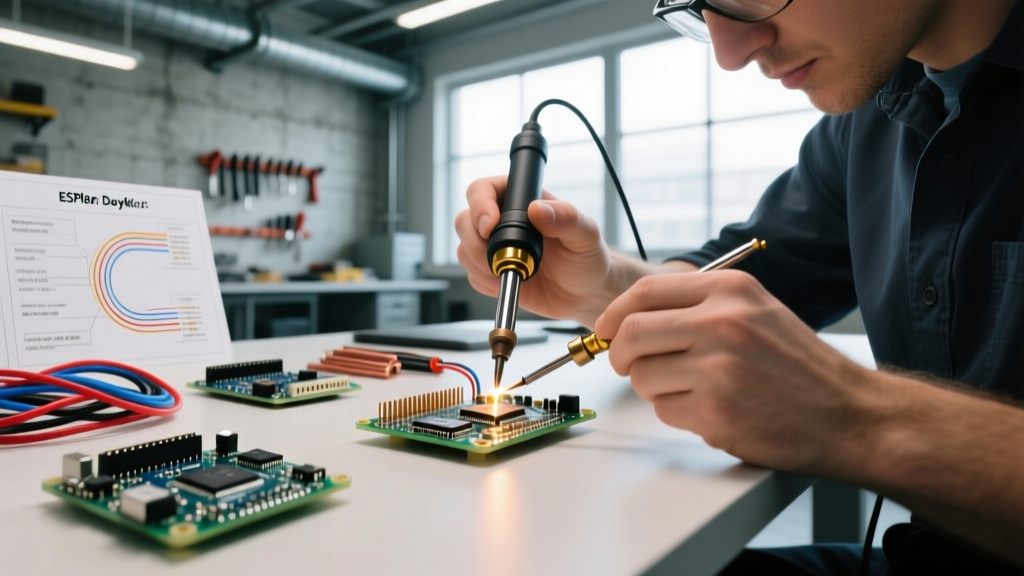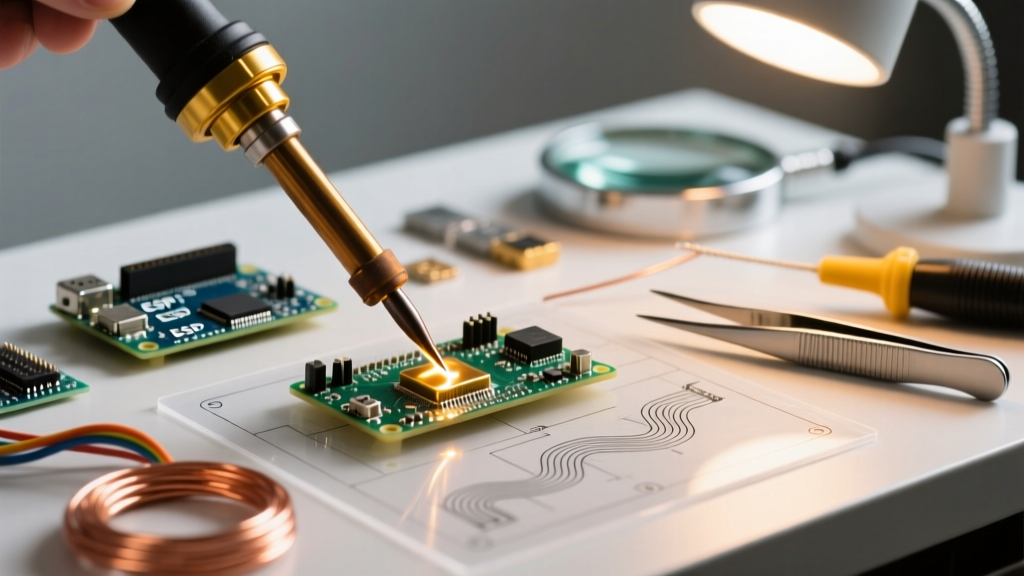

The iFixit Soldering Ecosystem: What You Need to Know
iFixit has long championed the hardware repair community, providing everything from precision screwdrivers to advanced micro-soldering resources. When it comes to iFixit soldering workflows, the centerpiece is often their branded 60W Soldering Iron Kit. While it is an excellent, portable, and reliable tool for hobbyists and independent repair technicians, users frequently encounter thermal and metallurgical hurdles when transitioning from simple wire splicing to dense logic board repair.
Whether you are attempting a DC-in jack replacement on a MacBook or reworking a smartphone FPC connector, understanding the thermal dynamics and maintenance requirements of your gear is critical. This comprehensive FAQ and troubleshooting guide addresses the most common edge cases, failure modes, and optimization techniques for the iFixit soldering ecosystem in 2026.
Baseline Hardware Comparison
Before diving into troubleshooting, it is essential to understand where the iFixit 60W kit sits in the current repair landscape compared to other popular stations.
| Model | Wattage | Tip Compatibility | Approx. Price (2026) | Best Use Case |
|---|---|---|---|---|
| iFixit 60W Soldering Iron Kit | 60W | Hakko T18-Series | $69.95 | General board repair, wire tinning, port replacement |
| Pinecil V2 (Pine64) | 65W (via PD) | TS100 / MiniWare | $25.99 | Portable field repairs, budget micro-soldering |
| Hakko FX-888D | 70W | Hakko T18-Series | $115.00 | Benchtop heavy-duty desoldering, large ground planes |
Note: The iFixit iron's compatibility with standard T18 tips is its greatest strength, allowing you to swap from a standard conical tip to a heavy-duty chisel (T18-D24) or a micro-knife (T18-KR) depending on the repair.
Frequently Asked Questions: iFixit Soldering Troubleshooting
1. Why won't my iFixit 60W iron melt solder on large ground planes?
The Problem: You are trying to desolder a USB-C port or a DC-in jack on a laptop motherboard, but the solder remains stubbornly solid on the grounding pins, even with the iron set to 400°C.
The Root Cause: This is a classic thermal mass issue. Multilayer PCBs (often 6 to 12 layers in modern laptops) contain internal copper ground planes that act as massive heat sinks. A standard conical tip (like the T18-B included in many starter kits) has a tiny surface area and cannot transfer thermal energy fast enough to overcome the heat dissipation of the copper plane.
The Fix:
- Change Your Tip: Swap to a T18-D24 (2.4mm Chisel) or T18-D32 (3.2mm Chisel). The flat bevel maximizes surface contact with the pad.
- Use Sacrificial Solder: Apply fresh, high-quality 63/37 leaded solder to the joint before attempting to desolder. The lead acts as a thermal bridge, transferring heat from your iron into the stubborn lead-free factory solder.
- Add Bottom Heat: If the iFixit iron still struggles, introduce a PCB preheater (like an 80x80mm silicone mat heater set to 120°C) beneath the board to reduce the thermal delta.
2. How do I fix a blackened, oxidized tip that won't accept solder?
The Problem: The tip of your iFixit iron has turned dark blue or black, and molten solder simply rolls off it in balls, refusing to "wet" the metal.
The Root Cause: Oxidation. When a soldering iron is left on at high temperatures (especially above 350°C) without a protective layer of solder, the iron plating reacts with oxygen in the air, forming an insulating oxide layer. This layer completely destroys thermal transfer.
The Fix:
- Never Use Abrasives: Do not sand the tip or use a metal file. You will strip the microscopic iron plating and ruin the copper core.
- Chemical Reduction: While the iron is hot (around 300°C), dip the tip into a tip tinner/activator compound (such as Hakko 599B). The acidic flux in the compound will strip the oxidation.
- Brass Sponge Maintenance: Wipe the tip on a dry brass wire sponge, then immediately apply a thick layer of rosin-core solder to re-tin and protect the plating.
Expert Tip: Always turn your iFixit iron down to 250°C or turn it off entirely if you are stepping away from the bench for more than three minutes. Prolonged idling at 380°C+ is the fastest way to destroy a T18 tip.
3. Can I use the iFixit 60W kit for micro-soldering FPC connectors and jumper wires?
The Problem: You are attempting to replace a ripped Flexible Printed Circuit (FPC) connector on an iPhone logic board or run a 0.1mm enameled copper jumper wire, but you keep lifting the microscopic pads.
The Root Cause: While the iFixit 60W iron is capable of micro-soldering, the standard included tip is too large, and the thermal recovery can sometimes be too aggressive for fragile smartphone pads, which are often held down by minimal adhesive and can lift if subjected to lateral pressure or excessive heat.
The Fix:
- Micro-Tip Selection: You must use a T18-IL (super fine conical) or a T18-KR (micro-knife) tip. The knife tip is exceptional for dragging solder across 0.4mm pitch connector pins.
- Tacky Flux is Mandatory: Apply a high-viscosity tacky flux like Amtech NC-559-V2-TF or Chip Quik SMD291AX. This flux holds microscopic components in place via surface tension and prevents solder bridging.
- Limitations: For BGA (Ball Grid Array) rework or heat-shrink tubing on jumper wires, an iron is insufficient. You must pair your iFixit soldering kit with a hot air rework station to properly flow the solder without mechanical stress on the pads.
Troubleshooting Matrix: Defect Identification & Fixes
Identifying the visual signature of a bad solder joint is a core skill outlined in professional IPC soldering standards. Use this matrix to diagnose your board repair defects.
| Defect Type | Visual Cue | Root Cause | iFixit Kit Solution |
|---|---|---|---|
| Cold Joint | Dull, grainy, or lumpy appearance; bulbous shape. | Insufficient heat; moving the component before solder solidified. | Re-flow with fresh 63/37 solder and extra flux; ensure tip is clean. |
| Solder Bridging | Solder connects two adjacent pins, causing a short circuit. | Too much solder applied; lack of flux; tip too large. | Apply liquid flux, drag a clean chisel tip across the pins to pull excess solder away. |
| Pad Lifting | The copper pad separates from the fiberglass PCB substrate. | Excessive heat duration; mechanical prying with the iron tip. | Use bottom preheat to reduce iron dwell time; never use the iron as a lever. |
| Tombstoning | One end of an SMD component lifts vertically, resembling a gravestone. | Uneven heating of the two pads; uneven solder paste volume. | Touch both pads simultaneously with a micro-knife tip to reflow evenly. |
Advanced Alloy and Flux Selection for Modern Repairs
The success of your iFixit soldering workflow is heavily dependent on the chemistry of your consumables. Factory solder on modern consumer electronics is almost exclusively SAC305 (Tin/Silver/Copper), which is lead-free and has a higher melting point of roughly 217°C (422°F). It also exhibits poor wetting characteristics compared to traditional leaded solder.
The "Mixing" Strategy
When removing factory lead-free components with your iFixit iron, you should intentionally introduce Sn63/Pb37 (Eutectic) solder. Eutectic solder melts at a much lower 183°C (361°F) and has a non-plastic phase transition (it goes from liquid to solid instantly). By mixing your 63/37 solder into the factory SAC305 joint, you lower the overall melting temperature of the joint, allowing your 60W iron to remove the component faster and with less thermal stress to the surrounding microchips.
For an in-depth look at the health and safety protocols regarding leaded vs. lead-free alloys and proper fume extraction, refer to the NIOSH guidelines on soldering safety. Always use an activated carbon fume extractor positioned within 6 inches of your work area to capture colophony fumes.
ESD Precautions and Bench Setup
Modern logic boards, particularly those featuring exposed CMOS sensors, NAND flash chips, and bare die silicon, are highly susceptible to Electrostatic Discharge (ESD). The iFixit 60W soldering iron is designed with an ESD-safe handle and a grounded tip, but this only works if your bench environment is properly configured.
- Grounding: Ensure the iFixit power supply is plugged into a properly grounded 3-prong outlet. Use a multimeter to verify that the resistance between the soldering tip and the earth ground pin is less than 5 ohms.
- Work Surface: Utilize a dissipative ESD silicone mat. As highlighted by the EOS/ESD Association, a dissipative mat safely bleeds off static charges rather than allowing them to accumulate or discharge violently.
- Wrist Straps: When handling bare PCBs out of their anti-static bags, wear a wired ESD wrist strap connected to the same common ground point as your soldering iron and mat.
Conclusion
The iFixit 60W Soldering Iron Kit remains a formidable, accessible entry point into the world of board-level repair, perfectly aligned with the ethos of the Right to Repair movement. However, the tool is only as capable as the technician wielding it. By understanding thermal mass dynamics, strictly maintaining your T18 tips, selecting the correct flux chemistry, and recognizing the visual cues of IPC-defined soldering defects, you can push this 60W iron to its absolute limits and achieve professional-grade micro-soldering results.