
The Core Dilemma: Desoldering Methods in Modern Electronics
Removing a faulty component from a printed circuit board (PCB) is notoriously more difficult than installing one. While modern soldering stations offer precise thermal control, the desoldering process requires managing both heat and physical extraction simultaneously. For decades, technicians have debated the ultimate desoldering method: the manual suction pump versus the capillary action of copper braid. Understanding exactly how to use a soldering wick and when to pivot to a mechanical desoldering pump is a fundamental skill for any electronics workbench in 2026.
This comprehensive guide breaks down the physics, technique, and real-world applications of both methods, providing you with a definitive framework to choose the right tool for surface-mount (SMD) and through-hole (THT) rework.
Step-by-Step: How to Use a Soldering Wick Properly
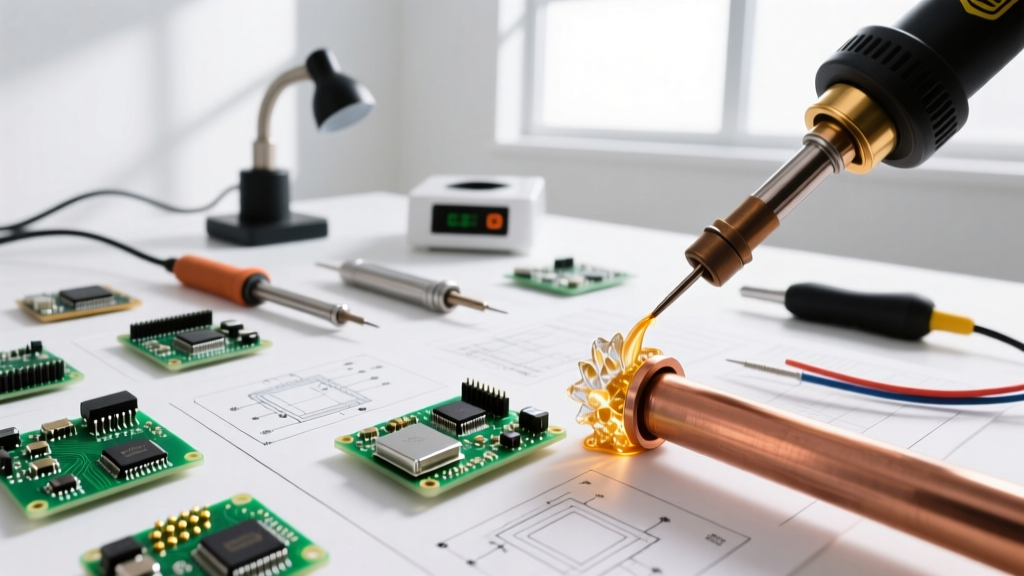
Soldering wick (or desoldering braid) relies on capillary action. When heated, the flux-coated copper strands draw molten solder away from the joint, much like a sponge absorbing water. However, improper technique is the leading cause of lifted pads and thermal damage. Follow this exact procedure aligned with IPC J-STD-001 standards for optimal results.
1. Select the Correct Braid Width
Matching the wick width to the solder joint is critical. Using a wick that is too wide acts as a massive heat sink, preventing the solder from reaching its liquidus state. Using one that is too narrow requires multiple passes, increasing thermal exposure.
- #1 or #2 (0.9mm - 1.5mm / Yellow or Blue): Ideal for 0603/0805 SMD components, fine-pitch ICs, and delicate trace work.
- #3 or #4 (1.9mm - 2.5mm / Green or Brown): Best for standard through-hole pins, larger SMD passives, and general board cleanup.
- #5 or #6 (3.3mm - 5.0mm / White or Red): Reserved for heavy ground planes, large power lugs, and multi-layer board vias.
2. Apply Supplemental Flux
Even if your wick is pre-fluxed (usually with Rosin RMA), adding a small drop of high-quality tacky flux (like Amtech NC-559 or Chip Quik SMD291) to the joint drastically improves wetting and accelerates capillary flow. This reduces the time your iron needs to dwell on the pad.
3. Optimize Iron Temperature and Tip Geometry
For standard Sn63/Pb37 (leaded) solder, set your station to 320°C - 340°C. For modern SAC305 (lead-free) alloys, increase the temperature to 360°C - 380°C. Use a chisel or bevel tip rather than a conical tip; the flat surface area maximizes thermal transfer to the braid.
4. The 'Wick-First' Placement Technique
This is where most beginners fail. Never heat the pad first and then press the wick into the molten solder. Instead:
- Place the clean copper braid directly over the cold solder joint.
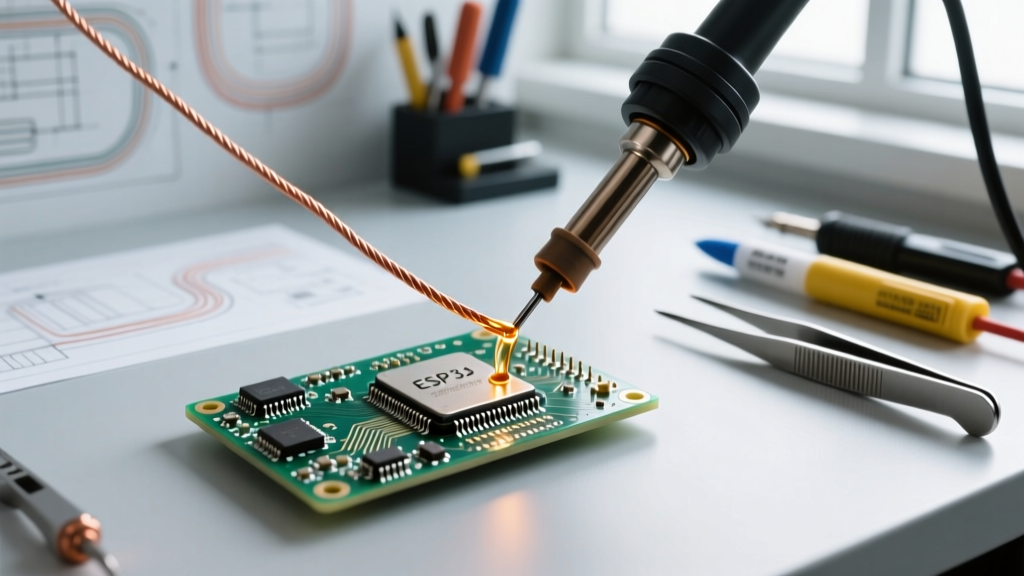
- Press your heated iron tip directly on top of the wick, directly over the joint.
- Heat transfers through the braid to the solder. Once the solder melts, capillary action instantly pulls it up into the copper strands.
- Wait 2 to 4 seconds. You will see the wick turn silver as it saturates.
- Crucial Step: Remove the iron and the wick simultaneously. If you remove the iron first, the wick will freeze to the pad. If you pull it while cold, you will rip the copper pad off the FR4 fiberglass substrate.
5. Clean and Inspect
Snip the saturated portion of the braid off with flush cutters. Clean the desoldered pad with 99% isopropyl alcohol (IPA) and a lint-free swab to remove flux residue before inspecting under a microscope.
Method Comparison Matrix: Soldering Wick vs. Desoldering Pump
To understand where the wick excels, we must compare it directly to the manual desoldering pump (solder sucker). Below is a technical breakdown of how these two methods perform across critical metrics.
| Feature | Soldering Wick (Copper Braid) | Manual Desoldering Pump (Suction) |
|---|---|---|
| Primary Mechanism | Capillary action (chemical/thermal) | Pneumatic vacuum (mechanical) |
| Best Application | SMD pads, BGA prep, fine-pitch ICs, pad cleanup | Through-hole components, large vias, DIP ICs |
| Pad Damage Risk | Moderate (Thermal damage / lifted pads if misused) | High (Mechanical shock can crack vias/pads) |
| Solder Removal Volume | Low to Medium (Saturates quickly) | High (Can clear deep barrel vias in one shot) |
| Consumable Cost | $5 - $12 per spool (Recurring) | $0 (Tool is reusable, only PTFE tips wear out) |
| ESD Safety | Inherently safe (Copper is conductive, grounds via iron) | Requires specific ESD-safe models to prevent static discharge |
When to Choose a Soldering Wick
Based on the NASA Workmanship Standard NASA-STD-8739.3 guidelines for high-reliability soldering, wick is the preferred method when mechanical shock must be avoided. You should reach for the braid when:
- Flattening SMD Pads: After removing a QFN or BGA chip, wick is the only way to perfectly flatten the residual solder on the pads for re-balling or re-stenciling.
- Delicate Flex PCBs: Mechanical suction pumps create a violent 'kickback' that can easily tear flexible polyimide circuits.
- Close Proximity Components: When working near tiny 0402 resistors or fragile glass diodes, the physical bulk of a pump nozzle might knock adjacent components off the board.
When to Choose a Desoldering Pump
Manual pumps (and their electric counterparts) are brute-force tools designed for volume and depth. Choose a pump when:
- Clearing Plated Through-Holes (PTH): Wick struggles to pull solder out of the deep barrel of a multi-layer via. A high-quality pump with a PTFE nozzle creates the negative pressure required to evacuate the barrel completely, allowing you to extract the component lead cleanly.
- Removing Heavy Power Components: For large electrolytic capacitors or TO-220 voltage regulators attached to ground planes, a pump removes the bulk solder quickly before the heat dissipates into the copper pour.
Advanced Troubleshooting: Avoiding Lifted Pads and Thermal Damage
Expert Warning: The most common failure mode when learning how to use a soldering wick is 'pad lifting.' This occurs when the adhesive bonding the copper trace to the FR4 substrate degrades due to prolonged heat. Once the glass transition temperature (Tg) of the PCB is exceeded for too long, the pad will separate.
Failure Mode 1: The Wick Freezes to the Board
Cause: You removed the soldering iron before lifting the wick, allowing the residual solder in the braid to solidify while in contact with the pad.
Solution: Never let go of the wick with your hemostats or fingers until the iron is completely removed. If it freezes, do not pull. Re-apply the iron to melt the joint, add a touch of fresh solder to act as a thermal bridge, and remove both simultaneously.
Failure Mode 2: Solder Refuses to Wick
Cause: Oxidized iron tip, insufficient flux, or attempting to wick heavily oxidized old solder.
Solution: Clean your tip on a brass wire sponge. Apply a generous amount of liquid or tacky flux directly to the joint. If the solder is decades old and heavily oxidized, mix in a small amount of fresh 63/37 leaded solder to lower the melting point and introduce fresh flux chemistry before wicking.
Top Rated Wicks and Pumps for Your Workbench (2026 Buyer's Guide)
Investing in high-quality desoldering tools prevents catastrophic board damage. Here are the industry-standard models currently dominating professional repair labs.
1. Chemtronics Soder-Wick (No-Clean & Rosin)
Chemtronics remains the gold standard for desoldering braid. Their 80-01-4 (Blue, #4) rosin-coated wick is a staple for general through-hole work, retailing around $8.50 per 5-foot spool. For sensitive RF and medical boards where residue cannot be tolerated, their NC-01-4 No-Clean variant ($9.20) leaves virtually zero residue, eliminating the need for aggressive IPA scrubbing. For more details on their wick geometry, refer to the Chemtronics Solder Wick Technical Guide.
2. Goot Wick CP-2060
Manufactured in Japan, Goot wick is renowned for its ultra-tight copper weaving, which provides faster capillary action than cheaper alternatives. The CP-2060 (1.5mm width) is exceptional for 0805 and 1206 SMD rework. Expect to pay roughly $6.50 per spool.
3. Engineer SS-02 Solder Sucker
If you need a manual pump, the Japanese-made Engineer SS-02 ($14.00) is vastly superior to the generic $3 plastic pumps found in starter kits. It features a slim, ESD-safe body, a replaceable PTFE (Teflon) nozzle that resists solder sticking, and a high-tension spring that generates massive suction force to clear stubborn vias.
4. Hakko FR-301 Electric Desoldering Tool
For high-volume through-hole rework, manual pumps cause severe hand fatigue. The Hakko FR-301 ($235.00) is a self-contained, vacuum-assisted desoldering gun. It melts the solder and vacuums it into a ceramic filter cartridge in one continuous motion. It is an essential investment for 2026 repair shops dealing with vintage audio equipment or industrial control boards.
Expert FAQ
Can I reuse soldering wick?
No. Once the copper braid is saturated with solder, the capillary pathways are blocked, and the flux is exhausted. Attempting to reuse saturated wick will result in poor heat transfer and potential pad damage. Always snip off the used section with flush cutters.
Is it safe to use soldering wick on flexible circuits?
Yes, but with extreme caution. Flex PCBs have very low thermal mass and delicate polyimide substrates. Use the narrowest wick possible (#1 or #2), keep your iron temperature below 320°C, and limit dwell time to 2 seconds maximum to prevent delamination of the flexible layers.
Why does my wick leave a sticky residue on the PCB?
That residue is activated Rosin (RMA) flux. While mildly corrosive over long periods in high-humidity environments, it is generally safe for consumer electronics. However, if you are working on high-impedance analog circuits or aerospace hardware, you must clean it with 99% IPA and a stiff brush, or switch to a No-Clean wick variant.
How do I clean a through-hole via after using a pump?
After using a desoldering pump to remove the bulk solder, a small ring of solder often remains inside the via barrel. Use a dental pick or a specialized via cleaning needle while the board is still slightly warm to gently push the remaining solder out, ensuring a clean hole for the new component lead.