
The Metallurgy of a Perfect Wire Joint
When soldering a wire, you are not merely gluing two metals together; you are facilitating a complex metallurgical bond. Unlike mechanical crimping, which relies on physical deformation and friction, soldering creates an intermetallic layer—typically Cu6Sn5 when joining standard copper wire to a tinned terminal. According to the NASA Workmanship Training Manual, a proper solder connection relies on capillary action and precise thermal management to ensure the solder wets the copper strands completely. If the temperature is too low, the solder will ball up; if it is too high, you risk destroying the wire's insulation and oxidizing the flux before it can clean the metal.
Understanding this physics is the first step in transitioning from a hobbyist who makes messy, unreliable joints to a technician capable of producing IPC-A-610 compliant connections. Whether you are repairing a vintage audio amplifier, building a custom drone harness, or terminating 12 AWG automotive wiring, the principles of heat transfer, flux chemistry, and alloy selection remain constant.
The 2026 Essential Tool Loadout
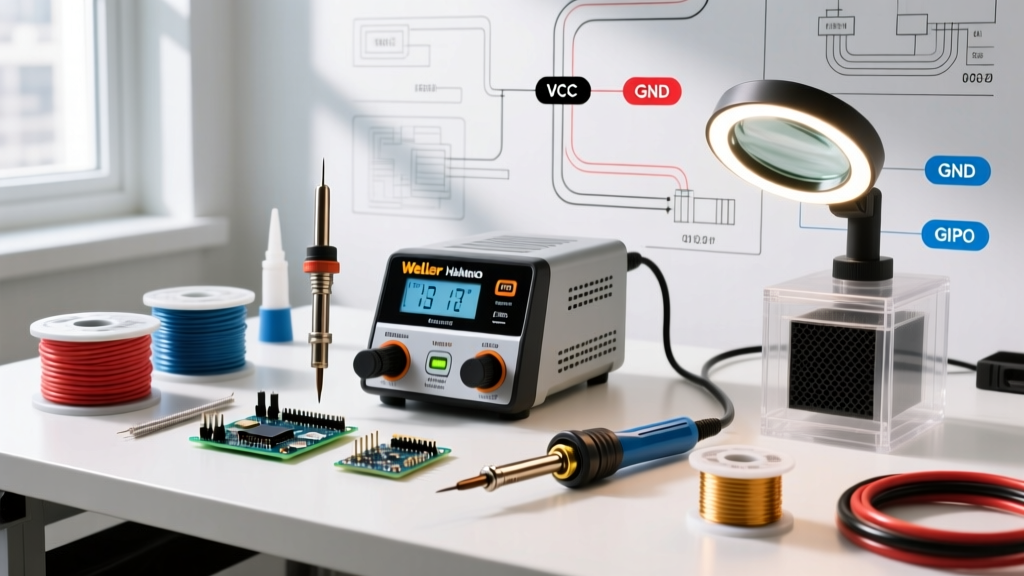
Attempting to master soldering a wire with a cheap, unregulated 40W pencil iron is an exercise in frustration. Modern electronics and wire gauges demand precise thermal recovery. Here is the definitive tool loadout for 2026, balancing professional performance with DIY accessibility.
1. The Soldering Station
- Weller WE1010NA (70W): Retailing around $115 in early 2026, this station offers exceptional thermal recovery. Its microprocessor-controlled heating element can maintain a stable 350°C (662°F) even when sinking heat into thick 10 AWG wires.
- Hakko FX-888D (65W): A long-standing industry staple at approximately $105. The Hakko's ceramic heater and T18 tips are ideal for delicate 24 AWG stranded wires, though it may struggle slightly with heavy-gauge automotive grounding wires.
- X-Tronic 3020-XTS (75W): The best budget option at $75. It includes a digital display and adequate thermal mass for general-purpose wire splicing and PCB jumper wires.
2. Wire Strippers and Prep Tools
Ditch the combination crimp-and-strip pliers that fray stranded copper. Invest in a dedicated automatic wire stripper like the Jonard Tools WS-30 ($28), which cleanly removes insulation without nicking the underlying copper strands. A single nicked strand reduces the wire's tensile strength and creates a localized hot-spot during soldering.
Solder Alloy Selection Matrix
Choosing the correct solder alloy is critical when soldering a wire. The diameter of the solder should generally match the thickness of the wire or terminal. For most 18 to 22 AWG wires, a 0.031-inch (0.8mm) diameter is optimal.
| Alloy Type | Composition | Melting Point | Best Application | Flux Core Requirement |
|---|---|---|---|---|
| Eutectic (Leaded) | Sn63/Pb37 | 183°C (361°F) | General DIY, stranded wire, quick tinning | 2-3% Rosin (RMA) |
| Lead-Free (SAC) | SAC305 (Sn96.5/Ag3/Cu0.5) | 217°C (422°F) | RoHS commercial, high-temp environments | Water-Soluble or No-Clean |
| High-Temp Leaded | Sn10/Pb90 | 268°C (514°F) | First-stage soldering, automotive engine bays | None (Solid Core) |
Note: For 95% of home workshop and DIY wire splicing tasks, Sn63/Pb37 (such as Kester 245) remains the undisputed champion due to its sharp eutectic transition, meaning it goes from liquid to solid instantly without a plastic (semi-liquid) phase, drastically reducing the chance of disturbed joints.
Flux Chemistry: The Unsung Hero
Flux is a chemical cleaning agent that removes copper oxide at high temperatures, allowing the molten solder to wet the metal. When soldering a wire, relying solely on the flux core inside your solder wire is often insufficient, especially if the wire has been sitting in a humid garage for months.
Expert Tip: Always apply a small amount of external tacky flux (like MG Chemicals 8341 or Amtech NC-559) to stranded wires before tinning. This ensures the flux penetrates the inner strands via capillary action, preventing internal oxidation that rosin-core solder alone cannot reach.
For electrical wire connections, never use plumbing acid flux. Acid fluxes are highly corrosive and will eat through the copper strands over time, leading to catastrophic high-resistance failures. Stick to Rosin Mildly Activated (RMA) or No-Clean (NC) fluxes designed specifically for electronics.
Step-by-Step Execution: Tinning and Splicing
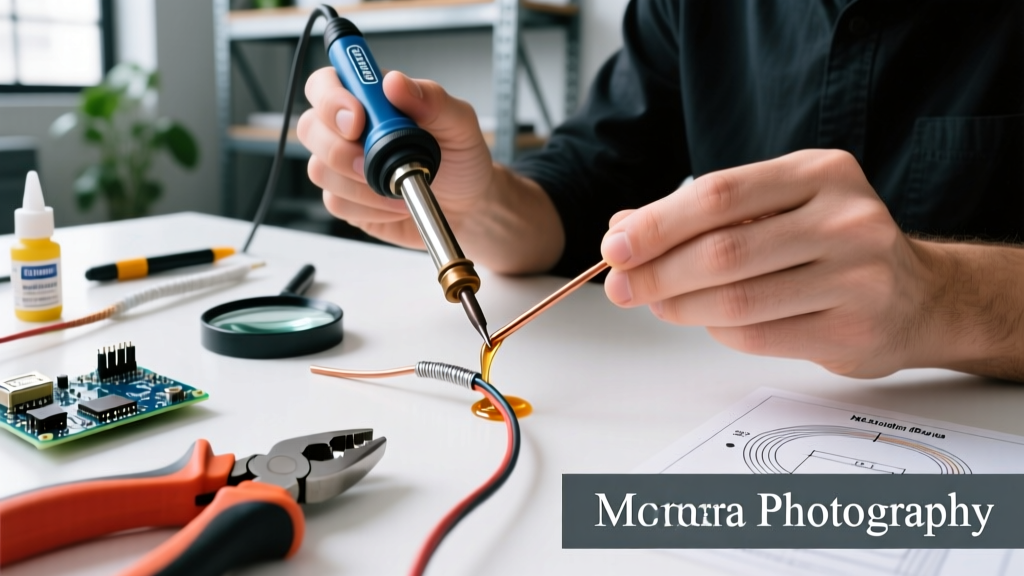
The most reliable method for joining two stranded wires without a bulky crimp barrel is the Western Union splice (for solid core) or the Pigtail/Parallel splice (for stranded). Here is the exact procedure for a bulletproof stranded wire splice.
Step 1: Preparation and Stripping
- Slide a piece of 3M FP-301 heat shrink tubing (2:1 shrink ratio) onto one of the wires before you begin. Forgetting this step is the most common beginner mistake.
- Strip exactly 3/8-inch (10mm) of insulation from both wire ends using your precision strippers.
- Twist the exposed stranded copper tightly at a 45-degree angle to compact the strands into a single, cohesive bundle.
Step 2: Pre-Tinning the Wires
- Set your iron to 350°C (662°F) for leaded solder, or 380°C (716°F) for lead-free.
- Apply a tiny dab of external tacky flux to the twisted copper.
- Touch the hot iron tip to the wire, not the solder. Heat the wire for 1-2 seconds.
- Feed the solder into the junction where the iron meets the wire. The solder should instantly wick into the strands. Stop when the strands are coated but the wire profile is still visible. Avoid creating a massive solder blob.
Step 3: The Splice and Final Joint
- Hook the two pre-tinned wires together in a 'U' shape, or lay them parallel and twist them together 2-3 times.
- Apply the iron to the joined wires. The pre-existing solder on both wires will melt and fuse together. Add a microscopic amount of fresh solder if needed to ensure a smooth, concave fillet.
- Remove the heat and hold the wires perfectly still for 3 seconds. Any movement while the solder is in its plastic phase will cause a cracked, grainy 'disturbed joint'.
- Slide the heat shrink tubing over the joint and apply heat (using a dedicated heat gun at 200°C, not your soldering iron) until the tubing tightly conforms to the wire and the adhesive lining (if using dual-wall tubing) oozes slightly from the ends.
IPC-Standard Troubleshooting & Failure Modes
Even experienced technicians encounter issues when soldering a wire. Use this troubleshooting matrix to diagnose your joints based on IPC-A-610 visual inspection criteria.
- Cold Joint: Appearance: Dull, gray, and grainy. Cause: Insufficient heat applied to the wire, or removing the iron before the flux fully activated. Fix: Re-flux and reheat with a clean, tinned tip.
- Solder Wicking: Appearance: Solder travels up the wire and under the insulation. Cause: Overheating the wire or holding the iron on the joint for too long. This makes the wire stiff and prone to breaking under vibration. Fix: Strip the wire, clean with desoldering braid, and start over with a lower temperature or faster technique.
- Insufficient Wetting: Appearance: Solder balls up on the wire like water on a waxed car (contact angle > 90 degrees). Cause: Heavy oxidation on the copper or contaminated iron tip. Fix: Clean the wire with isopropyl alcohol and a fiberglass scratch pen, apply aggressive RMA flux, and ensure your iron tip is properly tinned.
- Excess Solder (The 'Blob'): Appearance: A massive, convex sphere of solder hiding the wire outline. Cause: Adding too much solder and not enough heat. A proper joint should be concave and reveal the wire's contour. Fix: Use copper desoldering braid (like Chemtronics Soder-Wick) to remove the excess.
Frequently Asked Questions
Can I use a lighter or torch to solder a wire?
While butane torches (like the Blazer Big Shot) are sometimes used for heavy-gauge automotive lugs (4 AWG and larger), they are entirely inappropriate for standard electronics or harness wiring. Open flames destroy PVC and silicone insulation, oxidize the copper instantly, and offer zero thermal precision. Stick to a temperature-controlled soldering station.
Is it better to crimp or solder a wire for automotive use?
For high-vibration environments like automotive engine bays or marine applications, a properly executed mechanical crimp with an adhesive-lined heat shrink seal is generally preferred over soldering. Solder creates a rigid point that can snap under continuous vibration (work hardening). However, for interior electronics, dashboard wiring, and low-vibration applications, soldering a wire provides excellent electrical conductivity and corrosion resistance when sealed properly. For a deeper dive, refer to SparkFun's comprehensive soldering tutorials which cover the nuances of terminal preparation.
How do I clean my soldering iron tip when wire insulation melts onto it?
Never use sandpaper or a steel file on a soldering iron tip; this removes the protective iron plating and ruins the tool. Instead, use a damp brass wool sponge (like the Hakko 599B) while the iron is hot. For burnt-on flux and melted plastic, use a specialized tip tinner/cleaner (such as Kester Tip Tinner), which chemically strips the oxidation and re-tins the tip in one step.