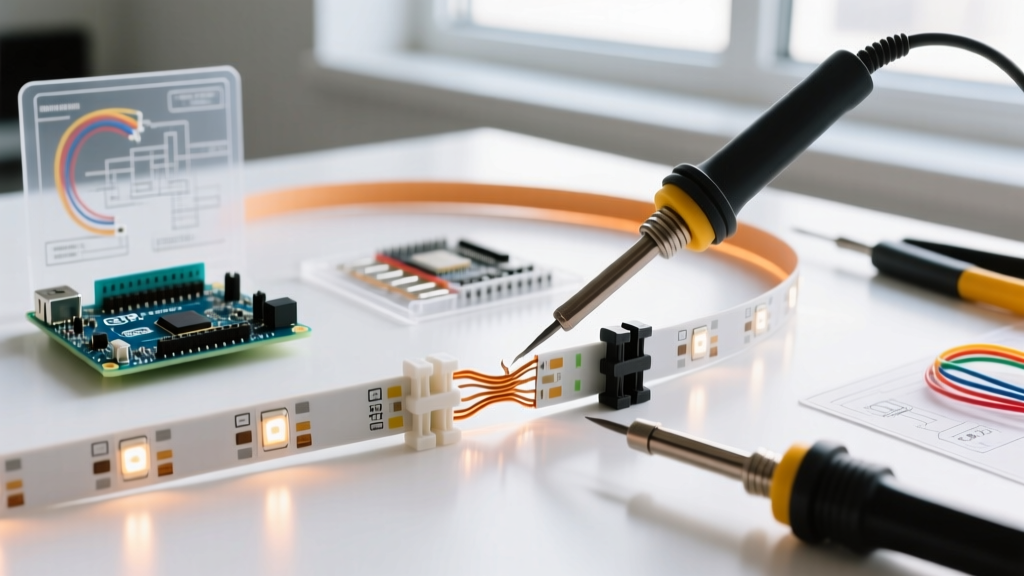

Expert Roundup: How to Fix Ripped LED Strip Lights Without Soldering
Tearing a flexible LED strip light during installation is a frustrating rite of passage for both DIY enthusiasts and professional lighting contractors. Whether the strip snagged on an aluminum channel edge or the copper pads ripped clean off during a corner bend, a severed circuit doesn't necessarily mean the strip is trash. While a soldering iron is the traditional fix, not everyone has the equipment, ventilation, or steady hand required for micro-soldering surface-mount components.
To answer the pressing question of how to fix ripped led strip lights without soldering, we consulted three industry veterans: a commercial lighting technician, a flexible PCB design engineer, and a smart-home integrator. Below, they share their most reliable, field-tested solderless repair methods, complete with 2026 product recommendations, failure-mode warnings, and step-by-step execution guides.
The Anatomy of a Rip: Understanding the Damage
Before attempting a repair, you must identify the exact nature of the tear. LED strips are built on a Flexible Printed Circuit Board (FPCB). According to the IPC-6013 standard for flexible circuits, these boards rely on thin copper traces (usually 1oz to 2oz copper weight) laminated to a polyimide or polyester substrate.
- Cut-Line Tears: The strip ripped exactly on the designated scissor line. The copper pads are intact but separated.
- Mid-Strip Tears: The strip ripped between the LEDs, severing the internal copper traces. The designated pads are destroyed.
- Pad Delamination: The copper pads peeled completely off the fiberglass/polyimide backing, leaving bare substrate.
The Top 3 Solderless Repair Methods (Expert Recommendations)
1. Solderless Quick-Connect Clips (Best for Cut-Line Tears)
For rips that occur exactly on the cut line, solderless snap connectors are the gold standard. These feature tiny metal prongs that clamp down onto the exposed copper pads.
'In 2026, the market is flooded with cheap connectors that fail after a month due to thermal expansion. I exclusively use HitLights Solderless Connectors or WAC Lighting InvisiLED quick-connectors. They cost about $10 to $15 for a multi-pack, but the clamping tension is calibrated to bite through the oxidation layer on the copper without crushing the FPCB.' — Sarah Jenkins, Lead Lighting Technician
2. Mid-Strip Piercing Connectors (Best for Mid-Strip Tears)
If the strip tears between the LEDs, the copper pads are gone. You cannot use standard snap connectors. Instead, you need a 'vampire' or piercing connector that uses sharp metallic teeth to bite directly through the silicone coating and into the internal copper traces.
Products like the Hyperikon Solderless Mid-Strip Connector or generic 'LED Strip Piercing Clips' found on Amazon (typically $8 for a 5-pack) are designed for this exact scenario. They require you to fold the strip or insert it into a specialized hinge that forces pins through the PCB substrate.
3. Conductive Copper Tape + Fold-Over (The Emergency Field Fix)
When you are on a job site with no connectors, experts recommend a specialized tape method. Warning: Standard copper foil tape from the hardware store usually has a non-conductive acrylic adhesive backing. You must purchase Conductive Copper Tape (where the adhesive itself contains conductive particles, like the 3M 1181 or 1182 series, costing around $12 per roll).
By folding the torn ends over each other and wrapping them in conductive tape, you create a mechanical and electrical bridge. This is strictly a temporary fix, as it lacks the structural integrity to survive repeated thermal cycling.
Comparison Matrix: Solderless Repair Methods
| Repair Method | Estimated Cost (2026) | Best Use Case | Durability & Heat Resistance | Skill Level |
|---|---|---|---|---|
| Snap Connectors (HitLights/WAC) | $10 - $15 / pack | Clean tears on designated cut-lines | High (Rated for 10A+ continuous) | Beginner |
| Piercing / Vampire Connectors | $8 - $12 / pack | Mid-strip tears, destroyed pads | Medium (Prone to arcing if loose) | Intermediate |
| Conductive Copper Tape (3M 1181) | $12 / roll | Emergency field repairs, tight bends | Low (Adhesive degrades above 40°C) | Advanced DIY |
| Silicone Sleeve + Crimp Pins | $5 - $8 / kit | IP67 Waterproof strip repairs | High (Mechanical crimp) | Professional |
Step-by-Step: Executing the Piercing Connector Repair
Because mid-strip tears are the most common and difficult to fix without soldering, we asked our experts to outline the exact procedure for using a piercing connector on a standard 10mm RGB strip.
- Prep the Tear: Use flush cutters to trim the jagged edges of the torn FPCB. You need a relatively straight edge for the connector to seat properly.
- Expose the Traces (Optional but Recommended): While piercing connectors are designed to bite through the top coating, gently scoring the top silicone layer with a precision hobby knife (like an X-Acto #11 blade) directly above the copper traces reduces the insertion force required and prevents the pins from bending.
- Align the Polarity: This is where most repairs fail. RGB and RGBW strips are highly polarity-sensitive. Match the '12V/24V' or 'V+' marking on the connector to the positive trace on the strip. If you reverse the polarity on a 5-pin RGBW strip, you risk sending 24V directly into the data line of the controller, instantly frying your smart home hub.
- Clamp with Even Pressure: Do not use your bare thumbs to snap the connector shut. The pressure required to pierce the PCB is roughly 15-20 lbs of force. Use a pair of flat-nose pliers or a specialized LED crimping tool to squeeze the connector housing evenly until you hear a definitive 'click'.
- Test and Seal: Power on the strip and cycle through all colors. If one color is missing, one pin failed to pierce the trace. Once confirmed working, inject a dab of RTV Silicone Sealant (like Permatex Clear) over the connection point to prevent oxidation and secure the mechanical joint.
Expert Warnings: Edge Cases and Failure Modes
The IP67 Waterproofing Trap
Standard solderless snap connectors will not work on IP65 or IP67 rated LED strips out of the box. The thick silicone extrusion coating the strip prevents the connector's metal prongs from reaching the copper pads. David Lin, Smart Home Integrator, advises: 'You must carefully strip away exactly 4mm of the silicone coating using a precision scalpel before inserting the strip into a solderless connector. Afterward, you must re-seal the connection with heat-shrink tubing lined with marine-grade adhesive to maintain the IP rating.'
Voltage Drop and Thermal Runaway
According to the U.S. Department of Energy's Solid-State Lighting guidelines, poor electrical connections introduce resistance, which generates localized heat. A loose solderless connector on a high-density 24V LED strip (drawing 4+ amps per reel) can create a hot spot. This thermal bottleneck will degrade the phosphor layer on the nearest LED chip, causing a permanent color shift (usually turning cool white into a sickly yellow) within 3 to 6 months. Always ensure your connector's amperage rating exceeds your strip's maximum draw by at least 20%.
High-Density COB Strips
Continuous-on-board (COB) LED strips feature a dense layer of yellow phosphor over the entire strip. Solderless piercing connectors often struggle with COB strips because the copper traces are buried deeper beneath the phosphor layer. For COB strips, experts strongly recommend cutting back to the nearest factory solder pad rather than attempting a mid-strip piercing repair.
Frequently Asked Questions (FAQ)
Can I use a wire nut to fix a ripped LED strip?
No. Wire nuts are designed for solid or stranded copper wire, not flat FPCB ribbons. Attempting to twist a wire nut onto an LED strip will shatter the fiberglass substrate and destroy the internal traces.
Will fixing a strip without soldering void my UL listing?
Yes. Modifying or repairing UL-listed lighting products in the field using non-factory-approved connectors generally voids the UL certification for that specific run of lighting. For commercial, code-inspected builds, you must replace the damaged segment with a factory-sealed, pre-soldered jumper cable.
Why is my repaired strip flickering only when it gets warm?
This is a classic symptom of thermal expansion. The metal prongs in cheap solderless connectors expand at a different rate than the copper FPCB when heated. As the strip warms up, the connection loses micro-contacts, causing high-frequency flickering. Upgrading to a connector with beryllium-copper alloy prongs (found in premium brands like WAC) solves this issue.