
Expert Roundup: Mastering Sheet Metal Soldering in 2026
Soldering sheet metal is fundamentally different from joining electronic components or copper plumbing. The high thermal mass of materials like 16-ounce copper flashing, 24-gauge galvanized steel, or automotive body panels requires aggressive heat management, specialized metallurgy, and chemical fluxes that break down heavy oxidation. To cut through the noise, we consulted HVAC ductwork fabricators, classic auto body restorers, and architectural roofing specialists to compile this definitive buyer's guide and technique roundup for sheet metal soldering.
As we navigate 2026, commercial regulations continue to push lead-free mandates in HVAC and architectural applications, making the selection of silver-bearing and antimony-based alloys more critical than ever. Below, we break down the exact tools, alloys, and failure modes you need to know.
The Alloy Matrix: What the Pros Actually Buy
The biggest mistake beginners make is using standard 60/40 rosin-core electronics solder on sheet metal. It lacks the structural integrity and wetting characteristics required for large, load-bearing seams. Here is how the experts stock their benches:
| Alloy Type | Composition | Melt Temp (Solidus/Liquidus) | Best Application | Approx. 2026 Price |
|---|---|---|---|---|
| Harris Stay-Brite | 95% Tin / 5% Silver | 430°F / 480°F | HVAC seams, high-vibration joints | $55 - $65 / lb |
| Harris Bridgit | 95% Tin / 5% Antimony | 452°F / 464°F | Architectural copper roofing, flashing | $30 - $38 / lb |
| Oatey 50/50 | 50% Tin / 50% Lead | 361°F / 421°F | Auto body lead loading, traditional wiped joints | $25 - $32 / lb |
| Oatey Lead-Free | 95% Tin / 5% Copper | 440°F / 490°F | Code-compliant commercial ductwork | $35 - $42 / lb |
Expert Insight: For automotive lead wiping, the 50/50 Tin/Lead alloy remains the undisputed king due to its wide "pasty range" (the 60-degree window between solidus and liquidus). This allows the metal to be molded and wiped with a cloth while in a semi-solid state. However, for architectural copper, the Copper Development Association (CDA) strongly recommends 95/5 Tin/Antimony or silver-bearing alloys to prevent joint creep under thermal expansion.
Heat Source Selection: BTU Management on Thin Gauges
Sheet metal acts as a massive heat sink. If your torch lacks the BTU output to bring a 4-foot copper seam up to 450°F simultaneously, the solder will simply ball up and refuse to wet the surface. Conversely, too much concentrated heat will warp 24-gauge steel or burn through zinc galvanization.
1. Propane/MAPP Torches (The Workhorse)
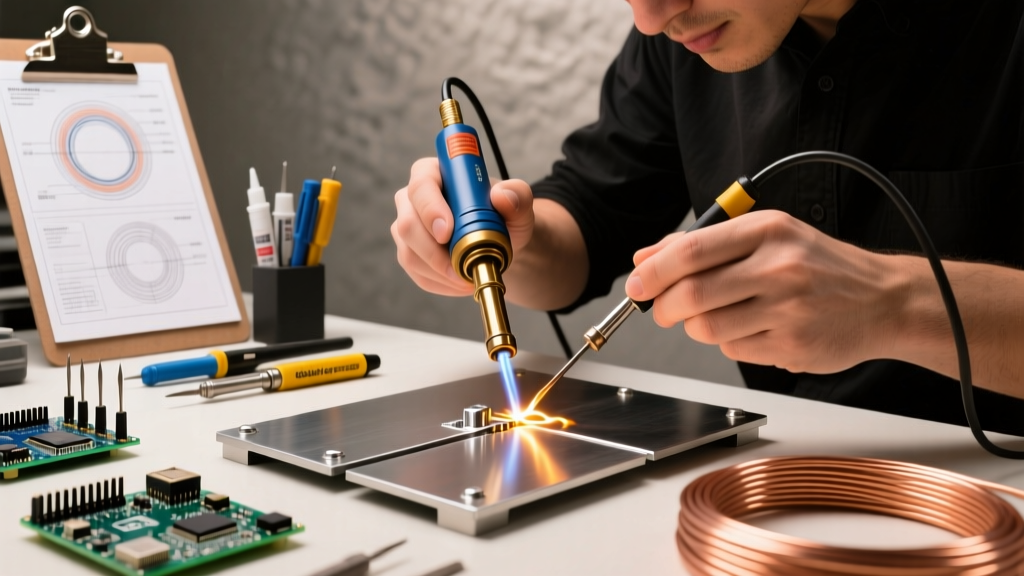
The Bernzomatic TS8000 ($55) paired with MAP-Pro gas is the standard for general sheet metal work. It outputs a high-volume, swirling flame that heats a broad area evenly, reducing the risk of localized warping. Drawback: It struggles in windy outdoor roofing conditions and can overheat thin zinc coatings.
2. Oxy-Acetylene Air Torches (The Precision Tool)
For intricate auto body seams or delicate HVAC registers, experts reach for the Smith Equipment Mini-Torch kit ($260). Running on acetylene and atmospheric air, it provides a pinpoint, ultra-hot flame that allows the operator to chase the solder bead with surgical precision without heating the entire panel.
3. Induction Heaters (The 2026 Game Changer)
Flameless induction heaters, like the Mini-Ductor Venom ($1,200), are revolutionizing sheet metal soldering in high-end restoration. By generating a localized magnetic field, the induction coil heats the ferrous sheet metal directly from the inside out. This completely eliminates open-flame oxidation and drastically reduces flux consumption.
Flux Chemistry: Breaking the Oxidation Barrier
Sheet metal soldering absolutely requires chemical flux. Mechanical abrasion (sanding or wire brushing) is only step one; the moment the metal is exposed to air and heat, a new oxide layer forms instantly.
- Zinc Chloride (Ruby Fluid): The undisputed standard for copper, brass, and steel sheet metal. Priced around $12 per pint, it aggressively strips oxides at 300°F. Warning: It is highly corrosive and must be neutralized with a baking soda/water solution post-solder.
- Tallow (Rendered Sheep Fat): Used exclusively in traditional "wiped joints" for lead-coated copper and auto body work. It acts as a heat-resistant barrier that keeps the solder from sticking to your wiping cloth while protecting the metal from oxidizing during the long cooling process.
- Stay-Clean Liquid Flux: A milder zinc-ammonium chloride blend preferred by HVAC techs for interior ductwork where heavy acid residues could corrode internal blower motors over time.
"If you see black, crusty residue forming along your copper drip edge seams a year after installation, you didn't neutralize your zinc chloride flux. Always follow up with a 50/50 baking soda wash and a clean water rinse." — Master Roofing Tinsmith, SMACNA Certified
Step-by-Step: Sweat Soldering a Copper Drip Edge
Sweat soldering (pre-tinning both surfaces, then melting them together) is the preferred method for joining overlapping architectural sheet metal. According to guidelines from the Sheet Metal and Air Conditioning Contractors' National Association (SMACNA), this creates a watertight, flexible seam that handles thermal cycling.
- Prep: Scrape the overlapping edges of the 16oz copper sheets with a stainless steel wire brush. Apply Ruby Fluid flux to both mating surfaces.
- Pre-Tin: Using a TS8000 torch and 95/5 Tin/Antimony bar, heat the copper until the flux bubbles and turns clear. Melt a thin, even layer of solder onto both surfaces. Let them cool.
- Alignment: Clamp the pre-tinned sheets together with a 1-inch overlap. Use copper or wooden clamps to avoid heat-sinking.
- Sweat: Apply flux to the seam edge. Gently heat the top sheet with a broad, sweeping flame. When the pre-tinned layers reach 460°F, the solder will flash-melt and wick into the joint via capillary action.
- Cool & Neutralize: Remove the heat and do not move the joint until the solder fully dulls. Wash with baking soda solution.
Critical Edge Cases & Failure Modes
The Galvanized Steel Hazard (Zinc Fume Fever)
Soldering or heating galvanized steel sheet metal without removing the zinc coating is a severe health hazard. When zinc reaches 787°F (which happens rapidly under a MAP-Pro torch), it vaporizes into zinc oxide fumes. Inhaling these fumes causes Zinc Fume Fever, resulting in severe flu-like symptoms, chills, and respiratory distress. Always use a flap disc to grind away the galvanization at least 1/2 inch back from the solder joint before applying heat.
Antimony Brittleness in the "Plastic Phase"
A common failure mode in architectural copper soldering is the "grainy fracture." Alloys containing 5% Antimony (like Harris Bridgit) have a very narrow plastic phase. If the sheet metal shifts or vibrates (from wind or a bumped ladder) while the solder is transitioning from liquid to solid, the crystalline structure shatters. The joint will look intact but will leak and fail under thermal stress. Always use heavy clamps and allow the joint to cool naturally.
Warping on 24-Gauge Auto Panels
When using 50/50 lead solder for auto body filling, localized overheating causes the steel panel to stretch and warp (oil-canning). Experts mitigate this by keeping a wet shop towel directly adjacent to the work area to sink excess heat, and by using a specialized "spoon" soldering iron to distribute heat over a wider surface area rather than a direct flame.
Final Verdict
Successful sheet metal soldering relies on matching your thermal output to the gauge of the metal, respecting the metallurgical limits of your chosen alloy, and aggressively managing oxidation. For modern HVAC and architectural work, invest in silver-bearing or antimony alloys and a high-BTU swirling torch. For traditional auto body restoration, stick to 50/50 lead, tallow, and precise acetylene heat. Respect the chemistry, prep the metal properly, and your seams will outlast the panels themselves.