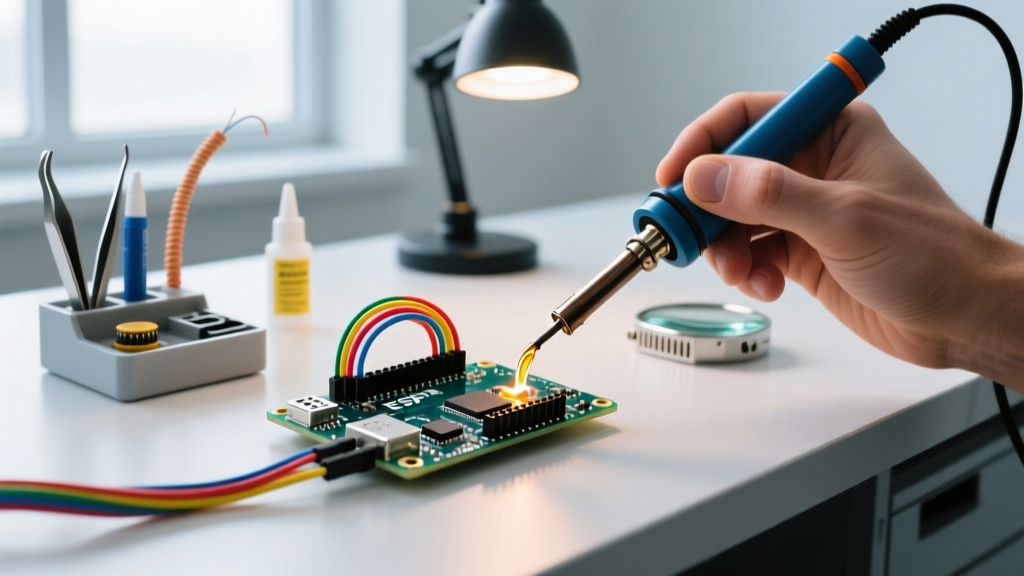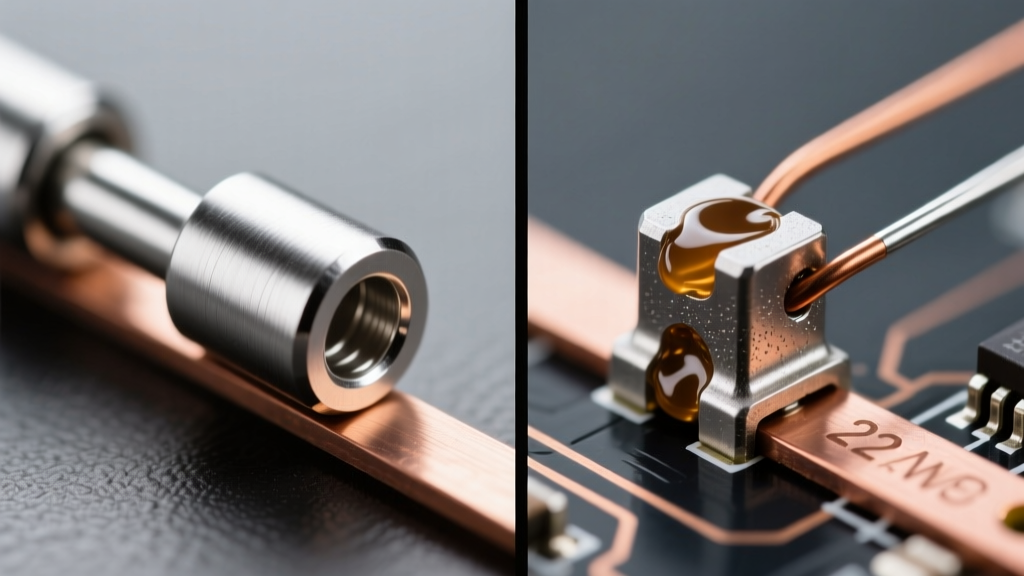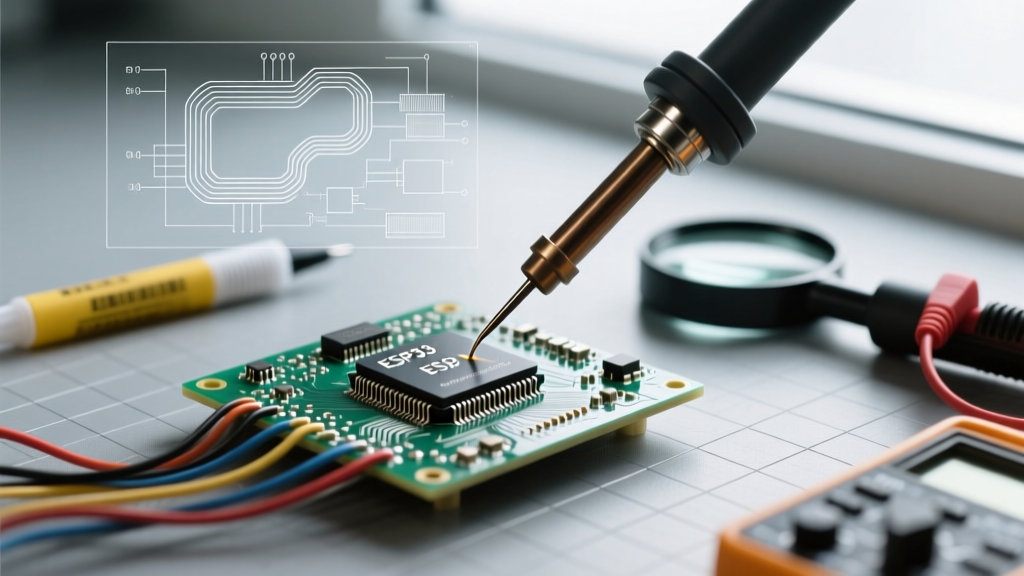

The Hidden Dangers of Poorly Soldered Connections
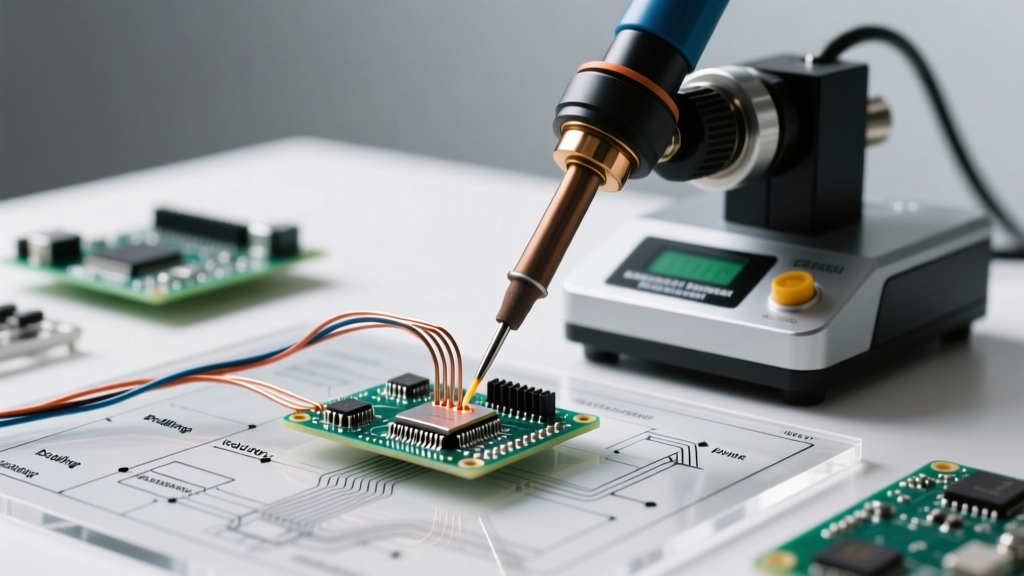
When two conductors, wires, or electronic components are soldered together, the assumption is that a permanent, low-resistance metallurgical bond has been formed. However, from an electrical safety perspective, a flawed solder joint is a latent fire hazard and a primary point of failure in both high-current DC systems and sensitive low-voltage microcontroller circuits. Whether you are building a custom lithium-ion battery pack, wiring a 3D printer heated bed, or assembling a high-power LED array, understanding the physics and chemistry of what happens when metals are soldered together is critical for long-term safety.
According to the NASA Workmanship Standard for Soldered Electrical Connections (NASA-STD-8739.3), a proper solder joint must exhibit excellent wetting, a smooth fillet, and complete alloying of the base metals. When these criteria are not met, the joint transitions from a reliable conductor to a high-resistance heating element.
Thermal Runaway and I²R Heating
The most severe safety risk when conductors are improperly soldered together is localized thermal runaway. This is governed by Joule's First Law, where power dissipated as heat is equal to the current squared multiplied by resistance (P = I²R).
Consider a practical scenario: You are wiring a 12V DC motor controller using 14 AWG silicone wire rated for 20 Amps. A high-quality, properly soldered joint will have a resistance of approximately 0.001 ohms. At 20A, the joint dissipates a negligible 0.4 Watts of heat. However, if the wires are 'cold soldered' together—meaning the flux activated but the base metals never reached the eutectic melting point of the solder alloy—the joint resistance can easily spike to 0.5 ohms or higher due to microscopic voids and incomplete wetting.
- Current (I): 20 Amps
- Bad Joint Resistance (R): 0.5 Ohms
- Heat Dissipation (P): 20² × 0.5 = 200 Watts
Concentrating 200 Watts of heat into a 3mm solder bead will rapidly melt the surrounding wire insulation, degrade the PCB pad, and ignite nearby combustible materials. This is why verifying the integrity of connections after they are soldered together is not just a quality control step—it is a fundamental safety requirement.
Process Safety: Protecting Yourself While Components Are Soldered Together
Safety best practices extend beyond the final product to the actual process of getting components soldered together. The vaporization of flux cores during the soldering process releases complex chemical plumes that pose severe respiratory risks.
Occupational Health Warning: Rosin (colophony) flux fumes are a known respiratory sensitizer. Repeated exposure to the plumes generated when wires are soldered together can lead to occupational asthma, a condition that is often irreversible even after exposure ceases.
The UK Health and Safety Executive (HSE) mandates strict control measures for rosin flux fumes. To ensure operator safety, you must implement Local Exhaust Ventilation (LEV) at the point of operation. Desktop fume extractors with standard carbon filters (like the Hakko FA-400) are largely insufficient for capturing sub-micron rosin particulates; they primarily mask the odor. True safety requires a HEPA-filtered extraction system with a capture velocity of at least 100 feet per minute (fpm) at the soldering tip, venting outside or through a multi-stage industrial scrubber.
Inspection Framework: Verifying Joints After They Are Soldered Together
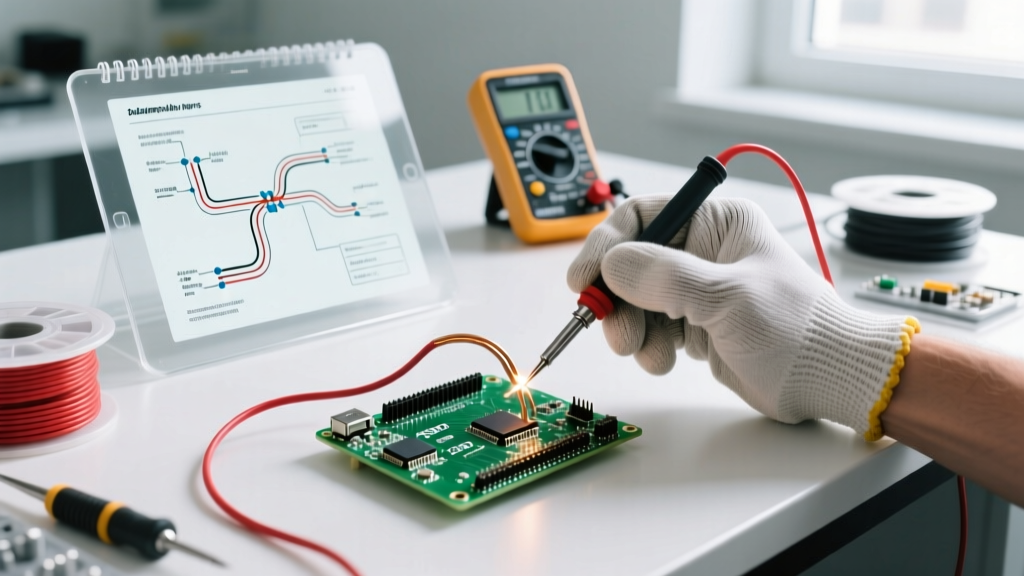
Once your wires and components are soldered together, visual and electrical inspection is mandatory. The IPC-A-610 standard for Acceptability of Electronic Assemblies provides the definitive framework for identifying lethal defects. Use a 10x to 30x stereo microscope and a digital multimeter to check for the following failure modes:
| Defect Type | Visual Indicator | Safety Risk Level | Corrective Action |
|---|---|---|---|
| Cold / Dry Joint | Dull, grainy, or lumpy surface; poor wetting angle. | Critical (Fire) | Reflow with fresh flux (e.g., Kester 186) and verify alloy melting. |
| Solder Bridging | Solder connects adjacent pads or pins unintentionally. | Critical (Short) | Use desoldering braid (Chemtronics 80-4-5) to remove excess solder. |
| Insufficient Fill | Through-hole barrel is less than 75% filled with solder. | High (Fatigue) | Apply heat to the barrel, not the pad, and feed solder until meniscus forms. |
| Disturbed Joint | Frosty, cracked appearance caused by movement during cooling. | High (Intermittent) | Reheat to liquidus and hold completely still until solidification. |
| Flux Entrapment | Visible bubbles or voids under the solder fillet. | Moderate (Corrosion) | Ensure proper pre-heating to allow flux volatiles to escape before reflow. |
Chemical Safety: Flux Residues on Soldered Assemblies
A frequently overlooked safety hazard occurs after the components are soldered together: the chemical nature of the leftover flux residue. Not all fluxes are 'no-clean', and assuming they are can lead to catastrophic dendritic growth and short circuits.
Understanding Flux Chemistries
When working with modern electronics, you will typically encounter three flux chemistries. Knowing how to handle the board after parts are soldered together is vital:
- Rosin Mildly Activated (RMA): Common in standard 63/37 Sn/Pb wire (like Kester 44). Leaves a sticky, amber residue. While generally non-corrosive, it is hygroscopic (absorbs moisture) and can trap conductive dust, leading to leakage currents in high-impedance analog circuits.
- Water-Soluble (Organic Acid): Used for heavy-duty oxidation removal (e.g., MG Chemicals 8341). Safety Critical: If left on the board after components are soldered together, these highly active acids will aggressively corrode copper traces and component leads within 48 hours, leading to open circuits and structural failure. They must be cleaned with heated Deionized (DI) water.
- No-Clean: Formulated to leave a hard, transparent, non-conductive residue. However, if the soldering iron temperature is too low, the flux may not fully activate and polymerize, leaving behind active, corrosive halides. Always verify the manufacturer's recommended reflow profile.
Mandatory Cleaning Protocols
If you have used water-soluble flux, or if your application operates in high-humidity environments, you must clean the assembly after the parts are soldered together. Use an ultrasonic cleaner filled with DI water (resistivity > 10 Megohm-cm) heated to 50°C for 5 minutes, followed by a thorough rinse and a bake-out at 85°C for 2 hours to drive out trapped moisture from under SMD components.
Mechanical Integrity and Strain Relief
Even if wires are perfectly soldered together metallurgically, mechanical stress will eventually cause the joint to fail. Solder is a relatively soft alloy (especially lead-free SAC305, which is prone to tin whiskers and fatigue cracking under vibration).
Whenever a heavy wire is soldered directly to a fragile PCB pad or a small component lead, you must implement mechanical strain relief. Once the electrical connection is soldered together, apply a bead of high-modulus RTV silicone (such as Dow Corning 732 or Loctite 5910) over the joint and the adjacent wire insulation. This transfers mechanical loads away from the brittle intermetallic copper-tin (Cu6Sn5) layer, preventing micro-fractures that cause arcing under vibration.
Frequently Asked Questions
Can I use a multimeter to check if wires are safely soldered together?
A standard digital multimeter (DMM) is generally insufficient for verifying the safety of high-current solder joints. Most DMMs have a resolution of 0.1 ohms on their lowest resistance scale. A dangerous cold joint might have a resistance of 0.05 ohms, which a standard DMM will read as a 'dead short' (0.0 ohms), giving a false sense of security. For high-current safety verification, use a micro-ohm meter or perform a thermal sweep using an infrared camera (like the FLIR E4) while the circuit is under load to spot localized hotspots.
Is it safe to solder aluminum and copper wires together?
No. When aluminum and copper are soldered together and exposed to any ambient moisture, they form a galvanic cell. Because aluminum is highly anodic relative to copper, it will rapidly corrode and oxidize, creating a high-resistance layer that generates intense heat and poses a severe fire risk. Always use mechanical crimps or specialized bimetallic lugs for copper-to-aluminum transitions.
What is the safest solder alloy for DIY high-voltage projects?
For high-voltage and high-reliability DIY projects, 63/37 Tin/Lead (Sn63Pb37) remains the safest choice due to its eutectic properties. Unlike lead-free SAC305, which has a plastic (pasty) range between its solidus and liquidus temperatures, 63/37 transitions instantly from liquid to solid. This eliminates the risk of 'disturbed joints' (micro-cracks formed by movement during the pasty phase), ensuring a much safer and more reliable connection when components are soldered together by hand.